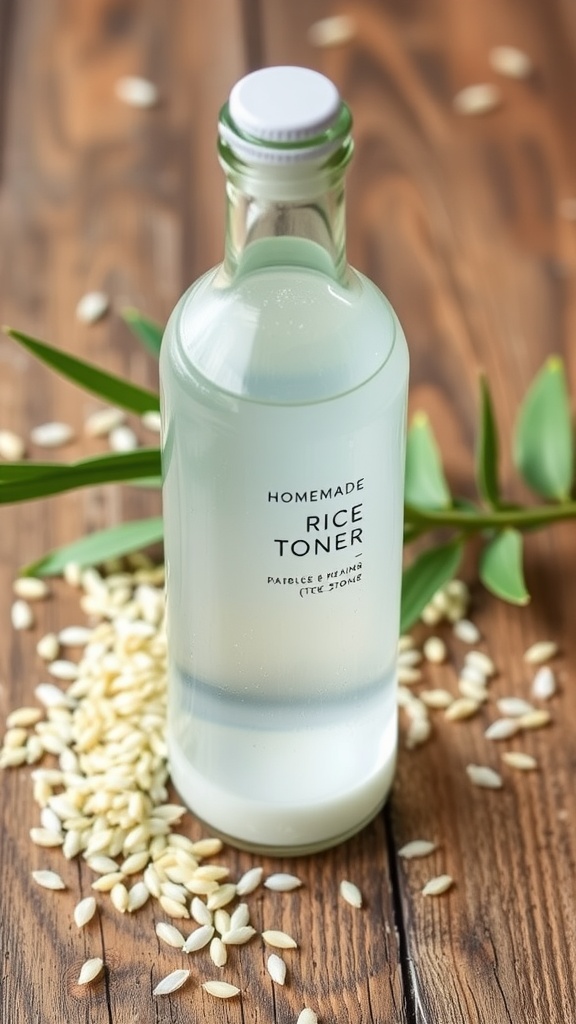
Want to achieve a radiant complexion without splurging on expensive skincare products? This DIY rice toner is your answer! Made from simple, natural ingredients, it’s not just an easy recipe; it’s a game changer for your skincare routine.
Utilizing rice, known for its soothing properties, this toner can help brighten your skin and improve its texture. It’s hydrating and gentle, making it suitable for all skin types, including sensitive skin.
Understanding the Benefits of Rice Toner
Rice has long been revered in skincare, known for its soothing and nourishing properties. This natural ingredient is rich in vitamins and minerals that can rejuvenate the skin.
The use of rice toner can brighten the complexion and enhance the skin’s texture. It’s hydrating and gentle, making it an excellent choice for anyone, including those with sensitive skin.
Incorporating a rice toner into your skincare routine can lead to a more radiant and youthful appearance. The subtle effects can be noticeable with consistent use, providing a refreshing boost to your daily regimen.
DIY Rice Toner: An Easy Recipe
Creating your own rice toner at home is simple and requires just a few ingredients. The process is straightforward, making it accessible for anyone looking to enhance their skincare routine without breaking the bank.
You’ll need uncooked rice, water, and optionally, a few drops of essential oil for fragrance. This combination not only hydrates the skin but also infuses it with nourishing properties.
The final product is a light and refreshing toner that can be easily stored in a clean glass bottle. The simplicity of this DIY skincare solution is part of what makes it so appealing.
Essential Components for Your Rice Toner
To prepare your rice toner, begin with one cup of uncooked rice. Rinse it under cool water to remove any impurities before cooking.
Next, boil the rinsed rice in two cups of water. Allow it to simmer until the rice is fully cooked, then strain the mixture to collect the toner.
If you prefer, you can add a few drops of your favorite essential oil to enhance the fragrance, elevating the overall experience. This customization allows you to personalize your toner according to your preferences.
Storing Your Homemade Toner
Once you have prepared your toner, transferring it into a clean glass bottle is crucial for storage. This helps maintain its freshness and potency.
The toner can be stored in the refrigerator for up to a week, making it a practical addition to your skincare collection.
Having it on hand means you can easily incorporate it into your daily routine, whether used after cleansing or as a refreshing spritz throughout the day.
Incorporating Rice Toner into Your Routine
Using the rice toner is as easy as applying it with a cotton pad or spritzing it directly onto your face. This versatile application allows for a quick refresh or a more thorough skincare step.
When incorporated into your routine, the toner works to hydrate and brighten the skin, leaving it looking revitalized.
Regular application will help improve your skin’s overall health, making it a wonderful addition to any skincare regimen.
Conclusion: Embrace Simplicity in Skincare
Embracing DIY skincare solutions like rice toner reflects a commitment to natural and effective beauty routines.
This homemade toner is not only easy to make but also provides genuine benefits for the skin.
With a few simple ingredients, you can elevate your skincare routine and enjoy the brightening effects of this nourishing toner.
Natural Rice Toner Recipe

This homemade rice toner is refreshing and light, offering a subtle hint of nourishment and hydration to your skin. It’s packed with vitamins and minerals that can help rejuvenate your skin, leaving it feeling soft and looking luminous.
Ingredients
- 1 cup of uncooked rice (any variety)
- 2 cups of water
- A few drops of essential oil (optional, for fragrance)
- Clean glass bottle for storage
Instructions
- Rinse the Rice: Rinse the uncooked rice under cold water to remove any impurities.
- Boil the Rice: In a pot, add the rinsed rice and 2 cups of water. Bring it to a boil and then simmer for about 15-20 minutes until the rice is cooked.
- Strain and Collect: Strain the rice, collecting the water in a clean bowl. This water is your rice toner.
- Optional Scent: If desired, add a few drops of your favorite essential oil to the rice water for added fragrance.
- Store: Transfer the toner into a clean glass bottle. It can be stored in the refrigerator for up to a week.
Cook and Prep Times
- Prep Time: 5 minutes
- Cook Time: 20 minutes
- Total Time: 25 minutes
- Serving Size: 1 tablespoon
- Benefits: Hydrating, Brightening, Soothing