Opening a DVD player is a simple process that can be done with just a few basic tools. In this guide, I will provide step-by-step instructions on how to open a DVD player.
Tools You’ll Need
- A small Phillips head screwdriver
- A flathead screwdriver (optional)
- A plastic opening tool (optional)
Step 1: Unplug the DVD Player Before opening your DVD player, it’s essential to unplug it from the power source. This will prevent any potential electrical shocks or damage to the player.
Step 2: Locate the Screws Most DVD players are secured with screws that hold the top cover in place. These screws are typically located on the back of the player or at the bottom. Some DVD players may have additional screws on the sides or underneath the player’s feet. Use a small Phillips head screwdriver to locate and remove the screws.
Step 3: Remove the Top Cover Once you’ve removed the screws, you can now remove the top cover. Gently lift the cover straight up to remove it. If the cover seems stuck, you may need to gently pry it open using a flathead screwdriver or a plastic opening tool.
Step 4: Ground Yourself Before handling any internal components of the DVD player, it’s important to ground yourself to prevent any static electricity from damaging the hardware. You can do this by touching a metal object, such as a doorknob or metal table leg. Alternatively, you can use an anti-static wrist strap.
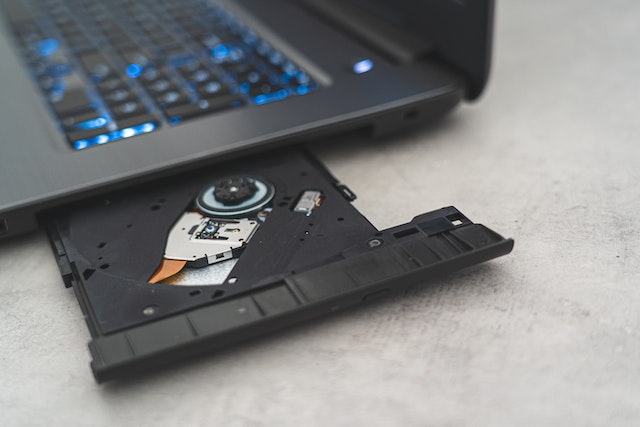
Step 5: Access the Internal Components Once you’ve removed the top cover and grounded yourself, you can now access the internal components of the DVD player. You’ll see the DVD drive, circuit board, and other components.
Step 6: Remove the Disc Tray If you need to access the DVD drive, you’ll need to remove the disc tray first. To do this, locate the two screws that hold the disc tray in place and remove them. Then, gently lift the disc tray out of the player. Be careful not to damage any of the connectors or wires connected to the tray.
Step 7: Clean the Inside of the DVD Player While the DVD player is open, take the opportunity to clean the inside of the player. Use a can of compressed air to blow away any dust or debris that has accumulated. You can also use a soft-bristled brush to remove any stubborn dust.
Step 8: Reassemble the DVD Player Once you’ve finished cleaning or repairing the DVD player, it’s time to reassemble it. Start by replacing the disc tray and securing it with the screws. Then, replace the top cover and secure it with the screws. Make sure that all the screws are tightened securely, but don’t over-tighten them.
Step 9: Test the DVD Player After you’ve reassembled the DVD player, plug it back in and turn it on to test it. Insert a DVD and make sure that it plays properly. If everything seems to be working correctly, you’re done!
In conclusion, opening a DVD player is a simple process that can be done with just a few basic tools. By following these steps, you can safely access the internal components of your DVD player and make any necessary repairs or upgrades. Just remember to be careful and take your time, and you’ll have your DVD player open in no time.