Shaping bread is a crucial step in the bread-making process that influences the final texture and appearance of the loaf. Proper shaping techniques help create structure and allow the dough to rise effectively.
This guide covers essential bread shaping methods suitable for various types of bread, including baguettes, boules, and rolls. Mastering these techniques will enhance your baking skills and result in beautifully shaped loaves.
Understanding the Importance of Bread Shaping
Shaping bread plays a significant role in the overall quality of the loaf.
It influences not only the appearance but also the texture and structure of the bread.
Proper techniques ensure that the dough rises effectively, resulting in a beautifully crafted loaf.
When you shape your bread, you are essentially creating tension in the dough.
This tension helps maintain the shape during the final rise and baking process.
Without proper shaping, the loaf may not rise as intended, leading to a denser texture.
Essential Techniques for Shaping Bread
There are several key techniques to master when it comes to shaping different types of bread.
Whether you are aiming for a round boule or a long baguette, these methods will guide you through the process.
Typically, the shaping process takes about 10-15 minutes and is best performed after the first rise.
Start by gently deflating the dough on a floured surface.
This step is crucial as it prepares the dough for shaping.
Once deflated, you can divide the dough into portions if you are making multiple loaves.
Steps to Shape Your Bread
After dividing, lightly shape each portion into a round ball and allow it to rest for 15-20 minutes under a damp cloth.
This resting period helps relax the gluten, making it easier to shape the dough further.
For a round loaf, flatten the dough slightly, fold the edges toward the center, and flip it over.
For a baguette, roll the dough into a rectangle, fold it into thirds, and then roll it out to the desired length.
Tightening the Shape
Once you have your initial shape, it’s time to tighten it.
For boules, create tension on the surface by cupping the dough and pulling it towards you.
This action helps to form a smooth outer layer that will hold its shape during the final rise.
For baguettes, use your palms to gently roll and elongate the dough.
This technique is essential for achieving that classic baguette shape.
Final Proofing and Baking
After shaping, place the dough into a banneton or on a floured surface.
Cover it and let it rise until puffy, which usually takes about 30-60 minutes.
This final proofing stage is vital for developing the bread’s flavor and texture.
Once proofed, preheat your oven and bake the bread according to your recipe’s instructions.
The result will be a beautifully shaped loaf with a golden crust and crisp texture, perfect for any occasion.
Creating a Warm and Inviting Atmosphere
The process of shaping bread is not just about technique; it’s also about the environment.
A warm and inviting kitchen can enhance the experience of bread-making.
The rustic feel of wooden surfaces and the sight of flour-dusted hands add to the charm of this culinary art.
As you engage in this process, the aroma of baking bread will fill your space, creating a comforting atmosphere.
Embrace the simplicity and joy that comes from making artisan bread at home.
Essential Techniques for Shaping Bread
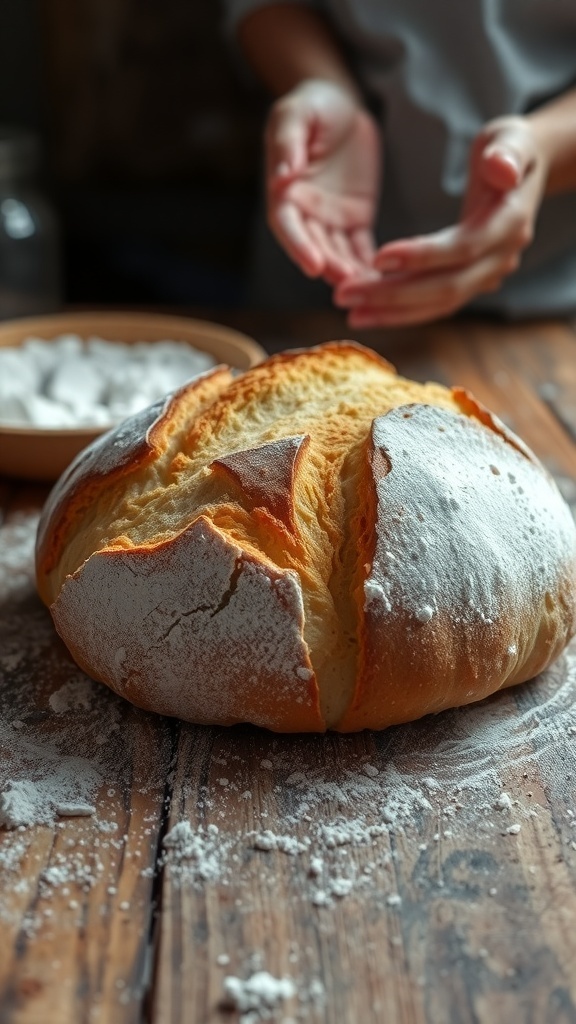
This article outlines key techniques for shaping different types of bread. Whether you’re making a round boule or a long baguette, these methods will help you achieve the desired shape and texture. The shaping process typically takes about 10-15 minutes and is best performed after the first rise.
Ingredients
- Bread dough (prepared from your favorite recipe)
- Flour for dusting
- Bench scraper (optional)
- Banneton or proofing basket (for final rise)
Instructions
- Prepare the Dough: After the first rise, gently deflate the dough on a floured surface.
- Pre-shape: Divide the dough into portions if making multiple loaves. Lightly shape each portion into a round ball and let it rest for 15-20 minutes under a damp cloth.
- Final Shape: For a round loaf (boule), flatten the dough slightly, then fold the edges toward the center and flip it over. For a baguette, roll the dough into a rectangle and fold it into thirds, then roll it out to the desired length.
- Tighten the Shape: For boules, use your hands to create tension on the surface by cupping the dough and pulling it towards you. For baguettes, use your palms to gently roll and elongate the dough.
- Proof: Place the shaped dough into a banneton or on a floured surface, cover it, and let it rise until puffy, about 30-60 minutes.
- Bake: Preheat your oven and bake the bread according to your recipe’s instructions.
Cook and Prep Times
- Prep Time: 15 minutes
- Rest Time: 30-60 minutes
- Total Time: 45-75 minutes
- Servings: Varies based on dough recipe
- Calories: Varies based on ingredients used
- Fat: Varies based on ingredients used
- Protein: Varies based on ingredients used
- Carbohydrates: Varies based on ingredients used
Related
- Artisan Bread Design Techniques
- Artisan Bread Videography Techniques
- 5 Easy DIY Haircut Techniques You Can Try at Home
- Mastering Bread Scoring Techniques