Pottery painting is a fun and creative activity that allows you to personalize your kitchenware. This guide focuses on painting a butter dish, which can add a unique touch to your dining table.
Using non-toxic ceramic paints, you can create beautiful designs that are both functional and decorative. The process is straightforward and suitable for all skill levels.
Creating Your Artistic Butter Dish
Painting a ceramic butter dish is an enjoyable way to express creativity while adding a personal touch to your kitchenware.
This project is perfect for anyone looking to enhance their dining experience with unique, handcrafted items.
With a few materials and some imagination, you can transform a plain butter dish into a vibrant centerpiece.
Gathering Your Materials
Before diving into the painting process, it’s essential to gather all necessary materials.
You will need a plain ceramic butter dish, non-toxic ceramic paints, and a variety of paintbrushes.
A palette for mixing colors, a water cup for rinsing brushes, and paper towels for cleanup will also be helpful.
If you wish to add a protective layer, consider a clear glaze to finish your masterpiece.
Setting Up Your Workspace
Creating a conducive workspace is crucial for a successful painting experience.
Choose a clean, flat surface and lay down newspaper or a drop cloth to protect it from paint spills.
Having all your materials within reach will help streamline the process and keep you focused on your creative vision.
Designing Your Pattern
Before applying paint, sketch your design on paper.
Think about themes that resonate with your style, such as floral motifs, geometric shapes, or abstract patterns.
This step allows you to visualize your ideas and make adjustments before committing them to the ceramic surface.
Painting Your Butter Dish
Start by applying a base layer of paint using a larger brush.
This foundational coat sets the tone for your design and should be allowed to dry completely before adding details.
Once dry, switch to smaller brushes to incorporate intricate designs and vibrant colors, allowing your creativity to shine.
Finalizing Your Creation
After painting, follow the manufacturer’s instructions for curing the paint.
This may involve air drying or baking the dish to ensure the colors set properly.
If desired, apply a clear glaze for added protection and a glossy finish.
Once everything is dry, your beautifully painted butter dish is ready to be showcased or used in your kitchen!
Step-by-Step Butter Dish Pottery Painting
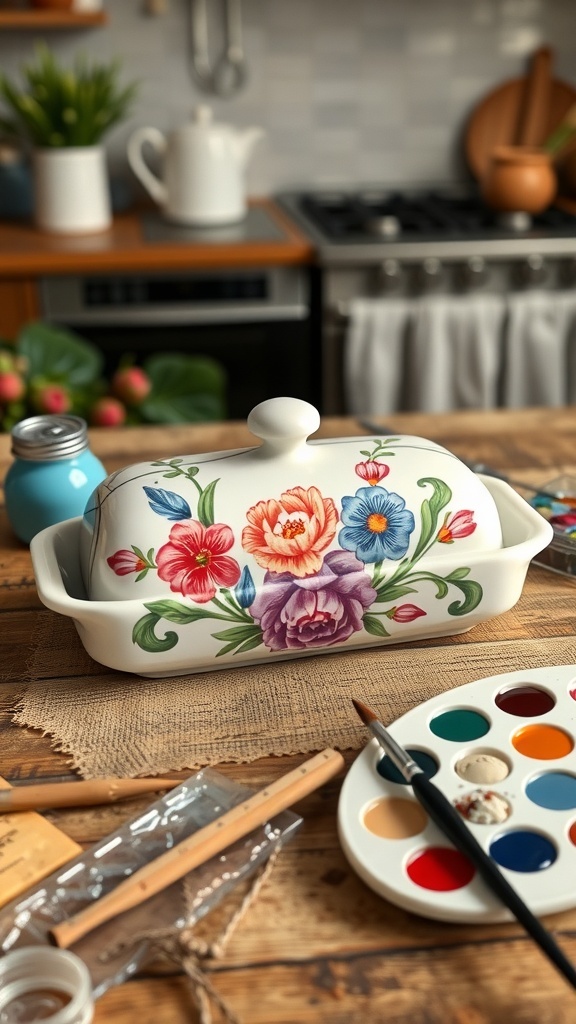
This guide will walk you through the steps of painting a butter dish, from selecting your materials to applying the final glaze. The entire process can take a few hours, including drying time, and is a great project for family or friends.
Ingredients
Related
- Handcrafted Garlic Grater Pottery
- Handmade Garlic Jar Pottery
- Handcrafted Garlic Grater Pottery
- Decorative Garlic Jar Pottery