This guide provides step-by-step instructions for creating a beautiful Christmas angel drawing. Perfect for the holiday season, this drawing can be used for cards, decorations, or simply as a fun artistic project.
Whether you’re a beginner or have some drawing experience, you’ll find the process straightforward and enjoyable.
Materials Needed for Your Christmas Angel Drawing
Before you start your artistic journey, gather the necessary materials. A simple setup will suffice for this delightful project.
You will need a pencil for sketching out your initial shapes, an eraser to correct any mistakes, and high-quality paper to ensure your drawing stands out. If you wish to add color, colored pencils or markers will help bring your angel to life.
Sketching the Basic Shapes
Begin by lightly sketching the foundational shapes of your angel. Start with an oval for the head, which will serve as the focal point of your drawing.
Next, draw a larger oval for the body. This will give your angel a graceful silhouette. For the arms, a simple rectangle will work, while a triangle can represent the flowing dress. These basic shapes will guide your drawing as you add more details later.
Outlining the Wings
Once the basic forms are in place, it’s time to outline the wings. Draw two large wing shapes extending from the back of the angel.
Utilize curved lines to create a soft, feathery appearance. This will add a sense of elegance and movement to your angel, making it look as if it’s gently floating amidst the stars.
Adding Facial Features and Details
With the wings outlined, shift your focus to the angel’s face. Refine the head by adding delicate facial features, such as gentle eyes and a serene smile.
Don’t forget to include flowing hair and a glowing halo above the head. These details will enhance the angel’s ethereal quality, making it truly enchanting.
Enhancing the Wings
To give the wings more texture, add feather details using small curved lines. This will create depth and realism, making your angel appear more lifelike.
Take your time with this step, as the wings are a significant aspect of the drawing. The more detail you add, the more captivating your angel will become.
Finalizing and Coloring Your Drawing
Once you’re satisfied with the details, it’s time to finalize your drawing. Go over your pencil lines with a fine pen or marker to make them stand out.
After inking, erase any unnecessary pencil marks to clean up your work. Now, you can bring your angel to life with color. Consider using gold or silver for the halo and vibrant colors for the dress, which will enhance the festive spirit of your artwork.
Finally, surround your angel with soft, twinkling stars and gentle snowfall to create a peaceful holiday atmosphere, completing your Christmas angel drawing.
Step-by-Step Christmas Angel Drawing
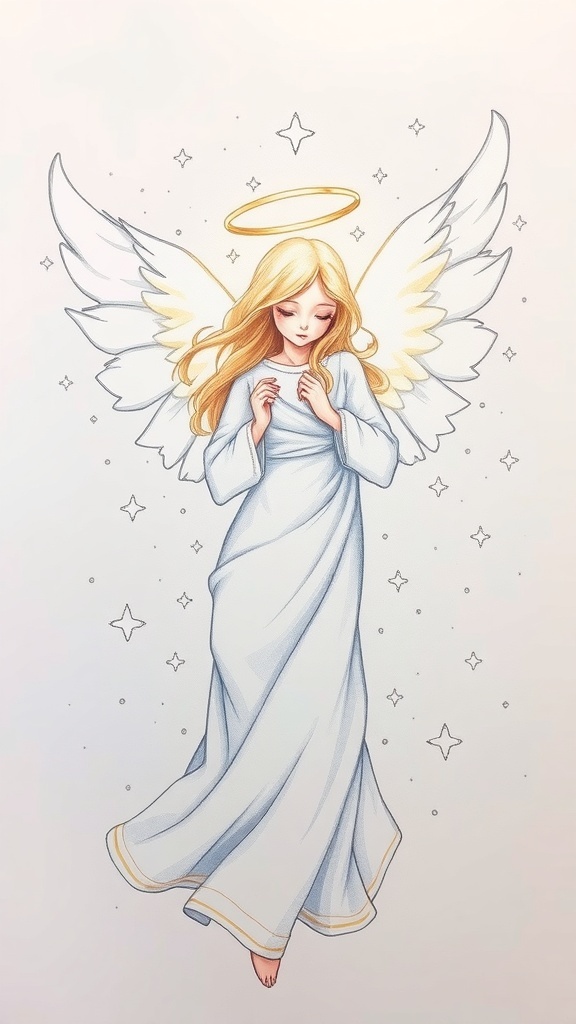
This drawing guide will help you create a lovely angel with flowing robes and delicate wings. The process involves basic shapes and lines, making it accessible for artists of all skill levels.
Ingredients
Related
- What is the angel of death names?
- What does the Angel number 777 mean?
- What is an angel-cut haircut?
- Who is the angel with black wings?