Creating a Christmas-themed drawing on canvas is a wonderful way to celebrate the holiday season. This tutorial will guide you through the process of making festive artwork that can be displayed as decorations or given as gifts.
You will learn about the materials needed, basic techniques for painting, and tips for adding personal touches to your canvas art.
Materials Needed for Your Christmas Canvas Art
To embark on your Christmas canvas art project, gather the necessary materials. You’ll need a canvas of any size, which serves as the foundation for your artwork.
Acrylic paints are essential, with colors like red, green, white, and gold being particularly festive. Don’t forget a variety of paintbrushes to help you achieve different effects.
Having a palette for mixing colors, a water cup for rinsing brushes, and paper towels or cloth for drying will streamline your process. A pencil is handy for sketching your design, and optional items like glitter or stencils can add a unique touch to your masterpiece.
Preparing Your Canvas
Start by setting up your canvas on an easel or flat surface. Ensure that it is clean and dry, as this will help the paint adhere better.
Once your workspace is ready, lightly sketch your desired Christmas design with a pencil. This could be a vibrant Christmas tree, colorful ornaments, or a serene winter scene.
Applying the Base Coat
With your design sketched, it’s time to apply a base coat of paint. Use a large brush for even coverage across your canvas, allowing the base coat to dry completely before moving on.
This initial layer sets the tone for your artwork, so choose a color that complements your overall design. A soft white or light blue can create a beautiful backdrop for your Christmas scene.
Adding Details and Depth
Once the base coat is dry, switch to smaller brushes to add intricate details to your design. Layering colors can create depth and interest, making your Christmas tree and ornaments pop.
Take your time with this step, as it’s where your creativity can truly shine. Consider incorporating textures using sponges or palette knives for a unique effect that enhances the visual appeal of your painting.
Finishing Touches
After your painting has dried, it’s time for the finishing touches. This is where you can add any final details, such as glitter or embellishments, to enhance the festive look of your artwork.
These finishing elements can bring your canvas to life, making it a stunning piece that captures the spirit of the holiday season.
Displaying Your Christmas Canvas Art
Once everything is completely dry, find the perfect spot to display your Christmas canvas art. Whether it’s on a mantel, a wall, or an easel in your cozy room, your artwork will add a festive touch to your holiday decor.
If you’re feeling generous, consider wrapping it as a gift for friends or family. Your handmade canvas art is sure to be cherished and appreciated during the holiday season.
Step-by-Step Guide to Christmas Canvas Art
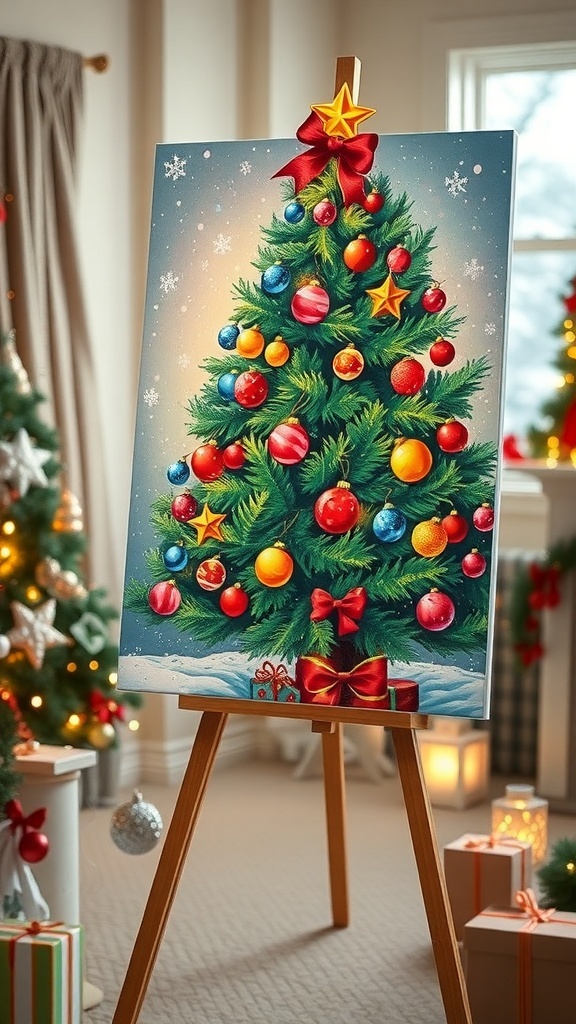
This Christmas canvas art tutorial is perfect for artists of all skill levels. The project typically takes about 2-3 hours to complete, allowing you to create a beautiful piece that captures the spirit of the holidays.
Ingredients
Related
- Charming Lobster Nail Art Tutorial
- Festive Turkey Nail Art Tutorial
- Festive Turkey Nail Art Tutorial
- Creative Potato Stamp Art Tutorial