This guide focuses on creating festive Christmas doodles using pencil. Perfect for artists of all skill levels, these doodles can be used for holiday cards, decorations, or just for fun.
The process is simple and requires only basic drawing techniques. You can personalize your doodles with various themes such as Santa, Christmas trees, ornaments, and snowflakes.
Materials Needed for Your Christmas Doodles
To get started on your festive doodles, gather a few essential materials. The primary tool you’ll need is a pencil, preferably an HB or 2B, which is ideal for sketching. This type of pencil allows for smooth lines and easy erasing.
Next, have an eraser on hand to refine your sketches and clean up any stray lines. A good quality eraser can make a significant difference in the final look of your artwork.
You’ll also need paper, such as a sketchbook or drawing paper, to serve as your canvas. Choose a surface that feels comfortable for you to draw on, as this can enhance your creative experience.
If you wish to add a splash of color to your doodles, consider having colored pencils or markers available. These can help bring your holiday sketches to life with vibrant hues.
Getting Started with Basic Shapes
Begin your doodling journey by sketching simple shapes that will form the foundation of your designs. For instance, use circles to represent ornaments and triangles for Christmas trees. These basic shapes will guide you as you build more complex images.
Don’t worry about perfection at this stage; the goal is to create a loose framework for your doodles. This approach allows for flexibility and creativity as you progress.
Adding Details to Your Doodles
Once you have your basic shapes in place, it’s time to add delightful details. For a Christmas tree, think about incorporating decorations like baubles, garlands, and a star on top. When sketching Santa Claus, focus on his facial features, beard, and iconic hat.
Consider adding patterns to gifts or texture to snowflakes to enhance the visual interest of your doodles. These details will bring your sketches to life and make them uniquely yours.
Refining and Polishing Your Artwork
After detailing your doodles, use your eraser to clean up any unnecessary lines. This step is crucial for achieving a polished look. Take your time to refine the shapes and ensure that everything appears cohesive.
Pay attention to the outlines and make adjustments where needed. This refinement process can significantly elevate the overall quality of your artwork.
Shading and Adding Texture
To give depth to your doodles, introduce shading techniques. Lightly shade areas that would naturally be in shadow, such as the underside of ornaments or the sides of the Christmas tree. This technique adds dimension and realism to your sketches.
Experiment with different shading styles to see what works best for your doodles. You can use hatching, cross-hatching, or even stippling to create varied textures.
Final Touches and Coloring
Once you are satisfied with the shading and details, take a moment to review your doodles. Add any final touches or highlights that may enhance their appearance. This could include brightening certain areas or adding small embellishments.
If you opted for color, now is the time to bring out your colored pencils or markers. Choose festive colors that reflect the holiday spirit, and carefully apply them to your sketches. This final step can transform your doodles into vibrant holiday art.
Step-by-Step Christmas Doodle Guide
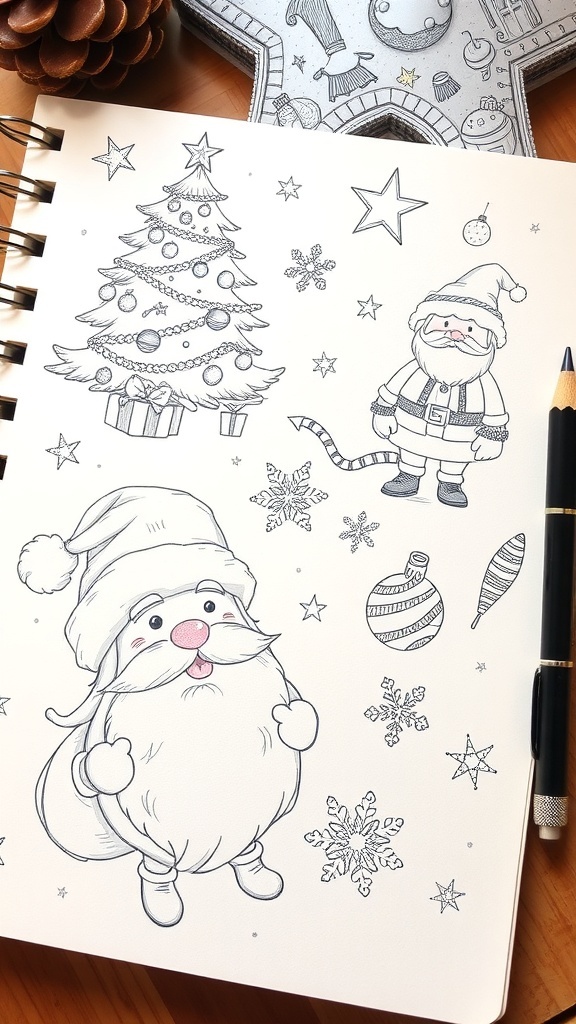
This guide will help you create charming Christmas-themed doodles that can brighten up your holiday season. It includes tips on sketching, shading, and adding details to make your doodles come alive.
Ingredients
Related
- Christmas Doodles Art Ideas
- Hand-Drawn Christmas Doodles Art
- Christmas Cat Doodles: Aesthetic Holiday Art
- Christmas Doodles Digital Art Guide