Creating Christmas mandala art is a delightful way to celebrate the holiday season. This guide will help you explore the process of drawing intricate mandalas inspired by Christmas themes, such as snowflakes, ornaments, and festive symbols.
Whether you’re a beginner or an experienced artist, this step-by-step approach will provide you with the techniques and inspiration needed to create beautiful mandala designs for your holiday decorations.
Materials Needed for Your Christmas Mandala
To embark on your Christmas mandala drawing journey, gather the necessary materials. Start with a good quality drawing paper or a sketchbook that can withstand multiple layers of coloring.
A pencil and eraser are essential for sketching your initial design, allowing for adjustments as you refine your patterns. A ruler or compass will help you create perfect circles, ensuring symmetry in your mandala.
For outlining your design, fine-tip pens or markers are ideal. They provide precision and clarity, making your intricate patterns stand out. Finally, colored pencils or markers in vibrant hues will bring your mandala to life, adding that festive touch.
Choosing Your Central Theme
The first step in creating your Christmas mandala is selecting a central theme. This could be anything from a classic Christmas tree to a delicate snowflake or a shining star.
Your theme will set the tone for the entire design, so take some time to think about what resonates with you. Consider incorporating elements that symbolize the holiday spirit, such as ornaments or holly leaves, to enhance the festive feel of your mandala.
Creating the Base Circle
Once you have your theme, it’s time to create the base circle. Using a compass or a round object, draw a large circle in the center of your paper. This circle will serve as the foundation for your mandala.
Make sure the circle is large enough to accommodate the intricate designs you plan to add. A well-defined base will help maintain the overall balance of your artwork.
Dividing the Circle for Symmetry
Next, lightly draw lines through the center of your circle to divide it into equal sections. This step is crucial for achieving symmetry in your design, which is a hallmark of mandala art.
Depending on your preference, you can divide the circle into six, eight, or even twelve sections. Each section will guide you in creating harmonious patterns that radiate from the center.
Adding Intricate Patterns
With your sections in place, begin adding shapes and patterns within each segment. Keep symmetry in mind as you incorporate Christmas motifs like snowflakes, holly leaves, and ornaments.
Feel free to experiment with different shapes and designs, ensuring that each section complements the others. This is where your creativity can shine, allowing you to create a unique mandala that reflects your personal style.
Outlining and Coloring Your Mandala
Once you are satisfied with your pencil drawing, it’s time to outline your design using fine-tip pens. Carefully trace over your pencil lines, maintaining the symmetry you established earlier.
After the ink has dried, gently erase any remaining pencil marks to reveal a clean design. Now comes the fun part: coloring your mandala! Use vibrant reds, greens, and golds to fill in your patterns, enhancing the festive cheer of your artwork.
Take your time with the coloring process, blending shades to create depth and interest. The final result will be a beautifully drawn Christmas mandala, perfect for holiday decor or as a thoughtful gift.
Step-by-Step Christmas Mandala Drawing
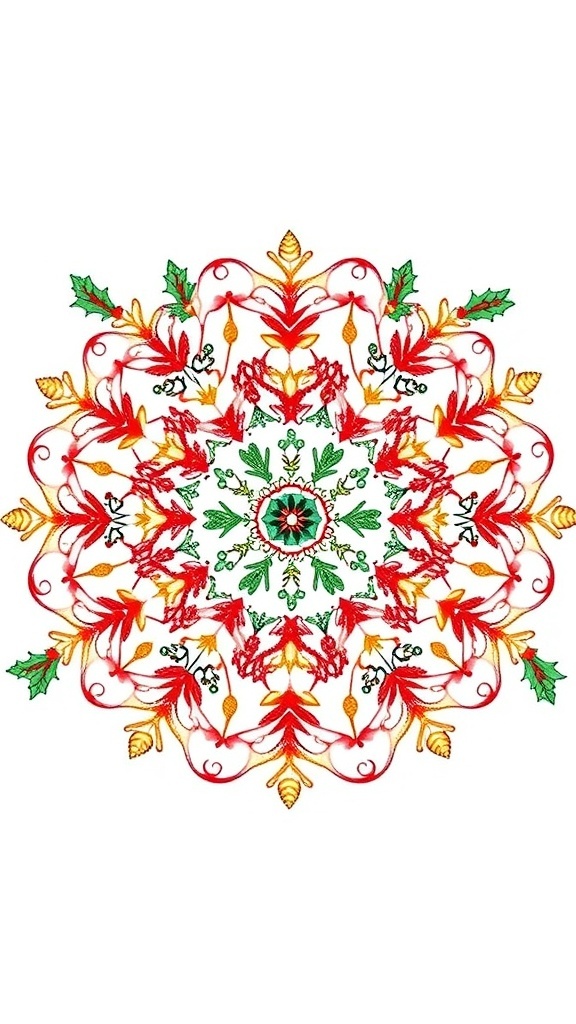
This guide includes detailed instructions on how to draw Christmas-themed mandalas, focusing on symmetry and intricate patterns. You’ll learn to incorporate seasonal elements into your designs, making them perfect for cards, wall art, or gifts.
Ingredients
Related
- Wacom Intuos Art vs Wacom Intuos Draw
- 5 Easy DIY Christmas Wall Art Ideas to Brighten Your Home
- 50 Stunning Tattoo and Body Art Ideas You’ll Love
- 5 Funky Nail Art Designs to Try This Season