This Christmas drawing tutorial focuses on creating festive artwork using markers. It’s a fun and engaging way to celebrate the holiday season, perfect for artists of all ages.
The tutorial covers basic techniques for using markers effectively, including blending, layering, and adding details to your Christmas-themed drawings.
Materials Needed for Your Christmas Drawing
Gathering the right materials is essential for creating your vibrant Christmas drawing. Start with assorted markers, either alcohol-based or water-based, depending on your preference for blending and layering.
You’ll also need smooth drawing paper that can handle the ink without bleeding. A pencil and eraser are crucial for sketching your initial outline, while a ruler can help if you want to incorporate straight lines into your design.
Lastly, having reference images can spark inspiration and guide your artistic choices, ensuring your drawing captures the festive spirit perfectly.
Choosing Your Christmas Theme
Before you start, decide on the specific Christmas theme you want to portray. A beautifully decorated Christmas tree is a classic choice, but you might also consider other festive elements like snowmen or holiday scenes.
Think about how you want to convey the warmth and joy of the season through your artwork. This initial decision will guide your sketching and coloring process, making it easier to visualize your final piece.
Sketching the Outline
Once you have your theme, lightly sketch the outline of your drawing with a pencil. This step is crucial as it serves as a guide for your markers.
Focus on the main elements, such as the shape of the Christmas tree, the placement of ornaments, and the cozy fireplace in the background. Don’t worry about making it perfect; this sketch is just a foundation for your vibrant colors.
Applying Base Colors
With your outline in place, it’s time to fill in the main areas of your drawing with base colors. Choose bright and festive hues for your Christmas tree and ornaments to bring your artwork to life.
Start with the larger sections, like the tree and the background. This will help you establish the overall color scheme before adding more intricate details.
Adding Depth and Texture
Once the base colors are applied, it’s time to add details that create depth and texture. Layer additional colors to enhance the visual interest of your drawing.
Use lighter shades for highlights on the ornaments and darker shades for shadows on the tree. This technique will give your drawing a more three-dimensional feel, making it pop off the page.
Final Touches and Drying
After you’re satisfied with the colors and details, outline your drawing with a fine-tip marker. This final step will give your artwork a polished look and help define the various elements.
Allow your artwork to dry completely before displaying or framing it. This ensures that your vibrant Christmas drawing is preserved beautifully, ready to spread holiday cheer.
Step-by-Step Guide to Christmas Marker Drawings
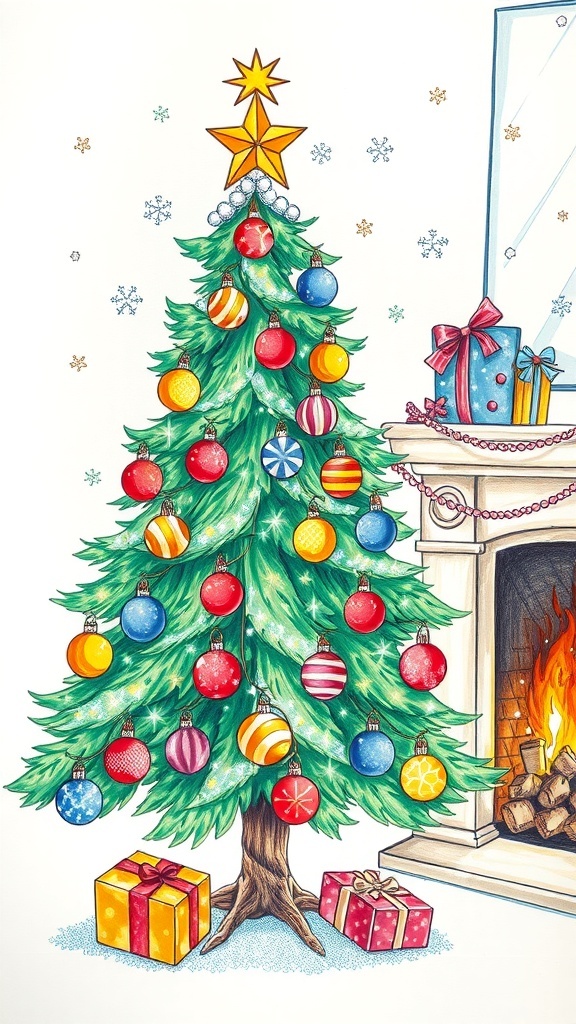
This guide will help you create vibrant Christmas drawings, such as Christmas trees, ornaments, and holiday scenes. The process is straightforward and can be completed in about an hour, making it a great activity for family gatherings or holiday parties.
Ingredients
Related
- Charming Lobster Nail Art Tutorial
- Festive Turkey Nail Art Tutorial
- Festive Turkey Nail Art Tutorial
- Creative Potato Stamp Art Tutorial