Creating a Christmas nativity scene drawing is a wonderful way to celebrate the holiday season. This guide will provide you with step-by-step instructions to help you illustrate the birth of Jesus, including key figures like Mary, Joseph, and the baby in the manger.
Whether you’re a beginner or an experienced artist, this drawing guide will help you capture the essence of this cherished scene.
Materials Needed for Your Nativity Scene Drawing
Before you begin your drawing, gather the necessary materials to ensure a smooth creative process. You’ll need a pencil and eraser for sketching, allowing for easy corrections as you refine your figures.
Drawing paper is essential, providing a suitable surface for your artwork. If you wish to add details and color later, fine-tip markers or pens will help create clean outlines. Colored pencils or markers can be used to bring vibrancy to your scene, enhancing the overall warmth of the illustration.
Sketching the Basic Shapes
Start your nativity scene by lightly sketching basic shapes for each character. Use simple geometric forms to establish proportions and positions. For instance, circles can represent heads, while ovals can outline the bodies of Mary, Joseph, and baby Jesus.
This initial step is crucial, as it sets the foundation for your drawing. Focus on the placement of each figure within the stable, ensuring that they are balanced and harmonious in the composition.
Refining the Figures
Once you have the basic shapes, refine them into recognizable forms. Add details such as facial features, clothing, and hair, paying attention to the proportions of each character. This is where the warmth and emotion of the scene begin to emerge.
Consider the expressions on Mary and Joseph’s faces, reflecting their joy and wonder. The baby Jesus should be depicted with tenderness, capturing the essence of this significant moment.
Creating the Manger
Next, draw the manger as a simple wooden structure, placing baby Jesus in the center. Incorporate straw and other elements to enhance the scene’s authenticity. The manger is a focal point, so take your time to ensure it looks inviting and warm.
Adding details like texture to the wood and the hay will create depth, making the scene more lifelike. This step is vital in conveying the humble setting of Jesus’s birth.
Incorporating Background Elements
To create a more immersive environment, sketch in the stable or cave setting. Include details like hay scattered on the ground, twinkling stars above, and gentle animals surrounding the holy family. These elements will enrich your drawing and provide context to the nativity scene.
Think about the placement of each background element to maintain balance in your composition. The starry night sky can add a magical touch, symbolizing the significance of the event.
Finalizing and Adding Color
Once you are satisfied with your drawing, go over your pencil lines with fine-tip markers or pens to create a clean outline. This step will help define your figures and make them stand out.
After outlining, erase any unnecessary pencil marks to keep your artwork looking polished. If you choose to add color, use colored pencils or markers to bring your nativity scene to life. Select colors that reflect the warmth and joy of the Christmas season, enhancing the overall atmosphere of your drawing.
Step-by-Step Nativity Scene Drawing
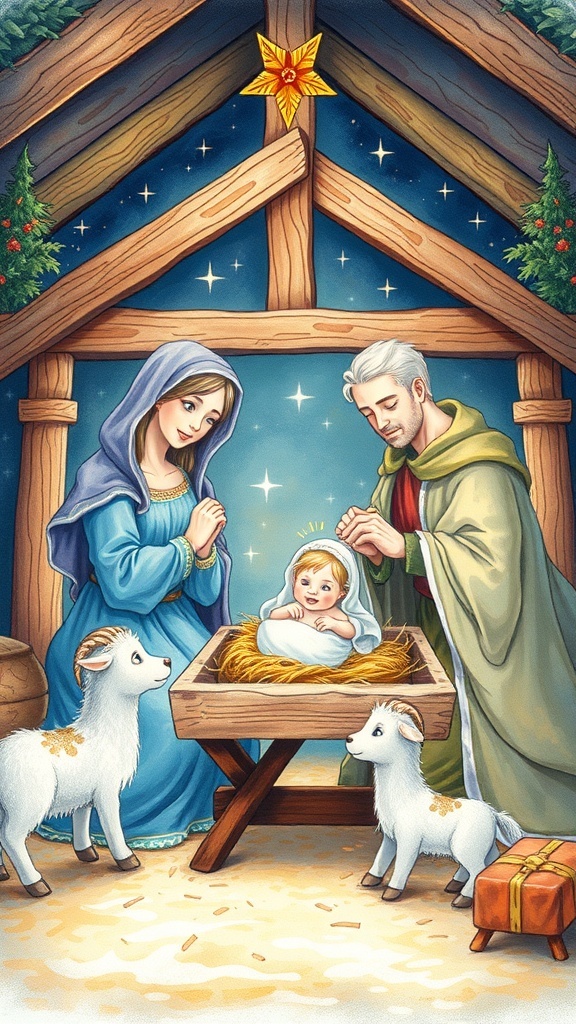
This drawing guide will walk you through the process of sketching a nativity scene, focusing on the main characters and their surroundings. You’ll learn how to create a balanced composition and add details that bring the scene to life.
Ingredients
Related
- Christmas Nativity Scene with Baby Jesus
- Nativity Scene Christmas Recipe
- Merry Christmas Nativity Scene Images
- Nativity Scene Christmas Coloring Pages