Creating a Christmas drawing using oil pastels is a fun and engaging way to celebrate the holiday season. This medium allows for vibrant colors and smooth blending, making it ideal for capturing festive scenes.
In this guide, you’ll learn about the materials needed, basic techniques, and a simple step-by-step process to create your own Christmas-themed artwork.
Materials Needed for Your Christmas Drawing
To create a vibrant Christmas drawing with oil pastels, gather the necessary materials first. You’ll need a set of oil pastels in various colors, including traditional Christmas hues like red, green, and gold.
Choose high-quality drawing paper or pastel paper to ensure the best results. Blending tools, such as cotton swabs or your fingers, will help achieve smooth transitions between colors.
Don’t forget a pencil for sketching your initial outline and an eraser for any adjustments. If you wish to preserve your artwork, consider using a fixative spray at the end.
Sketching Your Christmas Scene
Start by lightly sketching the outline of your Christmas scene with a pencil. This could include a beautifully decorated Christmas tree, colorful gifts, and perhaps some snowflakes.
Focus on the composition and placement of each element to create a balanced design. This initial sketch will serve as the foundation for your vibrant artwork.
Choosing Your Color Palette
Select the oil pastel colors you want to use for your drawing. Traditional Christmas colors like red, green, white, and gold will help evoke the holiday spirit.
Consider adding some blues for the snowy background and yellows for warm highlights. Having a variety of colors will allow for richer and more dynamic artwork.
Applying Base Colors
Begin applying the oil pastels to your drawing, starting with broad strokes to fill in larger areas. For the Christmas tree, use rich greens and layer with lighter shades for depth.
As you work on the gifts, incorporate vibrant colors to make them stand out against the snowy backdrop. Layering colors will enhance the richness of your drawing.
Blending Techniques for Smooth Transitions
Once the base colors are applied, use your fingers or blending tools to smooth and blend the colors together. This technique creates soft transitions between shades, giving your artwork a polished look.
Pay special attention to the areas where the tree meets the gifts and the snowy background, ensuring a cohesive flow throughout the piece.
Adding Details and Final Touches
After blending, it’s time to add finer details to your drawing. Consider including ornaments on the tree, shadows for depth, and highlights to bring your artwork to life.
Review your drawing and make any necessary adjustments. You can add more layers of color for intensity or use a fixative spray to protect your masterpiece once it’s complete.
Step-by-Step Christmas Drawing with Oil Pastels
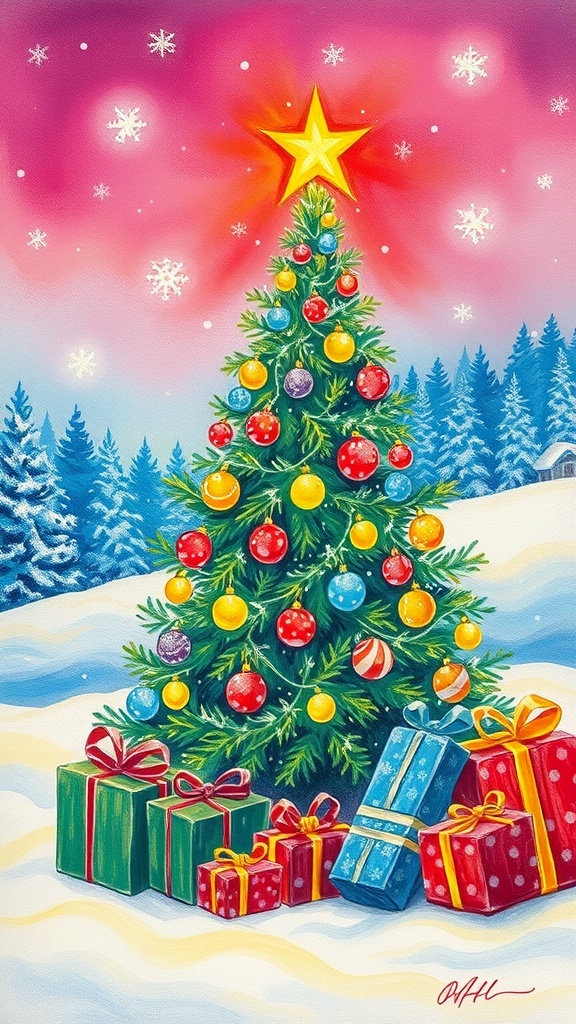
This guide will walk you through creating a cheerful Christmas drawing, perfect for holiday decorations or gifts. The process is suitable for artists of all skill levels and typically takes about 1-2 hours to complete.
Ingredients
Related
- Christmas Oil Pastel Drawings
- How much oil does us import from Russia?
- What does rubbing castor oil on your stomach do?
- Is 10 oil life okay?