This guide provides step-by-step instructions for creating beautiful Christmas tree drawings. Perfect for artists of all skill levels, these techniques will help you capture the festive spirit of the holiday season.
Whether you’re looking to create a simple outline or a detailed, decorated tree, this guide offers practical tips and inspiration to enhance your drawing skills.
Materials Needed for Your Christmas Tree Drawing
Before you begin your artistic endeavor, gather all necessary materials to ensure a smooth drawing experience.
A pencil is essential for sketching your initial outline, allowing for easy corrections with an eraser.
Colored pencils or markers will help you add vibrancy to your artwork, while drawing paper provides a suitable surface for your masterpiece.
If you prefer straight lines, a ruler can be a handy tool, especially for the trunk of the tree.
Creating the Outline of the Tree
Start your drawing by sketching a triangle shape, which will serve as the basic structure of your Christmas tree.
This simple outline forms the foundation for your design, so take your time to get it right.
Once you have the triangle, you can begin to add more details that will bring your tree to life.
Adding Branches for Realism
To create the appearance of branches, draw zigzag lines along the sides of the triangle.
Vary the lengths of these lines to achieve a more natural look, mimicking the way real branches grow.
This step adds depth and character to your tree, making it feel more three-dimensional.
Designing the Tree Trunk
At the base of your triangle, draw a rectangle or a slightly curved shape to represent the trunk of the tree.
The trunk provides stability to your drawing and balances the overall composition.
Ensure the trunk is proportionate to the size of your tree for a cohesive look.
Decorating Your Tree
Now comes the fun part: decorating your tree!
Add ornaments, garlands, and lights to enhance the festive spirit.
Use circles for ornaments and wavy lines for garlands, allowing your creativity to shine through.
Final Touches and Coloring
To finish your drawing, add texture to the branches by incorporating small lines or shading.
Consider placing a star or an angel at the top of the tree for that classic holiday touch.
Finally, bring your artwork to life with vibrant colors using your colored pencils or markers, choosing rich greens for the tree and bright hues for the decorations.
Step-by-Step Christmas Tree Drawing
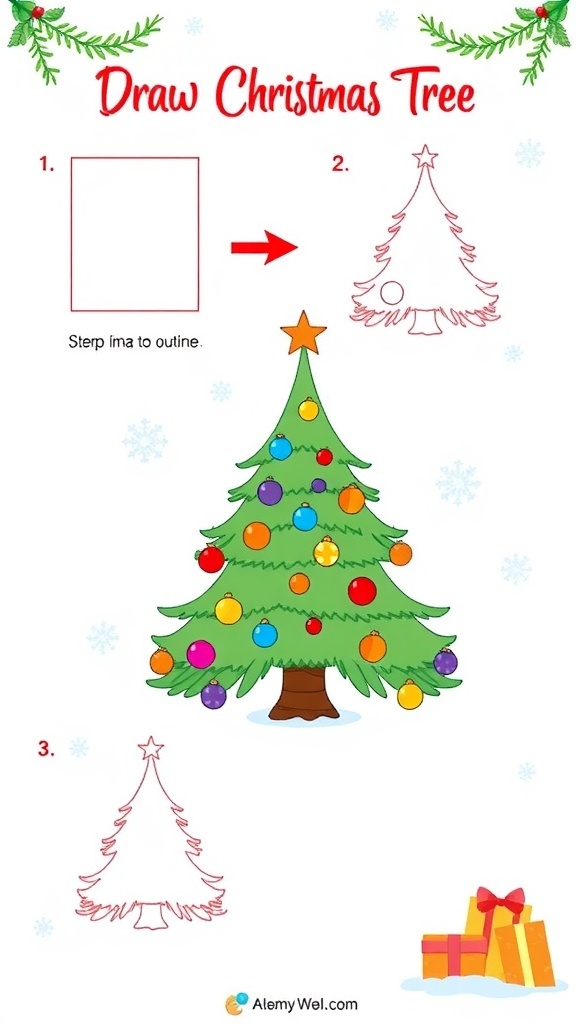
This drawing guide features a variety of styles for Christmas trees, from traditional to modern designs. Each step is clearly outlined to help you create a stunning piece of art that embodies the joy of Christmas.
Ingredients
Related
- Why did karen leave one tree hill?
- 10 Creative Ways to Decorate Your Christmas Tree
- 5 Creative Ways to Repurpose Your Christmas Tree After the Holidays
- 5 Creative Ways to Make a Fruit Christmas Tree