Creating a Christmas wreath drawing can be a delightful way to celebrate the holiday season. This guide will help you understand the basic techniques and elements needed to draw a festive wreath, incorporating traditional decorations like holly, berries, and ribbons.
Whether you’re a beginner or looking to refine your drawing skills, this step-by-step approach will provide you with the tools to create a beautiful wreath illustration.
Materials Needed for Your Christmas Wreath Drawing
Before starting your artistic creation, gather the necessary materials to ensure a smooth drawing experience. You will need:
- Drawing paper
- Pencil
- Eraser
- Colored pencils or markers
- Reference images of wreaths
Having these items on hand will help you focus on the drawing process without interruptions. A good quality drawing paper will allow for better color application, while an eraser will assist in correcting any mistakes along the way.
Sketching the Base of the Wreath
Begin your drawing by sketching a large circle. This circle serves as the foundation for your wreath, guiding the overall size and shape.
Make sure the circle is proportionate, as it will dictate how the foliage and decorations fit around it. You can use a compass for precision or trace around a round object if you prefer a perfect circle.
Adding Foliage and Greenery
Once you have the base circle, it’s time to add the foliage. Draw leaves around the circle, varying their sizes and shapes to create a natural appearance.
Consider incorporating different types of greenery, such as pine needles or holly leaves, to add diversity to your wreath. This step is crucial for achieving a lush and vibrant look.
Incorporating Berries for Color
Next, introduce small circles or dots to represent berries. Cluster these berries in groups to enhance realism and visual interest.
Bright red berries will contrast beautifully against the green foliage, adding a festive touch to your drawing. Be mindful of their placement to maintain a balanced composition.
Creating the Festive Bow
A large bow at the top or bottom of the wreath adds a charming finishing touch. Sketch the bow, ensuring to include the loops and tails of the ribbon for a three-dimensional effect.
Pay attention to the shape and flow of the bow, as it should appear soft and inviting. This element is essential for capturing the spirit of the holiday season.
Detailing and Final Touches
Once your basic shapes are in place, go over your drawing with a darker pencil or ink to define the shapes. Adding texture to the leaves and berries will give depth to your wreath.
After detailing, it’s time to bring your wreath to life with color. Use colored pencils or markers to fill in the drawing, opting for traditional colors: green for the leaves, red for the berries, and a bright hue for the bow.
Finally, erase any unnecessary pencil lines and consider adding highlights or shadows to enhance the three-dimensional look of your artwork. This will make your Christmas wreath drawing truly stand out.
Step-by-Step Christmas Wreath Drawing
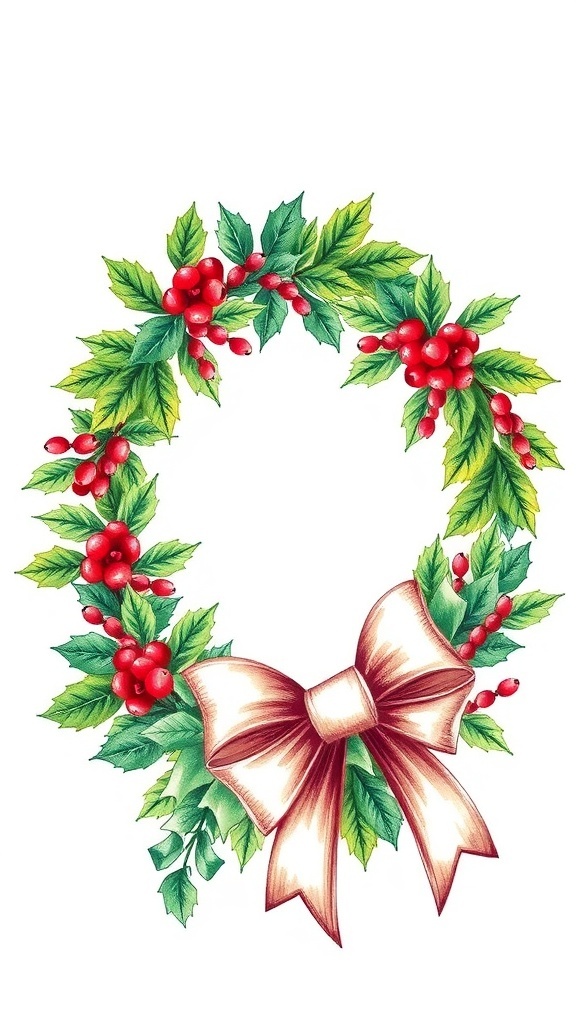
This drawing guide focuses on the essential steps to create a charming Christmas wreath. You will learn how to sketch the circular shape, add foliage, and incorporate decorative elements. The process is straightforward and can be completed in about 30 minutes.
Ingredients
Related
- 5 Stunning Christmas Wreath Ideas to Brighten Your Holiday Decor
- 5 Stunning Christmas Mesh Wreath Ideas for Your Holiday Decor
- Festive Pigs in a Blanket Wreath Recipe
- Festive 7 Strand Plaited Bread Wreath Recipe