Customizing a computer case is a popular way to make it look unique and stand out from others. One way to achieve this is through painting the computer case. This article will cover the steps involved in painting a computer case, including the required tools, preparation process, and painting process.
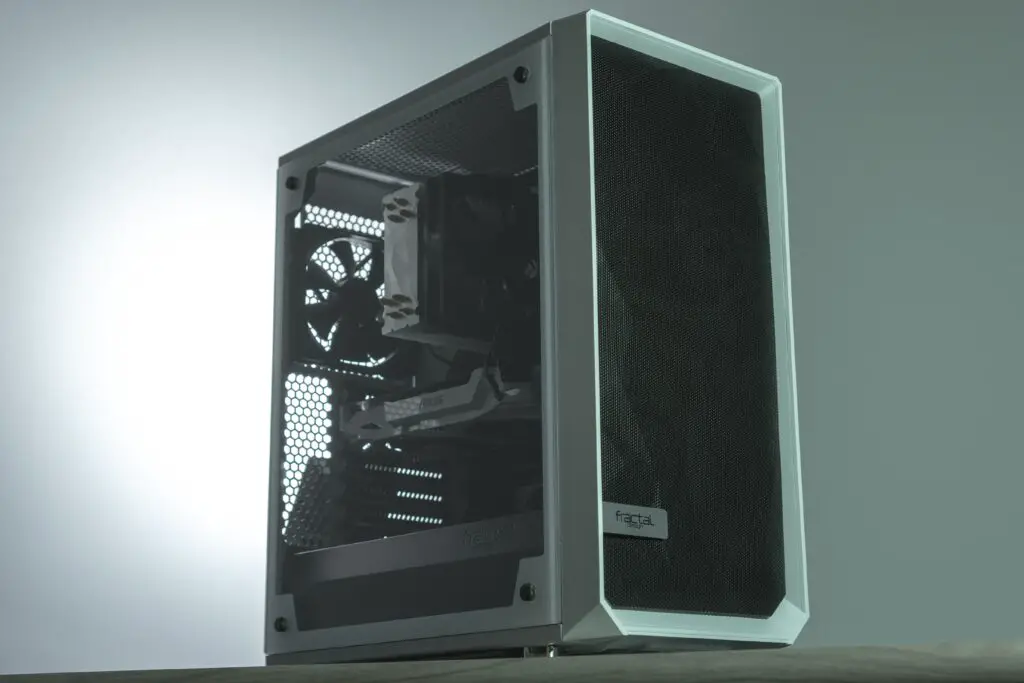
The first step in painting a computer case is to gather the necessary tools. These include screwdrivers, sandpaper, painter’s tape, spray paint, clear coat, gloves, and a respirator. The next step is to prepare the case by removing all internal components and using sandpaper to create a surface for the paint to adhere to. The case should also be cleaned and covered with painter’s tape to protect areas that should not be painted.
The painting process involves shaking the spray paint can and applying a light coat of paint to the case, followed by a second coat once the first coat is dry. A clear coat is then applied to protect the paint and give it a glossy finish. After waiting for the clear coat to dry, the painter’s tape is removed, and the internal components can be reassembled.
To ensure a successful paint job, it is essential to follow these steps carefully. It is also recommended to wear gloves and a respirator to protect oneself from the fumes. By painting a computer case, it is possible to create a unique and personalized look that reflects the owner’s personality and style.