This easy Christmas deer drawing tutorial is perfect for beginners and anyone looking to add a festive touch to their holiday art. With simple steps and clear instructions, you can create a charming deer illustration that captures the spirit of the season.
Whether you’re using pencils, markers, or digital tools, this guide will help you bring your holiday creativity to life.
Materials Needed for Your Drawing
Before starting your Christmas deer drawing, gather the necessary materials. You’ll need a pencil for sketching, an eraser to correct any mistakes, and paper or a sketchbook to work on.
If you wish to add color, have markers or colored pencils handy. Reference images can also be beneficial, providing inspiration and guidance throughout the drawing process.
Starting with Basic Shapes
The first step in your drawing is to establish the foundation using basic shapes. Begin by drawing a circle for the head and an oval for the body. These shapes will serve as the framework for your deer.
Next, add guidelines to help position the face and legs accurately. This will ensure that your proportions are correct as you move forward with the drawing.
Outlining the Head
Once you have your basic shapes in place, refine the head’s outline. Add features such as the ears and snout to give your deer character. Pay attention to the placement of the eyes and mouth, as these details will bring your drawing to life.
Take your time with this step, ensuring that the facial features are proportionate and expressive. This is where your deer begins to take shape!
Sketching the Body
Connect the head to the body by drawing a neck, which will help create a natural flow between the two. Next, sketch the legs and hooves, making sure they look balanced and proportionate to the body.
At this stage, focus on the overall posture of the deer. Consider whether you want it to appear playful or serene, as this will influence how you position the legs and body.
Adding Antlers and Festive Details
With the body sketched, it’s time to add antlers on top of the head. You can make them festive by incorporating decorations like lights or ornaments, enhancing the holiday spirit.
Don’t forget to add other festive elements, such as a scarf or a Santa hat, to give your deer a cheerful holiday look. These details will make your drawing stand out and feel more festive.
Final Touches and Coloring
Now that your drawing is taking shape, it’s time for the final touches. Outline your drawing with a pen or a darker pencil to make it pop. Carefully erase any unnecessary guidelines to clean up your work.
Finally, add color to your deer using markers or colored pencils. Choose festive colors that reflect the holiday season, and consider adding a colorful background with snowflakes and Christmas lights to complete the festive atmosphere.
Step-by-Step Guide to Drawing a Christmas Deer
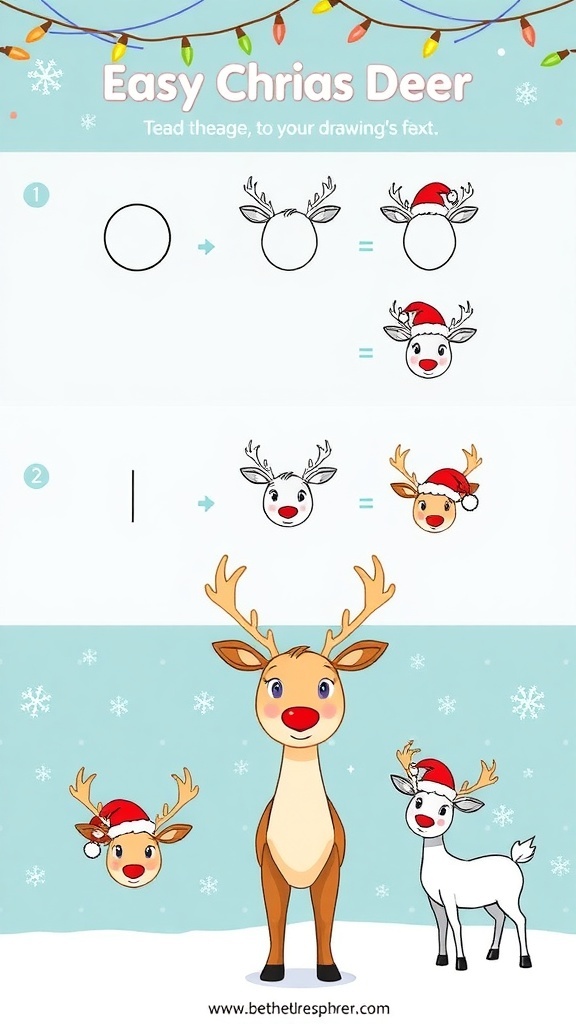
This tutorial breaks down the drawing process into manageable steps, making it accessible for artists of all skill levels. You’ll learn how to sketch the basic shapes, add details, and finish with festive elements like a Santa hat or ornaments.
Ingredients
Related
- Stylish Double Braid Hairstyle Tutorial
- Realistic Rice 3D Modeling Tutorial
- Simple Lobster Drawing Tutorial
- Charming Lobster Nail Art Tutorial