Making bread at home is simple and rewarding, especially with a KitchenAid stand mixer. This recipe allows you to create a delicious loaf with minimal effort, perfect for beginners and experienced bakers alike.
Using a stand mixer streamlines the kneading process, ensuring a consistent texture and rise. You can customize this basic bread recipe by adding herbs, cheese, or seeds to suit your taste.
The Joy of Homemade Bread
Baking bread at home is a delightful experience that brings warmth and comfort to any kitchen. The aroma of freshly baked bread wafting through the air can transform a simple day into something special.
With just a few ingredients and a KitchenAid stand mixer, you can create a loaf that is not only satisfying to make but also delicious to eat. The process is straightforward, making it accessible for both novice bakers and those with more experience.
Ingredients for Success
To achieve that perfect loaf, you’ll need a handful of basic ingredients. Flour, yeast, sugar, salt, warm water, and olive oil come together to create a soft and fluffy texture.
Each component plays a vital role in the bread-making process. The flour provides structure, while the yeast is responsible for the rise. Sugar and salt enhance the flavor, and warm water activates the yeast, bringing everything to life.
The Mixing and Kneading Process
Using a stand mixer simplifies the mixing and kneading stages. Start by combining the dry ingredients in the mixer bowl. This ensures an even distribution of the yeast and salt, which is crucial for consistent rising.
Once the dry ingredients are mixed, add the warm water and olive oil. The mixer does the hard work of kneading, creating a smooth and elastic dough in just a few minutes. This step is essential for developing the gluten, which gives the bread its structure.
Rising to Perfection
After kneading, the dough needs to rise. Transfer it to a greased bowl, cover it with a damp cloth, and let it rest in a warm spot. This first rise typically takes about an hour, allowing the dough to double in size.
Once the dough has risen, it’s time to shape it. Gently punch it down to release any air pockets, then turn it out onto a floured surface. Shaping the dough into a loaf and placing it in a greased pan prepares it for the second rise, which takes about 30 to 45 minutes.
Baking the Perfect Loaf
Preheating the oven is a crucial step before baking. Setting it to 375°F (190°C) ensures that the bread cooks evenly.
After the second rise, the loaf is ready to bake. The bread typically takes 30 to 35 minutes to achieve a golden brown crust. Tapping the bottom of the loaf should produce a hollow sound, indicating it’s fully baked.
Enjoying Your Homemade Bread
Once out of the oven, allow the bread to cool in the pan for a few minutes before transferring it to a wire rack. This cooling process is essential for the texture and flavor to develop fully.
Slice into the loaf to reveal its airy interior. Serve it with a small bowl of olive oil and a sprinkle of herbs for dipping. This simple addition elevates the bread, making it a perfect accompaniment to any meal or a delightful snack on its own.
Simple Bread Recipe Using KitchenAid Stand Mixer
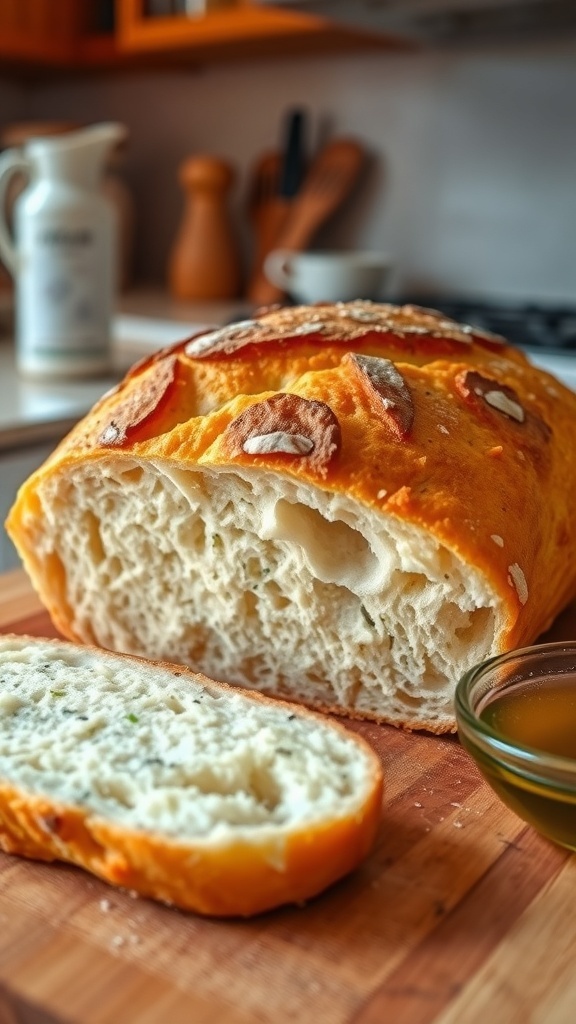
This easy bread recipe yields a soft and fluffy loaf that is perfect for sandwiches or toasting. The process takes about 2 hours from start to finish, including rising time, and makes one loaf.
Ingredients
- 4 cups all-purpose flour
- 2 teaspoons instant yeast
- 1 tablespoon sugar
- 1 teaspoon salt
- 1 1/2 cups warm water (110°F)
- 2 tablespoons olive oil (optional)
Instructions
- Combine Dry Ingredients: In the bowl of your KitchenAid stand mixer, combine the flour, instant yeast, sugar, and salt. Mix briefly with the dough hook attachment.
- Add Wet Ingredients: Pour in the warm water and olive oil (if using). Mix on low speed until the dough begins to come together.
- Knead the Dough: Increase the mixer speed to medium and knead the dough for about 5-7 minutes, until it is smooth and elastic.
- First Rise: Transfer the dough to a lightly greased bowl, cover it with a damp cloth, and let it rise in a warm place for about 1 hour, or until doubled in size.
- Shape the Loaf: Punch down the risen dough and turn it out onto a floured surface. Shape it into a loaf and place it in a greased 9×5 inch loaf pan.
- Second Rise: Cover the loaf with a cloth and let it rise again for about 30-45 minutes, or until it has risen above the rim of the pan.
- Preheat Oven: Preheat your oven to 375°F (190°C).
- Bake: Bake the bread for 30-35 minutes, or until the top is golden brown and the loaf sounds hollow when tapped on the bottom.
- Cool: Remove the bread from the oven and let it cool in the pan for 10 minutes before transferring it to a wire rack to cool completely.
Cook and Prep Times
- Prep Time: 15 minutes
- Cook Time: 30 minutes
- Total Time: 2 hours
- Servings: 1 loaf
- Calories: 120kcal per slice
- Fat: 1g
- Protein: 4g
- Carbohydrates: 24g
Related
- Effortless Dough Mixing with a Stand Mixer
- No-Stand Mixer Focaccia Bread Recipe
- Stand Mixer vs Hand Mixer: What’s the Difference?
- Stand Mixer vs Hand Mixer: What’s the Difference?