This guide provides simple steps to create an easy drawing of Santa Claus, perfect for the holiday season. Whether you’re a beginner or looking to improve your drawing skills, these instructions will help you capture the festive spirit.
Using basic shapes and techniques, you can create a charming Santa Claus illustration that can be used for cards, decorations, or just for fun.
Materials Needed for Your Santa Drawing
Before starting your drawing, gather all necessary materials to ensure a smooth process. You will need:
- Pencil
- Eraser
- Paper
- Colored pencils or markers (optional)
Having these items ready will help you focus on the drawing without interruptions. Choose a comfortable workspace with good lighting to enhance your experience.
Step 1: Start with Basic Shapes
Begin your Santa drawing by sketching a large circle for his head. This will serve as the foundation for the rest of your illustration.
Next, add a curved triangle on top of the circle to represent Santa’s classic hat. Make sure to include a fluffy brim at the base to give it that festive touch.
Step 2: Add Facial Features
Inside the circle, draw two small circles for Santa’s eyes, ensuring they are evenly spaced for a cheerful expression. Below the eyes, add a round shape for the nose and a smiling mouth to bring your Santa to life.
These features will help convey the jolly nature of Santa, making your drawing more engaging.
Step 3: Create the Beard
Now it’s time to add Santa’s iconic beard. Draw a fluffy beard shape around the bottom of the face, connecting it to the hat. This will give Santa his recognizable look.
Feel free to add some texture to the beard by using short, curved lines to indicate fluffiness, enhancing the overall appearance.
Step 4: Detail the Hat
To complete Santa’s hat, add a pom-pom at the tip, giving it a playful finish. You can also add some texture to the brim by drawing small lines or curves.
These details will make your drawing more dynamic and visually appealing.
Step 5: Bring Your Drawing to Life with Color
Once you are satisfied with your sketch, it’s time to add color. Use colored pencils or markers to fill in Santa’s hat with a vibrant red, his beard with white, and his face with a peach tone.
Consider adding a festive background to enhance the holiday spirit. This could include snowflakes, Christmas trees, or other seasonal elements.
Final Touches and Display
After coloring, take a moment to review your drawing. You can use an eraser to clean up any stray pencil marks or refine the edges of your shapes.
Your finished Santa Claus drawing is now ready to be displayed! It can be used for holiday cards, decorations, or simply as a fun piece of art to enjoy during the festive season.
Step-by-Step Santa Claus Drawing
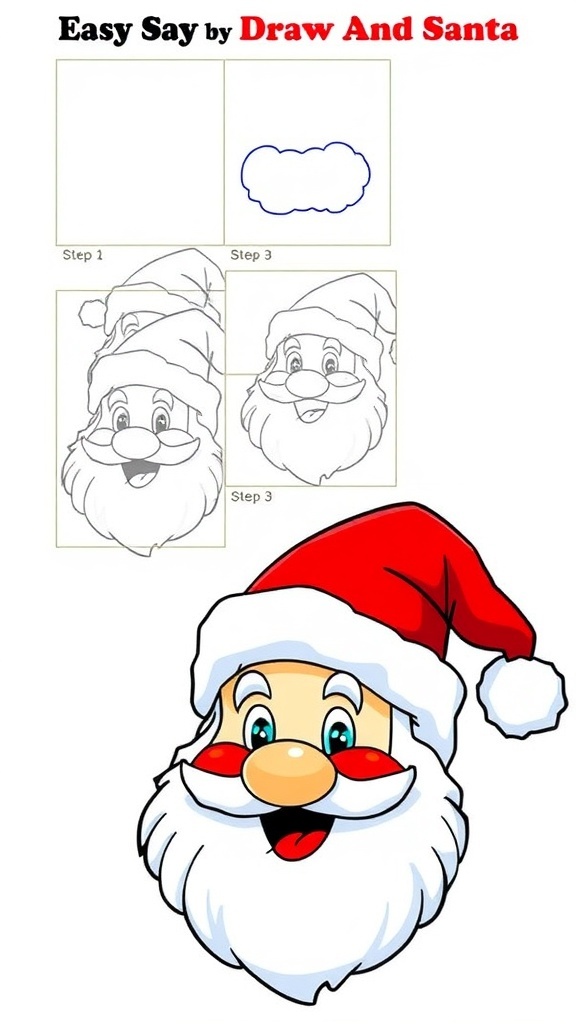
This drawing guide walks you through the process of sketching Santa Claus, starting with basic shapes and gradually adding details. The entire process takes about 30 minutes and is suitable for all ages.
Ingredients
Related
- When is santa claus died?
- Is Santa Claus alive or dead?
- Is santa claus real or is it just your parents?
- Did the mom in the santa claus change?