This tutorial provides a step-by-step guide to drawing a simple 2D egg. It’s perfect for beginners and those looking to enhance their drawing skills.
Using basic shapes and techniques, you will learn how to create a realistic egg shape that can be used in various art projects.
Materials Needed for Your Egg Drawing
Before starting your drawing, gather the necessary materials. You will need:
- Pencil
- Eraser
- Paper
- Colored pencils or markers (optional)
Having the right tools will make the drawing process smoother and more enjoyable.
Step 1: Sketching the Basic Oval Shape
Begin by lightly sketching an oval shape on your paper. This will serve as the foundation of your egg drawing.
Focus on creating a shape that is slightly narrower at the top and wider at the bottom. This proportion is essential for achieving a realistic egg appearance.
Step 2: Refining the Shape
Once you have your basic oval, it’s time to refine the shape. Adjust the outline to enhance symmetry and ensure it resembles an egg.
Take your time with this step, as a well-defined shape will significantly impact the overall look of your drawing.
Step 3: Adding Shading for Depth
Determine where your light source is coming from. This will guide you in adding shading to one side of the egg.
Use light strokes to create a gradient effect, gradually darkening the area away from the light source. This technique will help give your egg a three-dimensional appearance.
Step 4: Creating Highlights
To enhance the realism of your drawing, leave a small area unshaded. This highlight represents where the light hits the egg, adding to its dimensionality.
Make sure this highlight contrasts with the shaded area, as it will draw attention and create a more lifelike effect.
Step 5: Final Touches
After completing the shading and highlights, go over the outline of the egg with a darker pencil or pen. This will help define the shape and make it stand out.
Finally, erase any unnecessary sketch lines to clean up your drawing. Your simple 2D egg is now complete!
Step-by-Step Egg Drawing
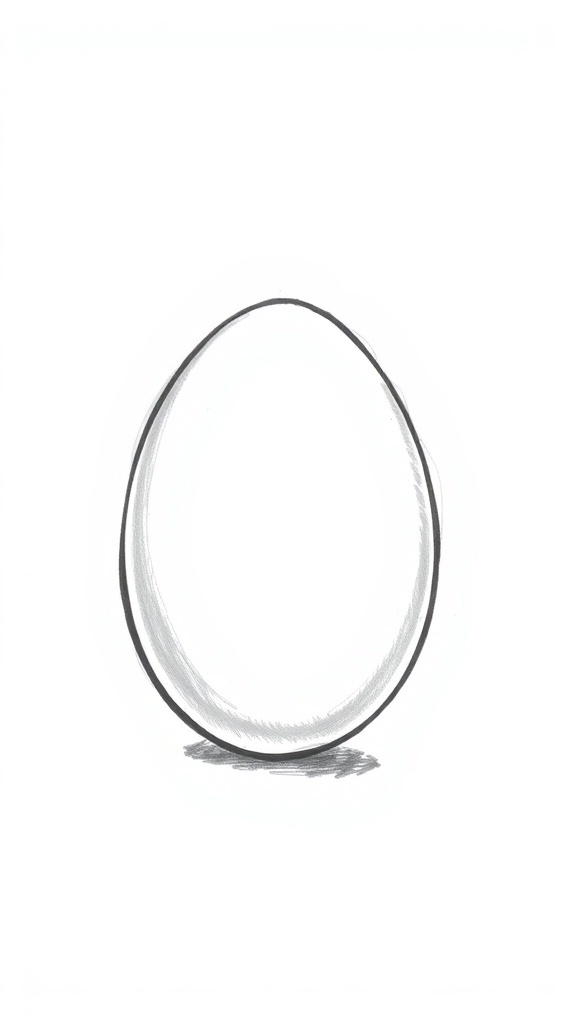
In this tutorial, you will start by sketching the basic oval shape of the egg, then refine the outline and add shading to give it depth. The process is straightforward and can be completed in a short amount of time.
Tips for a Perfect Egg Shape
- Draw a light vertical center line first; both sides of the egg should mirror each other across it.
- Start with a circle for the wide bottom end, then extend a narrower, taller curve above it for the top.
- Add a soft cast shadow on the surface beneath the egg, darkest right where the egg touches it.
- Keep the shading slightly lighter along the bottom edge on the shadow side; light bouncing off the table makes that edge glow a little.
Related
- Stylish Double Braid Hairstyle Tutorial
- Realistic Rice 3D Modeling Tutorial
- Simple Lobster Drawing Tutorial
- Charming Lobster Nail Art Tutorial