This guide provides step-by-step instructions for drawing the popular Christmas character, Elf on the Shelf. Perfect for kids and adults alike, this fun activity can enhance your holiday spirit.
Whether you’re an experienced artist or a beginner, you’ll find the instructions easy to follow. Gather your drawing materials and get ready to create your own festive elf!
Creating Your Elf on the Shelf Illustration
Bringing the Elf on the Shelf to life through drawing is a delightful way to celebrate the holiday season. This cheerful character, with its bright red outfit and playful demeanor, captures the spirit of Christmas.
Gather your drawing materials, including a pencil, eraser, black marker, and colored pencils or markers. With these tools in hand, you’re ready to embark on a creative journey that will fill your space with festive cheer.
Materials Needed
Before you start, ensure you have everything you need to create your masterpiece. Here’s a quick list of materials:
- Pencil
- Eraser
- Black marker or pen
- Colored pencils or markers (red, green, skin tone, etc.)
- Drawing paper
Having these items ready will make the drawing process smoother and more enjoyable. Set up a comfortable workspace where you can focus on your artwork.
Step-by-Step Drawing Process
Follow these simple steps to sketch your Elf on the Shelf. The process is designed to be fun and engaging, taking about 30 minutes to complete.
Start with the head by drawing a simple oval shape. This will serve as the foundation for your elf’s face. Add guidelines to help position the eyes and mouth accurately.
Adding Features and Details
Next, focus on the facial features. Sketch the eyes, nose, and a cheerful smile with rosy cheeks to give your elf personality. These details will bring your character to life.
Once the face is complete, it’s time to add the iconic elf hat. Draw a triangular shape on top of the head, ensuring to include a fluffy pom-pom at the tip. This detail adds a whimsical touch to your drawing.
Body and Outfit Design
For the body, draw a small rectangle beneath the head. From there, extend arms and legs to complete the elf’s form. Make sure to give the limbs a playful pose to reflect the elf’s lively nature.
Detail the outfit by adding buttons, a belt, and cuffs to the sleeves and pants. These elements enhance the character’s festive appearance and make the drawing more engaging.
Final Touches and Coloring
Once your sketch is complete, use a black marker to outline your drawing. This step will help define your elf and make it stand out. After outlining, erase any pencil marks to clean up your work.
Now comes the fun part—coloring! Use your colored pencils or markers to fill in the elf’s outfit with vibrant reds and greens. Don’t forget to add skin tones for the face to give your character a warm, inviting look.
As you color, let your creativity shine. You can even add festive decorations in the background, such as twinkling lights and ornaments, to enhance the holiday atmosphere.
Step-by-Step Elf on the Shelf Drawing
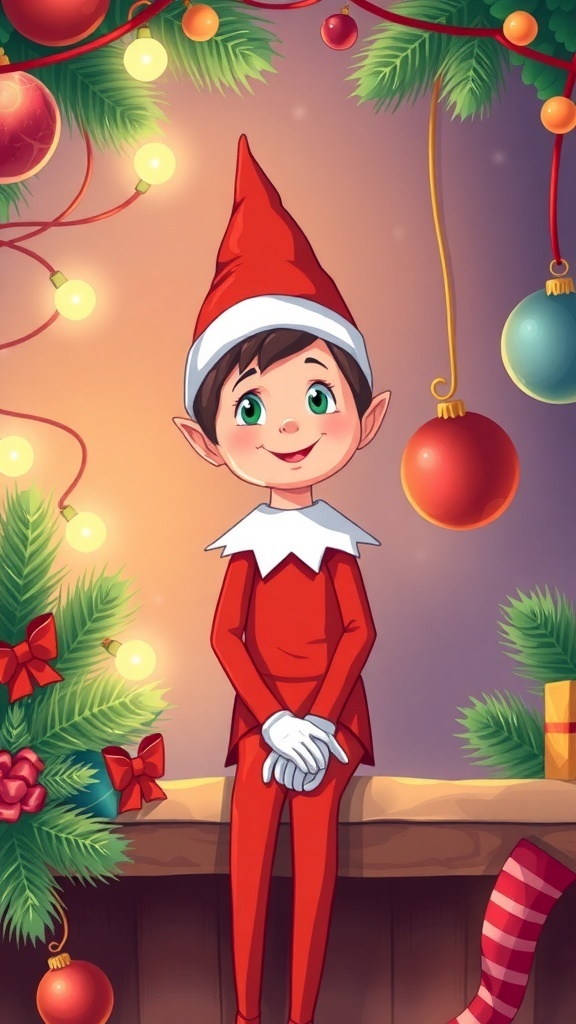
In this drawing guide, you’ll learn how to sketch the Elf on the Shelf character, complete with its signature red outfit and playful expression. The process is designed to take about 30 minutes and is suitable for all ages.
Ingredients
Related
- Are the elf on the shelf real?
- What day does your elf on the shelf come back ?
- Are elf on the shelf real or do parents move them?
- 5 Easy Elf on the Shelf Ideas to Spark Holiday Magic