Creating your own butter molds is a simple and rewarding process that allows you to shape butter into beautiful forms for serving. This recipe will guide you through the steps of making flavored butter and molding it into decorative shapes.
You can customize your butter with various herbs, spices, or sweeteners to suit your taste. This is a great way to enhance your dining experience or to give as a thoughtful gift.
Creating Homemade Butter Molds
Crafting your own butter molds is an enjoyable activity that brings a touch of artistry to your kitchen.
With just a few ingredients, you can transform ordinary butter into stunning shapes that are perfect for any dining occasion.
This process not only enhances the presentation of your meals but also allows for personalization with various flavors.
Choosing Your Ingredients
The foundation of your butter mold is, of course, the butter itself.
Using high-quality unsalted butter ensures a creamy texture and rich flavor.
You can also adjust the salt content to suit your palate.
For those looking to add a twist, consider incorporating herbs, spices, or even sweeteners like honey to create unique flavor profiles.
Preparing the Butter
Begin by softening your butter to room temperature.
This step is crucial for easy mixing and molding.
In a mixing bowl, combine the softened butter with salt and any optional flavorings.
Mix thoroughly until all ingredients are well incorporated, creating a smooth and flavorful base.
Molding Your Butter
Once your butter mixture is ready, it’s time to fill the molds.
Spoon the flavored butter into your chosen molds, pressing down firmly to eliminate any air pockets.
This ensures that your butter maintains its shape once it’s set.
Silicone molds work particularly well, allowing for easy removal later on.
Chilling and Unmolding
After filling the molds, place them in the refrigerator to chill for at least 1-2 hours.
This cooling period is essential for the butter to firm up properly.
Once set, carefully remove the butter from the molds by gently pushing from the bottom or using a knife to loosen the edges.
The result is beautifully shaped butter that can be displayed with pride.
Serving Suggestions
Present your molded butter on a rustic serving platter, perhaps accompanied by fresh herbs and a small dish of sea salt for added flair.
This not only enhances the visual appeal but also invites guests to enjoy the butter with their meals.
Whether spread on warm bread or used to elevate vegetables, homemade butter molds add a charming touch to any dining experience.
Easy Butter Molds Recipe
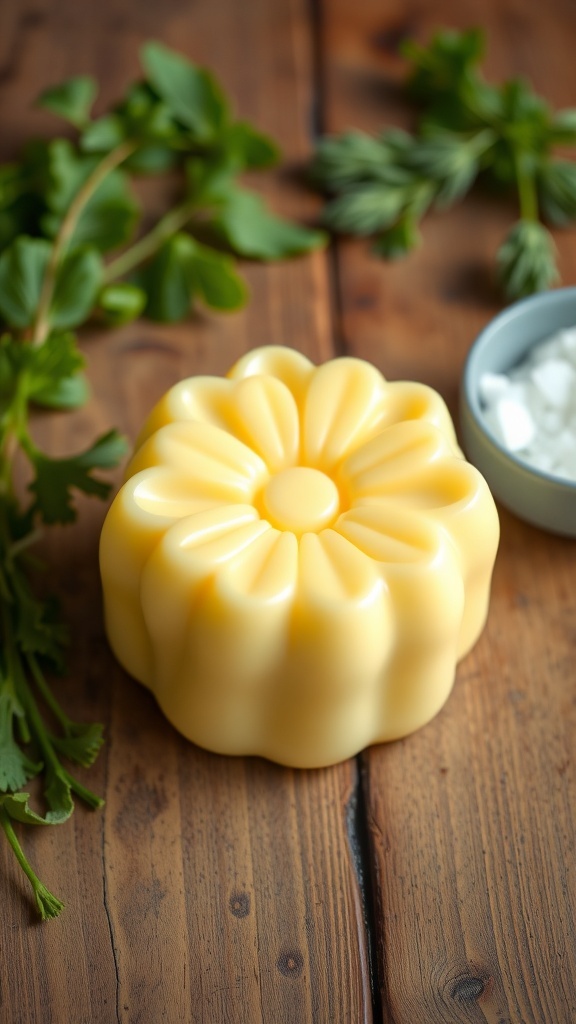
This recipe for homemade butter molds takes about 30 minutes to prepare and requires chilling time. It yields beautifully shaped butter that can be used for spreading on bread, rolls, or vegetables.
Ingredients
- 1 cup unsalted butter, softened
- 1 teaspoon salt (adjust to taste)
- Optional flavorings: garlic, herbs, honey, or spices
Instructions
- Prepare the Butter: In a mixing bowl, combine the softened butter and salt. If using flavorings, add them at this stage and mix well until fully incorporated.
- Mold the Butter: Spoon the flavored butter into butter molds or silicone molds, pressing it down firmly to eliminate air pockets.
- Chill: Place the molds in the refrigerator for at least 1-2 hours, or until the butter is firm.
- Unmold: Once the butter is set, carefully remove it from the molds by gently pushing from the bottom or using a knife to loosen the edges.
- Serve: Present the molded butter on a serving platter or wrap it in parchment paper for gifting.
Cook and Prep Times
- Prep Time: 30 minutes
- Chill Time: 1-2 hours
- Total Time: 1.5-2.5 hours
- Servings: 8 servings
- Calories: 100kcal
- Fat: 11g
- Protein: 0g
- Carbohydrates: 0g
Related
- Should i answer 866 calls?
- How fast would mach 10 go around the earth?
- What does nfs mean on Snapchat?
- Is october 10th a holiday?