Creating a recipe binder is a practical way to organize your favorite recipes in one place. This DIY project allows you to customize the binder to suit your cooking style and preferences.
You can include sections for appetizers, main dishes, desserts, and more, making it easy to find recipes when you need them.
Creating Your Recipe Binder
Organizing your favorite recipes can be a delightful project that brings order to your culinary adventures.
A recipe binder serves as a central hub for all your cooking inspirations, allowing you to keep everything in one accessible location.
This DIY project not only helps streamline your cooking process but also adds a personal touch to your kitchen.
Materials You Will Need
Gathering the right materials is essential for a successful recipe binder.
Start with a three-ring binder that is sturdy and has enough capacity to hold all your recipes.
You will also need sheet protectors to keep your recipe cards safe, along with dividers to create sections for different categories like appetizers, main dishes, and desserts.
Consider using printable recipe cards or blank paper for writing down your favorite recipes.
Labels can help you quickly identify sections, while decorative materials such as stickers and washi tape will allow you to personalize your binder.
Step-by-Step Instructions
Begin by selecting a binder that reflects your style.
Once you have your binder, prepare your recipe cards by either printing them or writing them down on blank paper.
This step is where you can get creative, ensuring each card is clear and easy to read.
Next, organize your recipes by using dividers.
This will help you categorize your recipes effectively, making it easier to find what you need when you’re ready to cook.
Once organized, place each recipe card into a sheet protector to keep them safe from spills and stains.
Labeling and Decorating Your Binder
Labeling each section of your binder is a practical way to enhance its functionality.
You can use pre-made labels or create your own to suit your aesthetic.
This small touch can save you time when searching for specific recipes.
Now comes the fun part—decorating your binder!
Use stickers, washi tape, or any decorative materials that resonate with your personal style.
This not only makes your binder visually appealing but also adds a sense of joy to your cooking experience.
Time Commitment
Completing your recipe binder is a manageable project that can be done in about 1.5 hours.
The preparation phase will take approximately 30 minutes, while the assembly and decoration will take about an hour.
This time investment will pay off as you enjoy the ease of accessing your favorite recipes.
Benefits of an Organized Recipe Binder
Having an organized recipe binder can significantly enhance your cooking experience.
It allows you to quickly find recipes, reducing the time spent searching through cookbooks or digital files.
Moreover, the act of creating your binder can inspire you to try new recipes and experiment in the kitchen.
Ultimately, this project not only helps you stay organized but also adds a personal touch to your cooking space.
Your colorful and neatly arranged recipe binder will become a cherished tool as you whip up delicious meals for yourself and your loved ones.
Step-by-Step Guide to Making a Recipe Binder
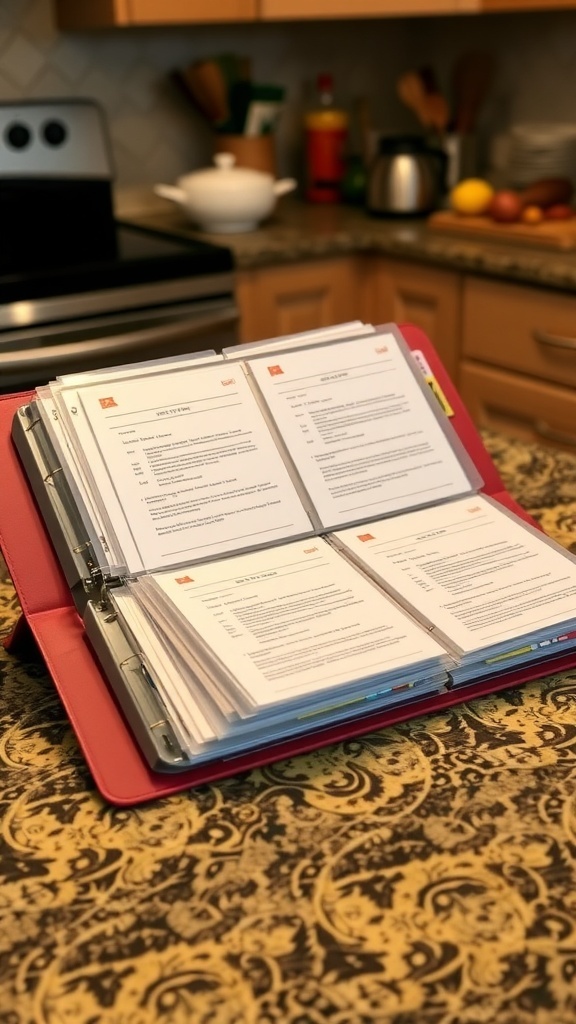
This recipe binder project takes about 1-2 hours to complete and can be tailored to fit your personal style. It’s a great way to keep your recipes organized and accessible.
Ingredients
Related
- What is the best binder for dry rub?
- 5 Essential Items for Your Perfect Household Binder
- Should i answer 866 calls?
- How fast would mach 10 go around the earth?