Making your own yeast at home is a simple and rewarding process. Yeast is a crucial ingredient in baking, helping dough to rise and creating light, airy textures in bread and other baked goods.
This recipe utilizes just a few ingredients and requires minimal equipment, making it accessible for anyone interested in baking.
The Art of Homemade Yeast
Creating your own yeast at home is a fulfilling experience that opens up a world of baking possibilities.
With just a few simple ingredients, you can cultivate your own yeast culture, enhancing the flavor and texture of your baked goods.
This process not only allows for a deeper connection to your baking but also offers a sense of accomplishment as you watch your mixture bubble and grow.
Ingredients You’ll Need
To embark on this yeast-making journey, gather the essential ingredients: all-purpose flour, sugar, and warm water.
These basic components work together to attract wild yeast from the environment, initiating the fermentation process.
Having measuring cups and additional flour and sugar on hand for feeding the yeast is also important, ensuring that your mixture remains active and bubbly throughout the week.
The Fermentation Process
Once you have your ingredients ready, the fermentation begins.
Mix the flour, sugar, and warm water in a clean glass jar until smooth, then cover it with a cloth to allow air to circulate while keeping contaminants out.
Place the jar in a warm location, ideally between 70-80°F, and let it sit undisturbed for 3-5 days.
During this time, stir the mixture daily to encourage yeast growth and observe the bubbling activity as it develops.
Feeding Your Yeast
After a few days, you should notice bubbles forming, a sign that your yeast is becoming active.
At this stage, it’s time to feed your yeast. Discard half of the mixture and add fresh flour and sugar to keep the yeast thriving.
Continue this feeding process every 24 hours for another 2-3 days until your yeast is bubbly and has a pleasant, slightly sour aroma, indicating it’s ready for use.
Using and Storing Your Yeast
Once your homemade yeast is active, you can incorporate it into various baking recipes.
This yeast can be a game changer for your bread, providing a unique flavor profile that store-bought yeast may not offer.
If you’re not using it immediately, store your yeast in the refrigerator for up to two weeks, ensuring it remains viable for your future baking endeavors.
Creating a Warm Baking Atmosphere
As you engage in this process, the rustic kitchen setting adds to the charm of baking.
The sight of a bubbling jar on a wooden countertop, surrounded by measuring cups and flour, creates an inviting atmosphere that inspires creativity.
Embrace the warmth of your kitchen as you nurture your homemade yeast, transforming simple ingredients into something extraordinary.
Easy Homemade Yeast Recipe
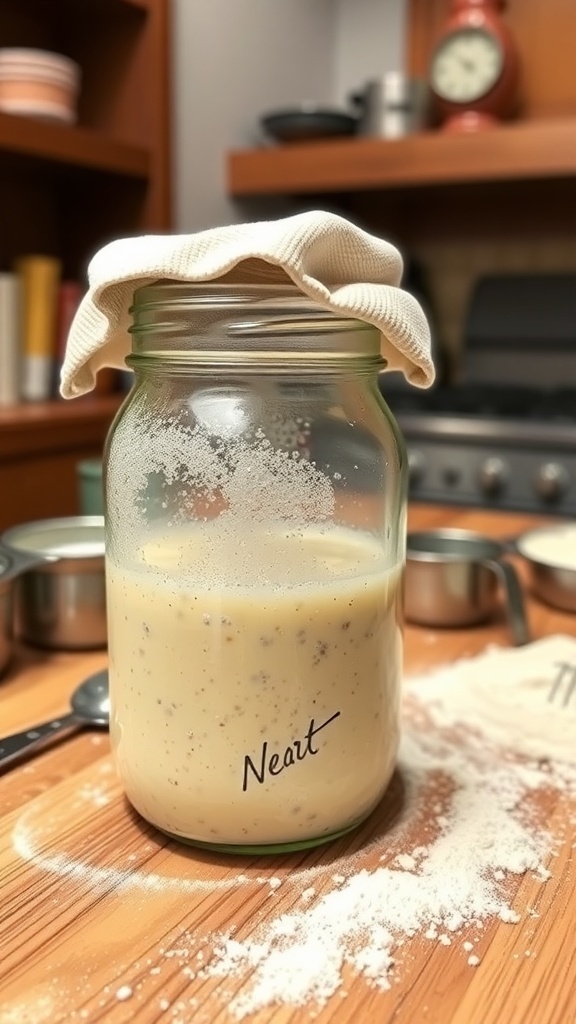
This homemade yeast is created using flour, sugar, and water, allowing wild yeast present in the environment to ferment and multiply. The process takes about 5-7 days, and the resulting yeast can be used in various baking recipes.
Ingredients
- 1 cup all-purpose flour
- 1/2 cup sugar
- 1 cup warm water
- 1/2 cup additional flour (for feeding)
- 1/4 cup additional sugar (for feeding)
Instructions
- Combine Ingredients: In a clean glass jar, mix 1 cup of flour, 1/2 cup of sugar, and 1 cup of warm water until smooth.
- Cover and Wait: Cover the jar with a cloth or plastic wrap, securing it with a rubber band. Leave it in a warm place (around 70-80°F) for 3-5 days, stirring once a day.
- Feed the Yeast: After 3-5 days, you should see bubbles forming. Discard half of the mixture and add 1/2 cup of flour and 1/4 cup of sugar. Stir well and cover again.
- Repeat Feeding: Continue to feed the yeast every 24 hours for another 2-3 days until it is bubbly and has a pleasant, slightly sour smell.
- Store or Use: Once the yeast is active, you can use it in your favorite baking recipes or store it in the refrigerator for up to 2 weeks.
Cook and Prep Times
- Prep Time: 10 minutes
- Fermentation Time: 5-7 days
- Total Time: 5-7 days
- Servings: Varies depending on usage
- Calories: Varies based on ingredients used