When you have a computer that fails to boot properly, you can learn how to breadboard it to determine the cause. By using a breadboard, you can test different components and eliminate the cause of the failure. Using a breadboard also allows you to boot the system in BIOS mode and determine whether the problem is caused by a hardware or software issue. It also allows you to boot the system with the bare minimum, which means it doesn’t need a graphics card or any other peripherals. let us know How To Breadboard A PC?
How to Breadboard A PC?: Explained in Detail
Learning how to breadboard a PC can be a little intimidating. There are so many things that can go wrong, and you have to be careful not to mess up your components. Luckily, we’ve got you covered with this guide on how to breadboard a PC. Here are some tips for getting started: Choose Your Components: The first thing you need to do is choose your components. You’ll need an ATX power supply, motherboard, CPU fan, RAM sticks, GPU (graphics card), hard drive, and case. You may also want an optical drive if you’re planning on installing an operating system like Windows 10 or Linux Mint. Once you’ve chosen all of your components, make sure they’re compatible with each other before moving forward with the project! The motherboard should be compatible with both the CPU and GPU (if applicable), as well as any other peripherals like hard drives or optical drives that might be included in the package. Now it’s time to prepare your breadboard! For starters: make sure that all of your components fit into their respective slots on the board without causing any damage or short-circuiting anything important. A good rule of thumb here is “measure twice; cut once.” You
Using a breadboard
When using a breadboard to breadboard a computer, make sure the leads on the LEDs go in the right hole. The LEDs will not work properly if the leads are not pushed all the way into the hole. You can use jumper wires to make the connections. These are small wires with stiff ends that fit into the holes on the breadboard. There are several kinds of jumper wires available.
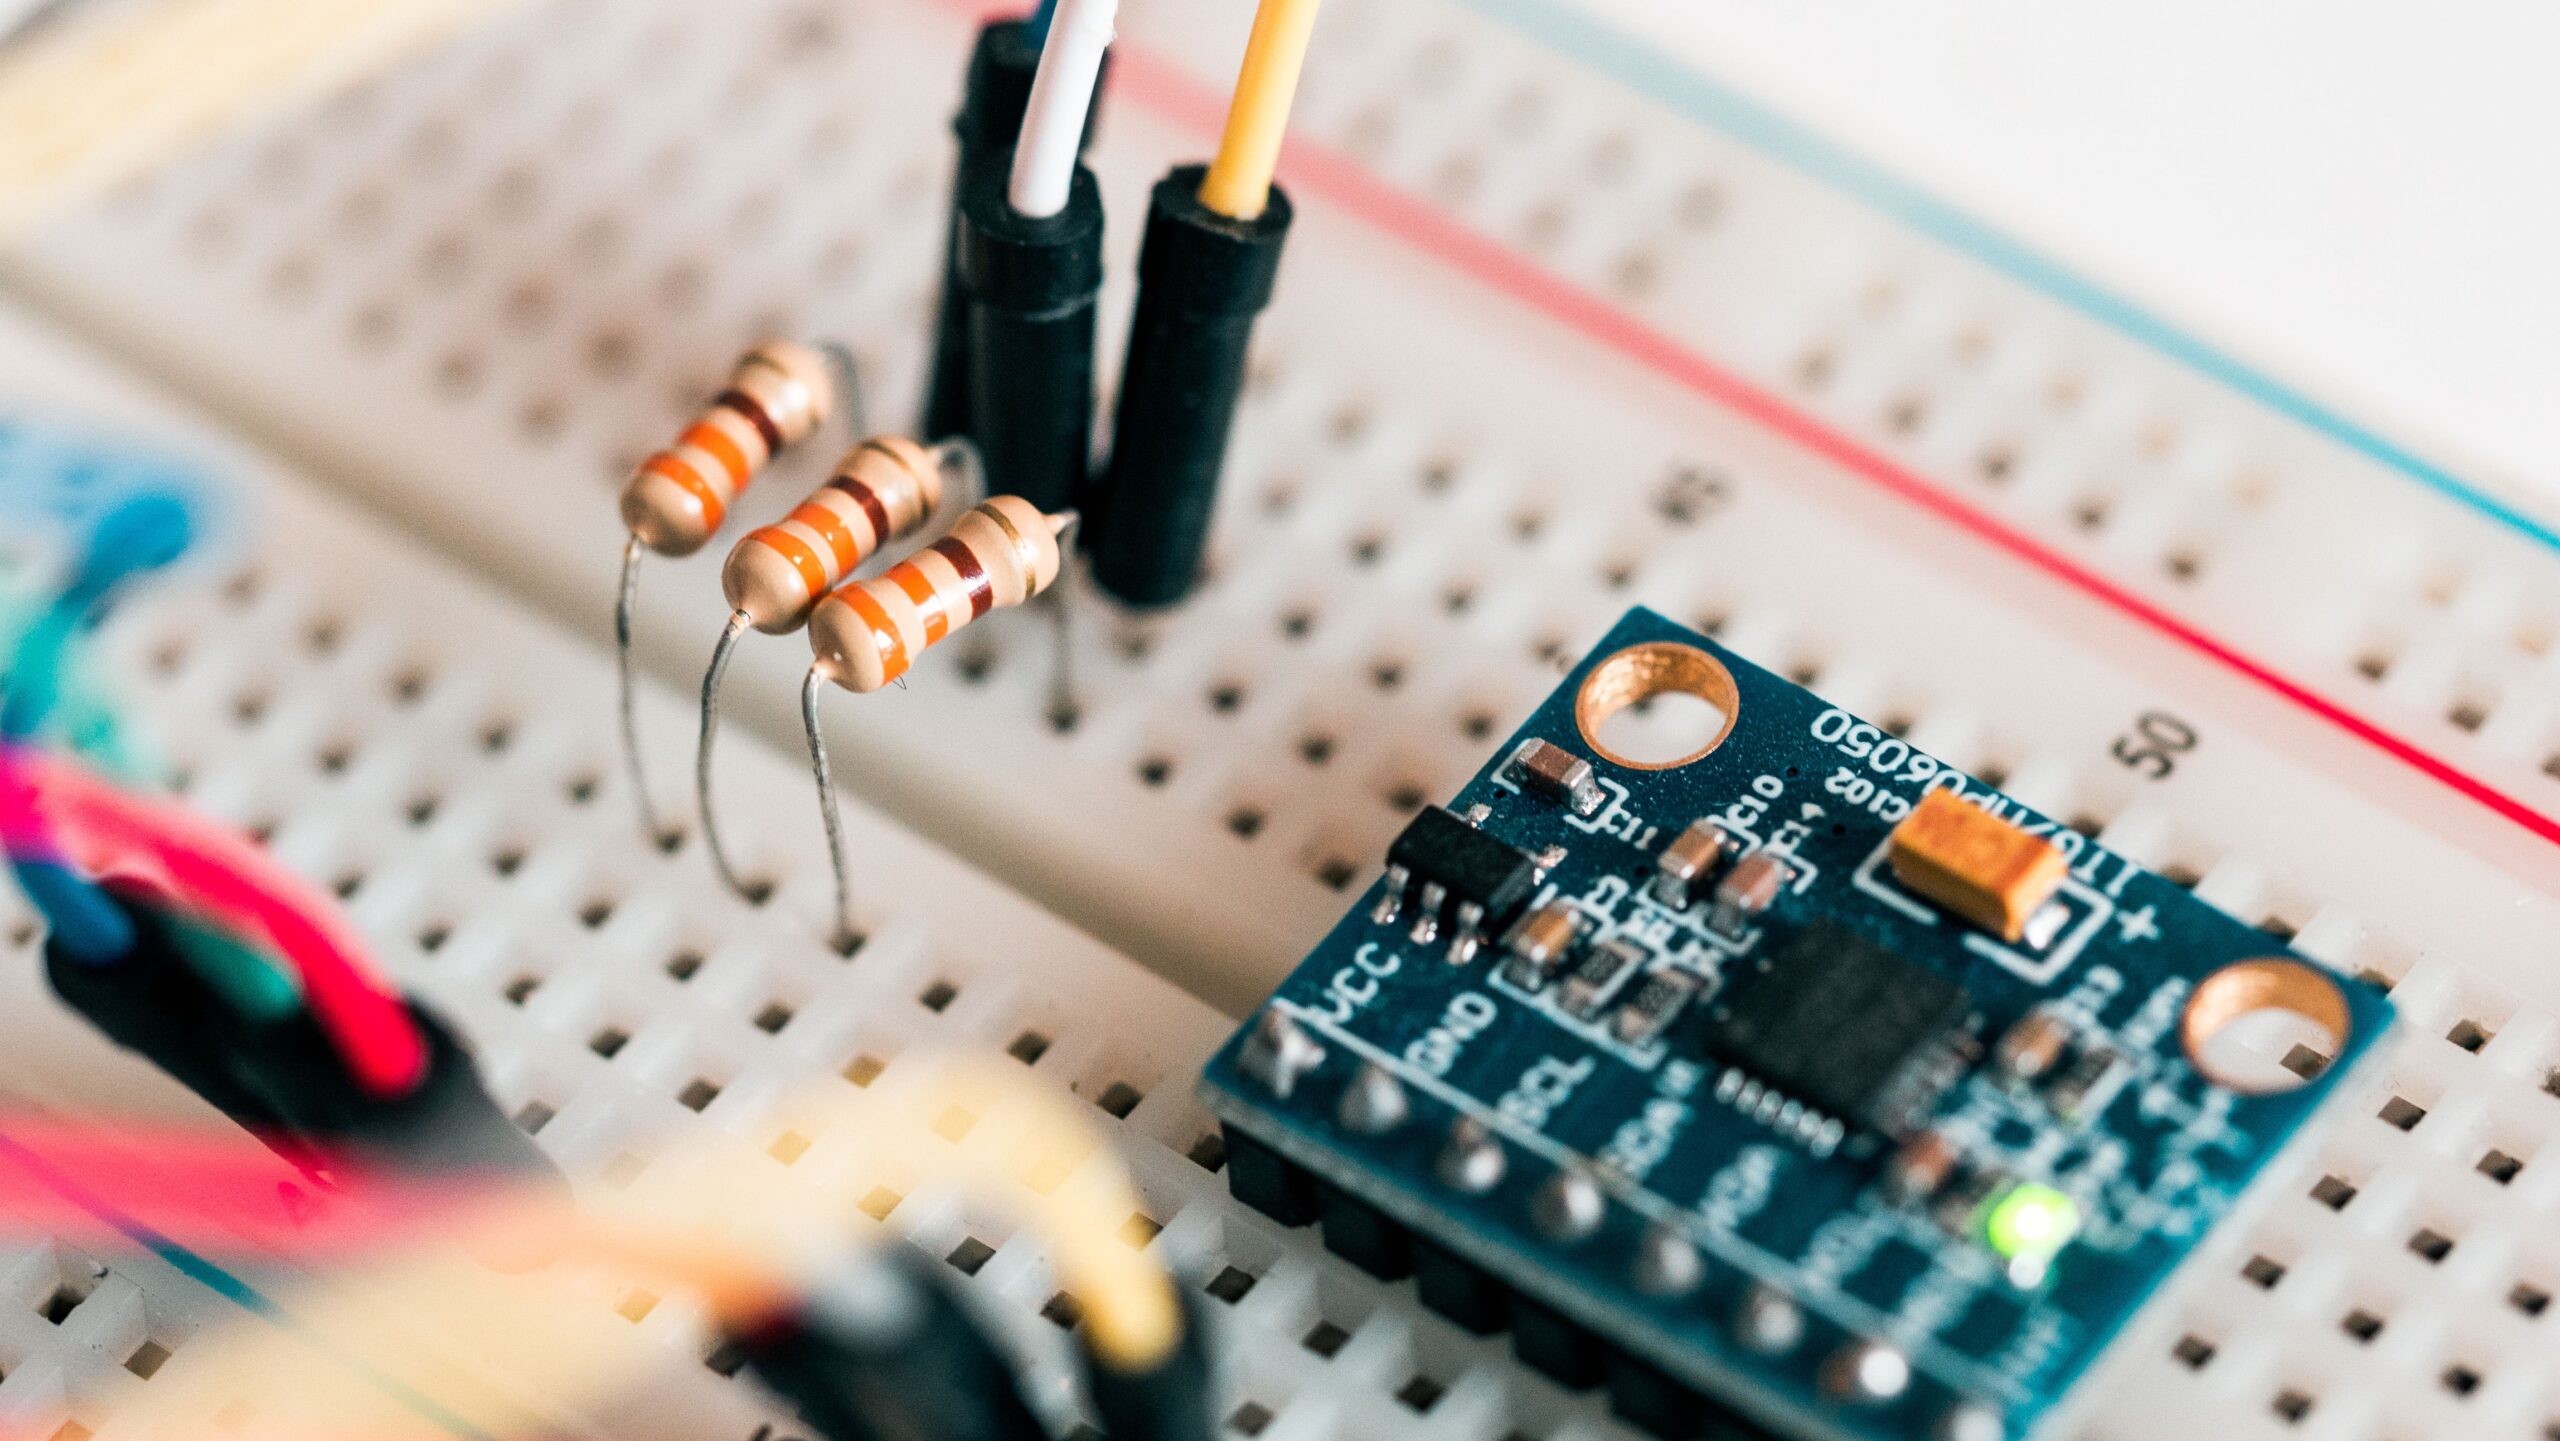
When using a breadboard, make sure you use the correct type of connectors. Typically, a breadboard has 40 or 80 columns with five to six pins each. Each row has a gap in the middle that is perfect for the pins of an IC. If the IC has more than one set of pins, you should connect it to the other side of the breadboard.
You can also use a breadboard to test a circuit. Many electronic components have long metal legs called leads and short metal legs called pins. These legs make it easier to test a circuit without soldering or making good contact with the board. Some breadboards have binding posts on the edges, while others do not. In any case, most breadboards can clip together, allowing you to build a mega-project with many components.
When using a breadboard, make sure that you use the right wire gauge. Wire gauge is the diameter of wire, and the wires that are used on breadboards should be 22 AWG. A good guide can help you choose the correct wire gauge for your breadboard.
Using an Arduino
Using an Arduino to breadboard a computer is a great way to learn computer science and hardware. It is also a great way to test new programs and hardware. Arduino boards typically support a range of different clock frequencies, so they can be used to test a wide variety of projects. An Arduino can operate at a frequency up to two kHz if the circuit is designed appropriately.
To program the Arduino, you must write project code, or sketches, that will tell the Arduino what functions to perform. Sparkfun and Arduino both provide open-source code for this purpose. You can download the code from their websites, unzip and extract it. Once you have your code, you can begin your project by creating a simple circuit – blinking an LED.
Once you have written the program, you can attach your Arduino to your PC. To do this, use a serial monitor to view the results. It will show you the CPU execution, as well as which addresses were accessed. In addition, it will display when a program was executed using the jump or call instructions.
To connect the Arduino to the PC, you first need to connect a USB cable between your computer and your Arduino board. Next, open the Arduino IDE and select the Arduino board. Then, you need to upload your sketch into the Arduino IDE. The software will then display a serial monitor that will display commands to the board. For example, sending H will turn on an LED, and sending L will turn it off.
Using an Arduino to breadboard a computer is a great way to learn more about microcontrollers and electronics. The Arduino can be powered directly from the USB port on your computer, or you can use an external power source. There are even some breadboards that have binding posts for external power.
Adding resistors
When building circuits with breadboards, it’s important to have circuit diagrams available. These diagrams can make it easier to determine the layout of a circuit. The placement of components on a breadboard does not have to be identical to the circuit diagram in the book. However, the circuit must have electrical connections.
It is important to remember that some components have long leads that could result in short circuits if you connect them improperly. Be sure to place the components so that the leads are flush with the breadboard. It is important to remember that some electronic components have polarity, which means they have a positive and negative side. If the circuit is incorrectly connected, it can result in burnt components or melted breadboard plastic.
Resistors are commonly available at component distributors. Most distributors stock standard resistors, which makes the process of designing and manufacturing projects faster and easier. Some reputable component suppliers include Digikey, Mouser, and Farnell/Newark. You can also use the free part libraries from software such as Fusion 360.
In order to add resistors to breadboard a PC, you must first connect the pins on your breadboard to the appropriate terminals. In this case, the battery pack’s red and black leads will connect to the power bus and the resistor in the hole B12. The resistor should also be placed in the appropriate hole on the breadboard.
The breadboard will hold the electrical components, including LEDs, resistors, and standard through-hole electrical components. In addition to making electronics projects, breadboards are also great for beginners. They are easy to use and allow you to make all kinds of fun gadgets and projects. You can even use breadboards to build robots, electronic drum sets, and even rain detectors.
Using a soldering iron
If you’re using a soldering iron to breadboard your PC, there are a few important steps to take. First, you must make sure that the tip of the iron is clean and shiny. Cleanness is essential because solder will stick to dirty surfaces more easily than a shiny one. Moreover, the soldering iron should be tinned before and after each soldering session to increase its life.
Soldering irons are very hot, reaching up to 400°C. When not in use, make sure to unplug them to prevent fire. Also, make sure that the tip of the iron does not touch power lines, as it can cause electric shock and serious burns. It is also important to use a stand for your iron when soldering. Never leave it on your workbench, as it may catch fire.
When using a soldering iron on a breadboard PC, make sure to get the temperature right. You can also use a pencil point iron to work with small components. If you’re making connections between pads, make sure to tin the tips of your iron with solder first. This will help the heat flow from the iron tip to the joint. Once the soldering iron has reached the appropriate temperature, you can attach the Pico to the breadboard.
Once you’ve inserted the component, you should bend the leads slightly before soldering them. Moreover, you must tin the tip of the iron every few minutes to maintain its condition.
Safety precautions
When breadboarding a PC, there are several safety precautions you should follow. First, be sure to drain the static charge from the components you are working with. Also, use cardboard that does not have a shiny finish. If you’re working on a new computer, it is a good idea to check the connections on newly bought components before breadboarding them.
Next, connect the power supply to the breadboard only when you’re testing your circuit. Always choose a mechanically sound socket, as this will prevent short circuits. Also, keep water and other liquids away from IC elements. If you accidentally drop a liquid on the board, it could cause a short circuit.
Before you start putting components on the breadboard, it’s important to label them properly. Different electronic components have different-sized metal legs, which are compatible with different breadboards. This way, you can easily identify which component is connected to which. The holes on a breadboard are usually designated as letters A through J.
Conclusion
Hopefully, you now have a good idea of how to go about breadboarding a simple circuit and feel more confident working with your circuit board. Don’t be afraid to try something, even if it looks challenging at first glance.