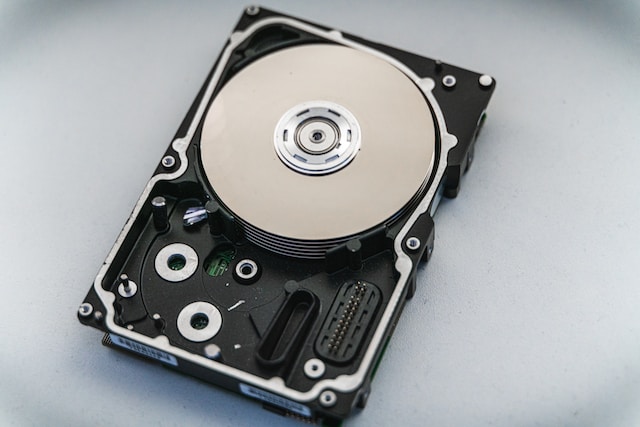
Ejecting an external hard drive is a crucial step to ensure that the data stored on the device is safe and secure. When you plug in an external hard drive into your computer, it becomes a part of the system and starts functioning like any other internal drive. However, when it comes to removing the device, it is important to properly eject the drive to prevent any data loss or corruption.

In this article, we will go through the steps you need to follow to safely eject an external hard drive.
Step 1: Close all open files
Before ejecting an external hard drive, you must make sure that all the files on the drive are closed. Any open files or applications that are accessing the drive will prevent it from being ejected. If you try to eject the drive with open files, you may end up losing unsaved data or corrupting the files. Therefore, it is essential to close all the files that are open from the external drive before proceeding with the ejection process.
Step 2: Save and backup important data
The next step is to ensure that all important data on the external hard drive is saved and backed up. Ejecting a drive without saving any changes made to files could result in data loss. Similarly, if the drive is accidentally unplugged or removed without being properly ejected, it may cause data corruption or loss. Therefore, it is important to save any changes made to files and backup the data on the external hard drive to prevent any data loss.
Step 3: Find the Eject option
Once you have closed all files and saved important data, you can now proceed with the ejection process. In most cases, you will find the Eject option in the system tray or notification area of your computer. This option allows you to safely eject the external hard drive from the computer.
Step 4: Select the external hard drive
When you click on the Eject option, you will see a list of all the removable devices that are currently connected to your computer. You need to select the external hard drive that you want to eject from the list. Make sure that you select the right device to avoid ejecting the wrong drive.
Step 5: Wait for the confirmation message
After selecting the external hard drive, you need to wait for a confirmation message that tells you that it is safe to eject the drive. The message may vary depending on your operating system, but it usually says something like “Safe to Remove Hardware.” This message indicates that all the files and applications that were accessing the drive have been closed, and it is now safe to remove the device.
Step 6: Physically remove the external hard drive
Once you receive the confirmation message, you can now physically remove the external hard drive from your computer. Make sure that you gently unplug the device from the USB port to prevent any damage to the device or the computer.
In summary, ejecting an external hard drive is a simple process that requires you to follow a few steps to ensure that your data is safe and secure. You need to close all open files, save and backup important data, find the Eject option, select the external hard drive, wait for the confirmation message, and physically remove the device. By following these steps, you can prevent any data loss or corruption and ensure that your external hard drive is safe to use again in the future.
