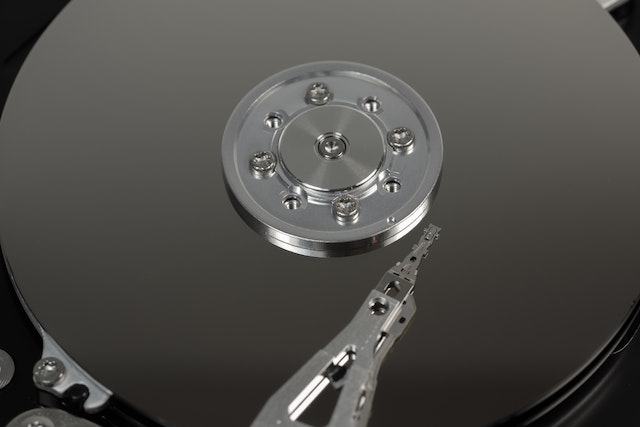
Ejecting a hard drive in Windows 10 is a straightforward process. When you eject a hard drive, you are telling the operating system to stop using the device so that it can be safely removed from your computer without damaging any files or data stored on it. In this guide, we will cover the steps to safely eject a hard drive in Windows 10.

Step 1: Close any open files or applications Before ejecting a hard drive, you must ensure that there are no files or applications currently open on it. If any files or applications are using the hard drive, Windows may prevent you from ejecting it. To avoid this issue, close any open files or applications that are running from the hard drive you wish to eject.
Step 2: Click on the “Safely Remove Hardware” icon To eject a hard drive in Windows 10, click on the “Safely Remove Hardware” icon located in the notification area of the taskbar. The notification area is typically located in the lower right-hand corner of the screen. The icon looks like a USB drive with a green checkmark over it.
Step 3: Select the hard drive you wish to eject Once you click on the “Safely Remove Hardware” icon, a menu will appear that displays a list of all the removable devices currently connected to your computer. Select the hard drive you wish to eject from the list.
Step 4: Click on “Eject” After you select the hard drive you want to eject, click on the “Eject” option. Windows will then display a notification that the device is now safe to remove.
Step 5: Physically remove the hard drive Once Windows displays the notification that the hard drive is safe to remove, you can then physically remove it from your computer. To do this, simply unplug the USB cable or external drive from your computer.
Alternative method: If you prefer to use keyboard shortcuts, you can also eject a hard drive in Windows 10 by using the keyboard shortcut “Windows key + X” and then selecting “Disk Management” from the menu. Once you’re in Disk Management, right-click on the hard drive you want to eject and select “Eject.”
Tips for safely ejecting a hard drive:
- If you’re not sure which device you need to eject, make sure to double-check the name of the device in the “Safely Remove Hardware” menu before clicking “Eject.”
- If the hard drive you’re trying to eject is currently in use by an application or file, Windows may not allow you to eject it. Make sure to close any open files or applications before attempting to eject the device.
- If the “Safely Remove Hardware” icon isn’t visible on your taskbar, it may be hidden. You can customize which icons appear in the notification area by right-clicking on the taskbar and selecting “Taskbar settings.”
- If you frequently use removable storage devices such as external hard drives, you can also create a shortcut to the “Safely Remove Hardware” menu on your desktop for quick access.
In conclusion, ejecting a hard drive in Windows 10 is a simple process. By following the steps outlined in this guide, you can safely remove your hard drive from your computer without risking damage to your files or data. Remember to always close any open files or applications before ejecting a hard drive, and double-check the device name in the “Safely Remove Hardware” menu before clicking “Eject.”
