Opening a computer case may seem like a daunting task, especially if you’re not familiar with the internals of a computer. However, it is a necessary step if you want to upgrade or repair your computer. In this article, we will go over the steps required to safely and easily open a computer case.
Before we start, it’s important to note that every computer case is different, and the process of opening one may vary depending on the manufacturer and model. However, the general process is usually the same.
Step 1: Power off your computer
The first step before opening your computer case is to turn off your computer and unplug it from the power outlet. This is important as it will prevent any electrical shocks and ensure that you do not accidentally damage any internal components while opening the case.
Step 2: Locate the screws
The next step is to locate the screws that hold the computer case in place. Most computer cases will have screws on the back and/or sides that secure the case to the chassis. Some cases may also have clips or latches instead of screws. If you are unsure where the screws are located, consult the manual that came with your computer or look up the information online.
Step 3: Remove the screws
Using a screwdriver, remove the screws that are securing the case to the chassis. It’s important to keep track of the screws you remove, as you will need to replace them once you’re done. You may also want to place them in a container or a magnetic tray to prevent them from getting lost.
Step 4: Open the case
Once you have removed all the screws, you can now open the case. The method for opening the case may vary depending on the model. Some cases have a slide-out panel that you can easily remove, while others require you to lift a side panel off. Refer to your manual or research the specific model for the best method.
Step 5: Ground yourself
Before touching any of the internal components, it’s important to ground yourself to prevent any electrostatic discharge (ESD) from damaging the components. You can do this by touching a grounded object such as a metal doorknob or using an anti-static wrist strap. ESD can damage computer components, so it’s essential to take this step seriously.
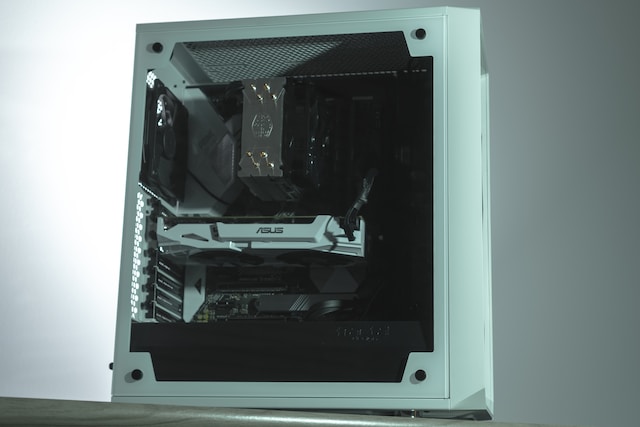
Step 6: Identify the parts
Once you have opened the case, take a moment to familiarize yourself with the internal components. Identify the various parts such as the motherboard, hard drive, power supply, RAM, and other components. This will help you in the next step.
Step 7: Do what you need to do
Now that the case is open, you can proceed with whatever task you need to perform. This could include cleaning the computer, adding new components, or removing faulty parts. Always follow best practices when handling internal components to avoid damaging them. Refer to your manual or research the specific task for more information.
Step 8: Replace the case
Once you have finished your task, it’s time to put the case back together. Start by carefully replacing the side panel and securing it in place with the screws you removed earlier. Make sure that the panel is properly aligned and that there are no gaps between the panel and the chassis. Finally, plug the computer back in and power it on.
In conclusion, opening a computer case may seem like a daunting task, but it’s a necessary step if you want to upgrade or repair your computer. Follow the steps outlined in this article to safely and easily open your computer case. Remember to power off your computer, locate the screws, ground yourself, and identify the parts before proceeding with your task. With a little practice, you’ll be able to open your computer case with ease.