Opening a CyberPower PC case may seem daunting at first, especially if you’re not familiar with computer hardware. However, with the right tools and knowledge, it can be a straightforward process. In this guide, I will provide step-by-step instructions on how to open a CyberPower PC case.

Before we begin, it’s essential to note that opening your computer case may void your warranty, so make sure that you’re comfortable with doing so before proceeding. Additionally, make sure to unplug your computer and any connected devices before starting.
Tools You’ll Need
- A Phillips head screwdriver
- A flathead screwdriver (optional)
Step 1: Locate the Case Screws Most computer cases are secured with screws, and CyberPower PC cases are no exception. The screws are typically located on the back of the case, but some models may have additional screws on the side or bottom. Use a Phillips head screwdriver to locate and remove the screws. If you’re having trouble finding the screws, consult your computer’s manual.
Step 2: Remove the Side Panel Once you’ve removed the screws, you can now remove the side panel. Most CyberPower PC cases have a side panel that slides off, but some models may have a panel that swings open on hinges. To remove a sliding panel, locate the tabs or levers that hold it in place and slide them away from the case. If your case has a hinged panel, locate the screws or clips that hold it in place and remove them.
Step 3: Ground Yourself Before handling any computer components, it’s important to ground yourself to prevent static electricity from damaging your hardware. You can do this by touching a metal object, such as a doorknob or metal table leg. Alternatively, you can use an anti-static wrist strap.
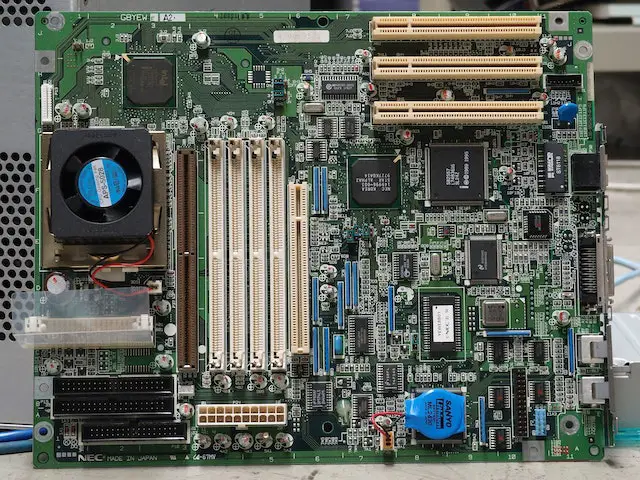
Step 4: Access the Internal Components Once you’ve removed the side panel and grounded yourself, you can now access the internal components of your computer. The layout of your components may vary depending on your specific model, but most CyberPower PCs have a similar setup. You’ll see the motherboard, power supply, hard drive, and other components.
Step 5: Disconnect the Cables If you’re planning to remove any components, you’ll need to disconnect the cables first. Make sure to note which cables are connected to which components so that you can reconnect them later. Some components, such as the graphics card, may have a latch or clip that needs to be released before you can remove the cable.
Step 6: Remove the Components To remove a component, locate the screws or clips that hold it in place and remove them. Gently lift the component out of the case and set it aside. Be careful not to damage any of the connectors or ports on the component.
Step 7: Clean the Inside of the Case While the case is open, take the opportunity to clean the inside of the case. Use a can of compressed air to blow away any dust or debris that has accumulated. You can also use a soft-bristled brush to remove any stubborn dust.
Step 8: Reassemble the Computer Once you’ve finished cleaning or replacing any components, it’s time to reassemble your computer. Start by reconnecting any cables that you disconnected earlier. Then, replace any screws or clips that you removed. Finally, slide the side panel back into place and secure it with the screws.
In conclusion, opening a CyberPower PC case is a simple process that can be done with a few basic tools and a little know-how. By following these steps, you can safely access the internal components of your computer and make any necessary repairs or upgrades. Just remember to be careful and take your time, and you’ll have your CyberPower PC case open in no time.