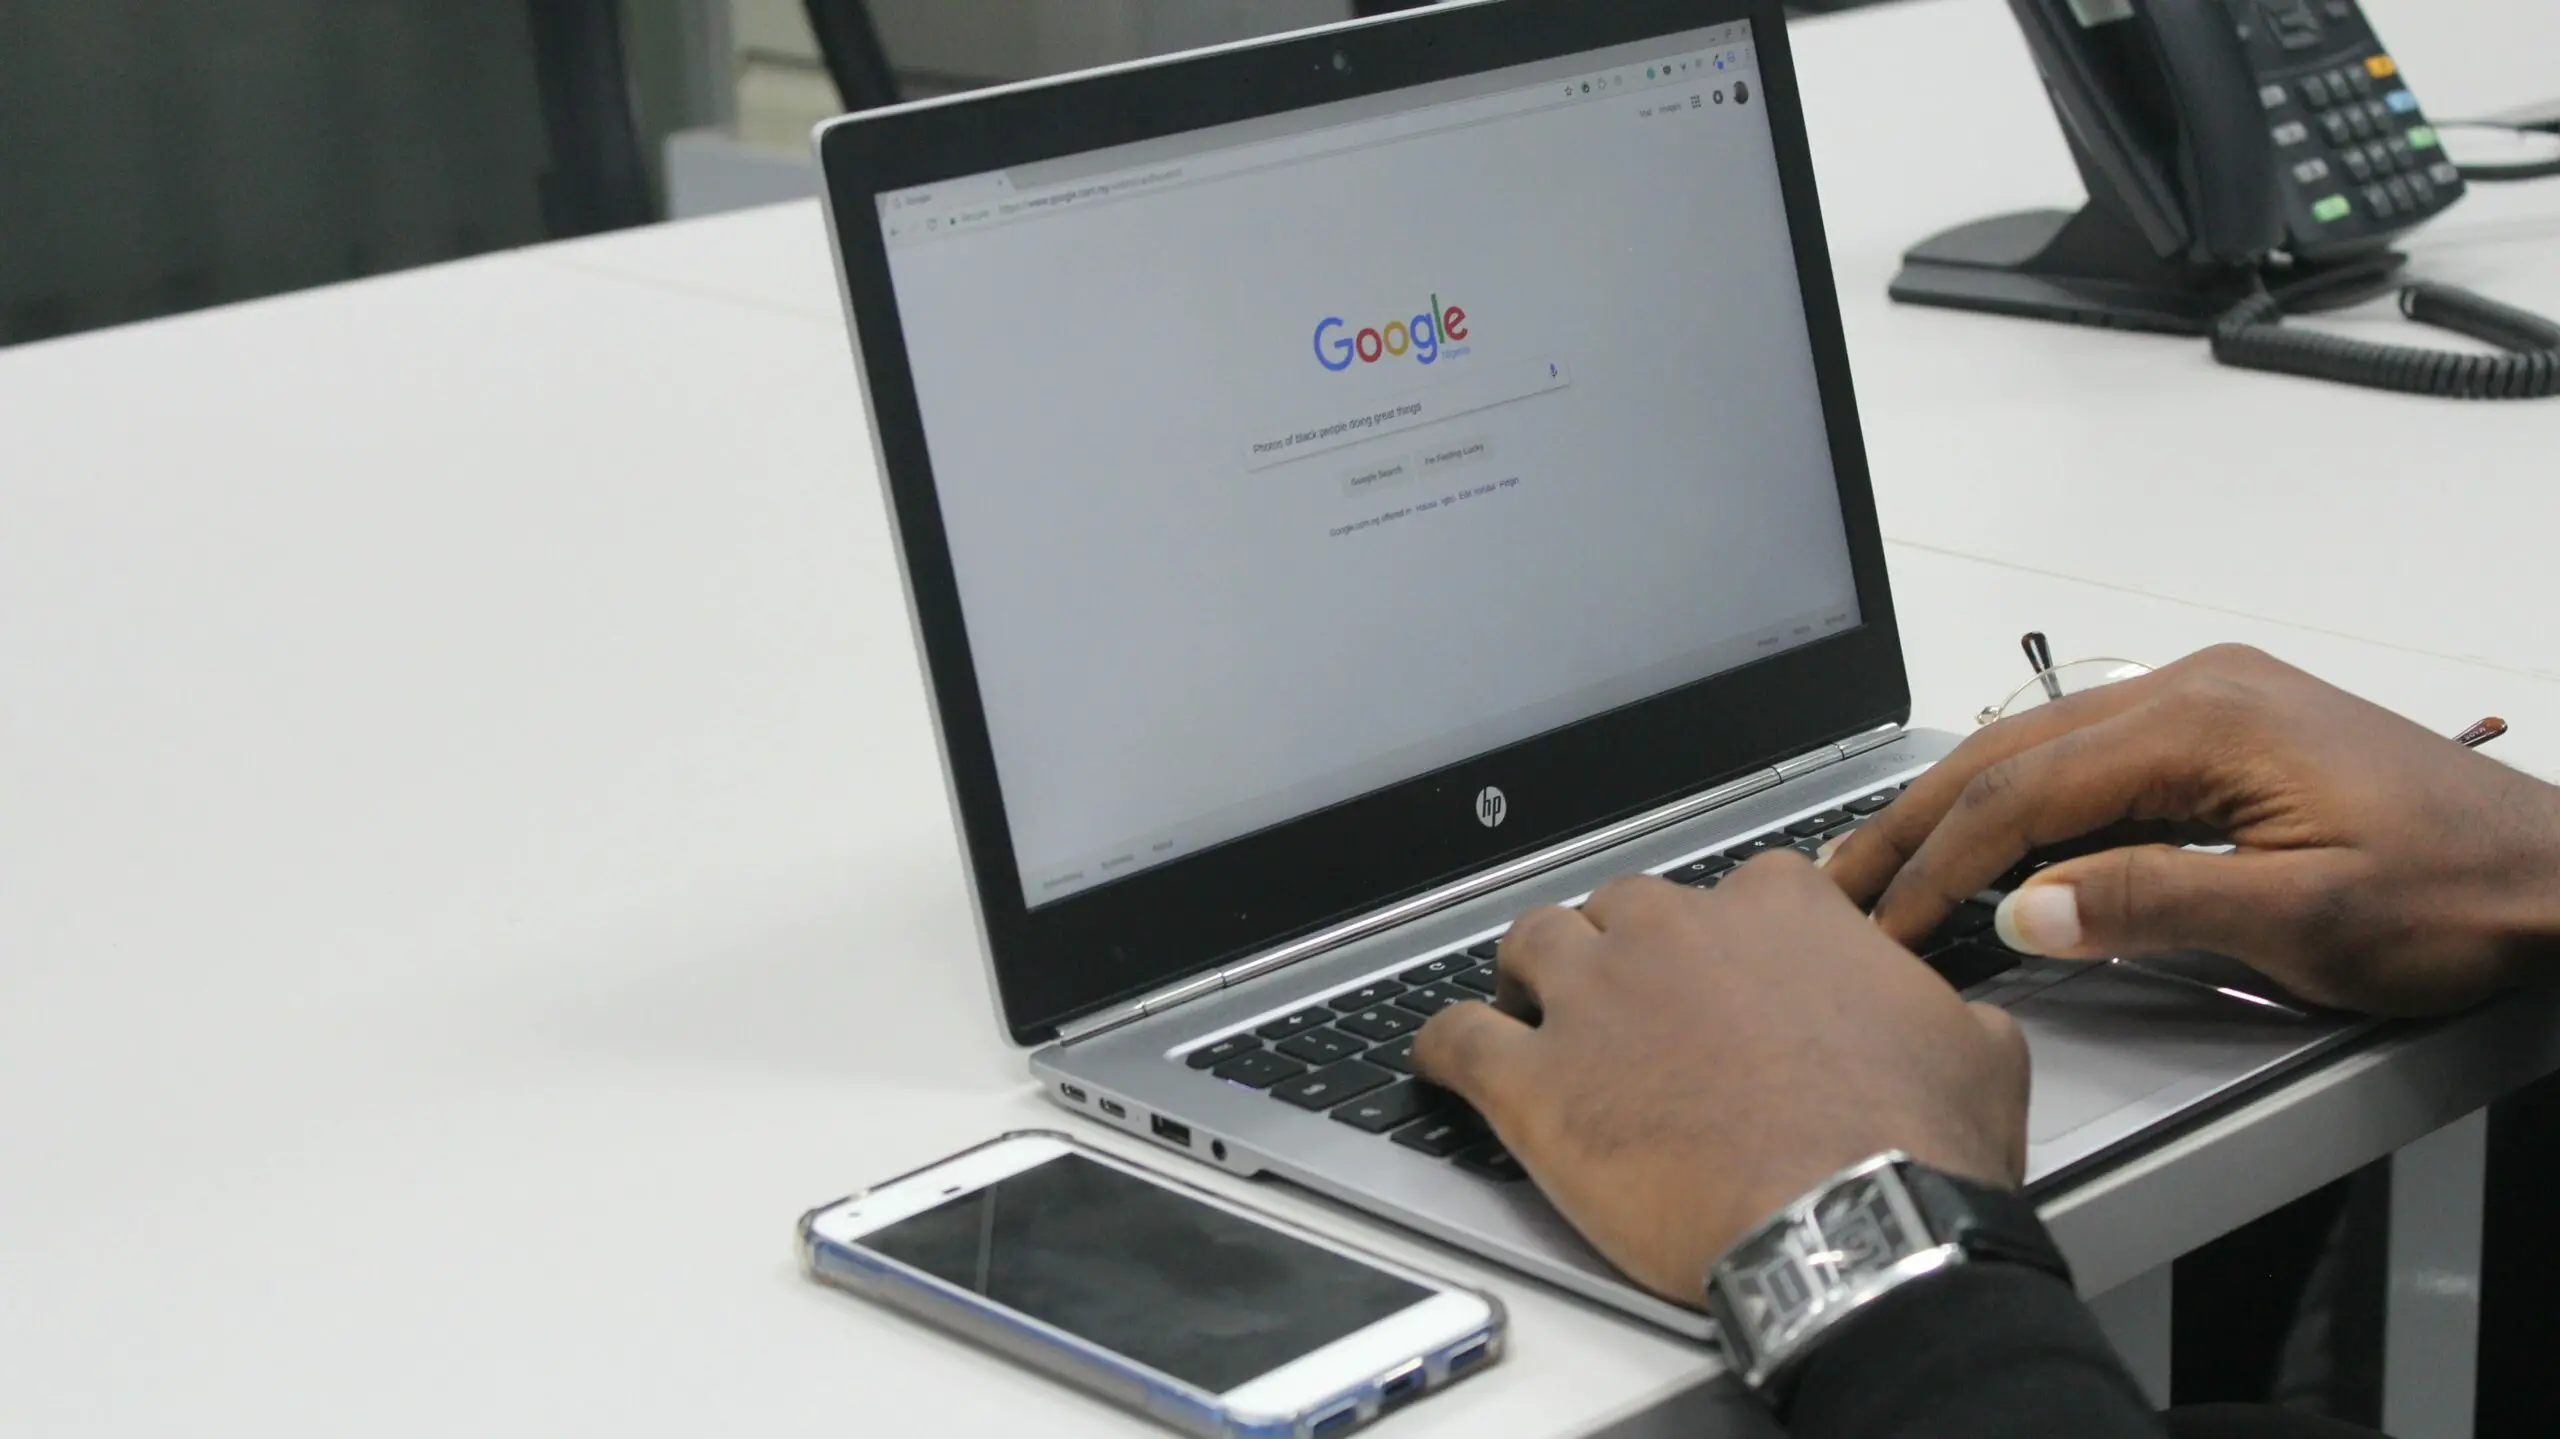
Screen sharing on a Chromebook is a useful feature that can help you collaborate with others or give presentations. It allows you to share your screen with other participants in a video conference or meeting, giving them a real-time view of your desktop. Here’s a step-by-step guide on how to screen share on a Chromebook:

Step 1: Choose a video conferencing platform that supports screen sharing Firstly, you need to choose a video conferencing platform that supports screen sharing on Chromebooks. Google Meet is a popular choice for Chromebook users, but other platforms such as Zoom and Microsoft Teams also work well. Make sure you have the latest version of the platform installed on your Chromebook.
Step 2: Start a video conference or meeting Once you’ve chosen your video conferencing platform, start a video conference or meeting with the person or people you want to share your screen with. Depending on the platform, this may involve creating a new meeting, joining an existing one, or scheduling a future meeting.
Step 3: Open the screen sharing options Once you’re in the video conference or meeting, look for the screen sharing option. Depending on the platform, this may be located in different places. In Google Meet, for example, it’s located in the bottom right-hand corner of the screen. Click on the “Present now” button to access the screen sharing options.
Step 4: Select what you want to share Next, select what you want to share with the other participants. You can choose to share your entire screen, a specific window, or a Chrome tab. If you want to share a specific window or tab, select it from the list of options that appear.
Step 5: Start sharing your screen After selecting what you want to share, click on the “Share” button to start sharing your screen. Depending on the platform, the other participants may need to accept your screen share request before they can see your screen. Once they’ve accepted, they’ll be able to see your screen in real-time.
Step 6: Stop sharing your screen When you’re finished sharing your screen, click on the “Stop sharing” button to stop the screen share. Depending on the platform, you may need to confirm that you want to stop sharing your screen before it stops.
Tips for Successful Screen Sharing on a Chromebook
- Test your audio and video before starting the screen share. Make sure that your microphone and camera are working properly, and that the other participants can hear and see you clearly.
- Make sure you have a stable internet connection. A poor internet connection can cause your screen share to lag or freeze, making it difficult for the other participants to follow along.
- Consider using a wired connection. If possible, use a wired internet connection instead of Wi-Fi to ensure a more stable connection.
- Be mindful of what you’re sharing. Remember that the other participants can see everything on your screen, so avoid sharing any confidential or sensitive information.
- Use the annotation tools. Many screen sharing platforms allow you to use annotation tools, such as a laser pointer or highlighter, to emphasize certain points on your screen.
Conclusion
Screen sharing on a Chromebook is a simple and useful feature that can help you collaborate with others or give presentations. By following the steps outlined above, you can easily share your screen with other participants in a video conference or meeting. Remember to test your audio and video beforehand, have a stable internet connection, and be mindful of what you’re sharing. Good luck!
