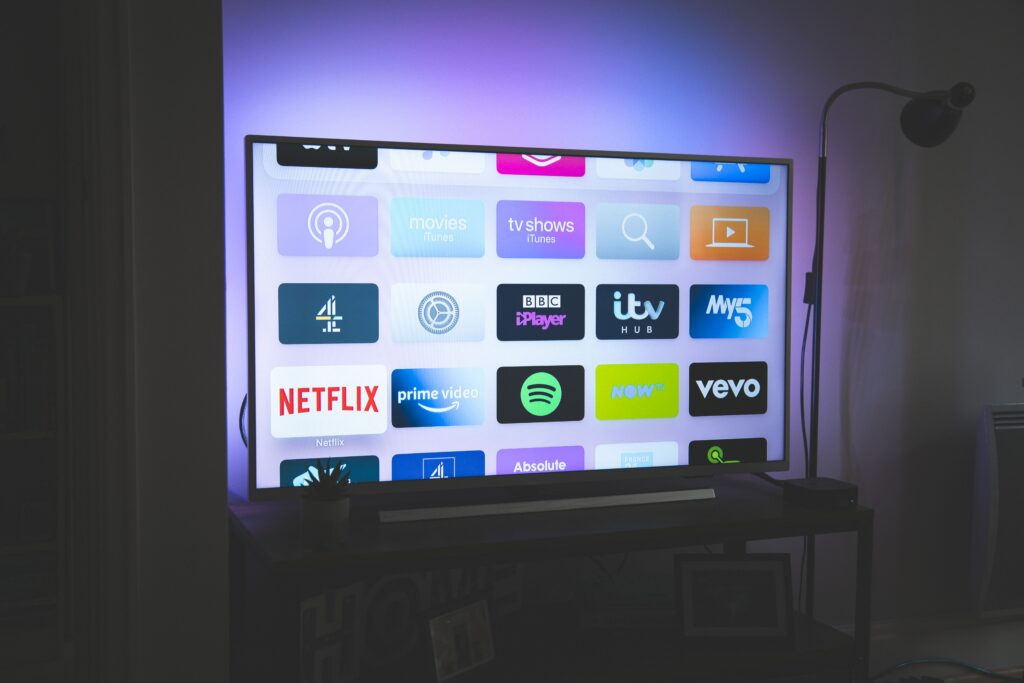
Setting up a Vizio Smart TV to Wi-Fi is a straightforward process. Here are the steps to follow:

Step 1: Turn on your TV
Press the power button on your Vizio Smart TV or use the remote to turn it on.
Step 2: Navigate to the settings menu
Using your remote control, navigate to the “Menu” or “Settings” option on your Vizio Smart TV. Depending on your model, the location of the settings menu may differ.
Step 3: Select “Network”
Scroll down and select “Network” from the list of available options. Once selected, you will see a list of available network connections.
Step 4: Choose “Wi-Fi”
Select the “Wi-Fi” option to connect your Vizio Smart TV to your home network wirelessly.
Step 5: Select your Wi-Fi network
From the list of available networks, choose your home Wi-Fi network. If your network is password-protected, you will need to enter your network password to connect.
Step 6: Wait for connection
Once you have selected your Wi-Fi network and entered the password, wait for your Vizio Smart TV to connect to the network. The connection process may take a few minutes, so be patient.
Step 7: Test the connection
After your Vizio Smart TV has successfully connected to the network, navigate to the settings menu and select “Network” again. From there, select “Test Connection” to ensure that your TV is properly connected to the internet.
Step 8: Enjoy streaming content
Once you have successfully connected your Vizio Smart TV to Wi-Fi, you can enjoy streaming content from your favorite apps like Netflix, Hulu, and Amazon Prime Video.
In case your Vizio Smart TV does not automatically connect to your Wi-Fi network, you can also follow the steps below to manually connect to your network:
Step 1: Press the “V” button on your remote
Press the “V” button on your Vizio Smart TV remote control to open the Vizio SmartCast Home screen.
Step 2: Select “Settings”
Using your remote control, navigate to the “Settings” icon located in the top-right corner of the screen.
Step 3: Select “Network”
Scroll down and select “Network” from the list of available options. Once selected, you will see a list of available network connections.
Step 4: Select “Manual Setup”
From the list of available networks, select “Manual Setup” located at the bottom of the screen.
Step 5: Enter your Wi-Fi network details
Enter the name of your Wi-Fi network (SSID) and password in the appropriate fields. Make sure to enter the correct details to ensure a successful connection.
Step 6: Wait for connection
Once you have entered the correct details, wait for your Vizio Smart TV to connect to the network. The connection process may take a few minutes, so be patient.
Step 7: Test the connection
After your Vizio Smart TV has successfully connected to the network, navigate to the settings menu and select “Network” again. From there, select “Test Connection” to ensure that your TV is properly connected to the internet.
Step 8: Enjoy streaming content
Once you have successfully connected your Vizio Smart TV to Wi-Fi, you can enjoy streaming content from your favorite apps like Netflix, Hulu, and Amazon Prime Video.