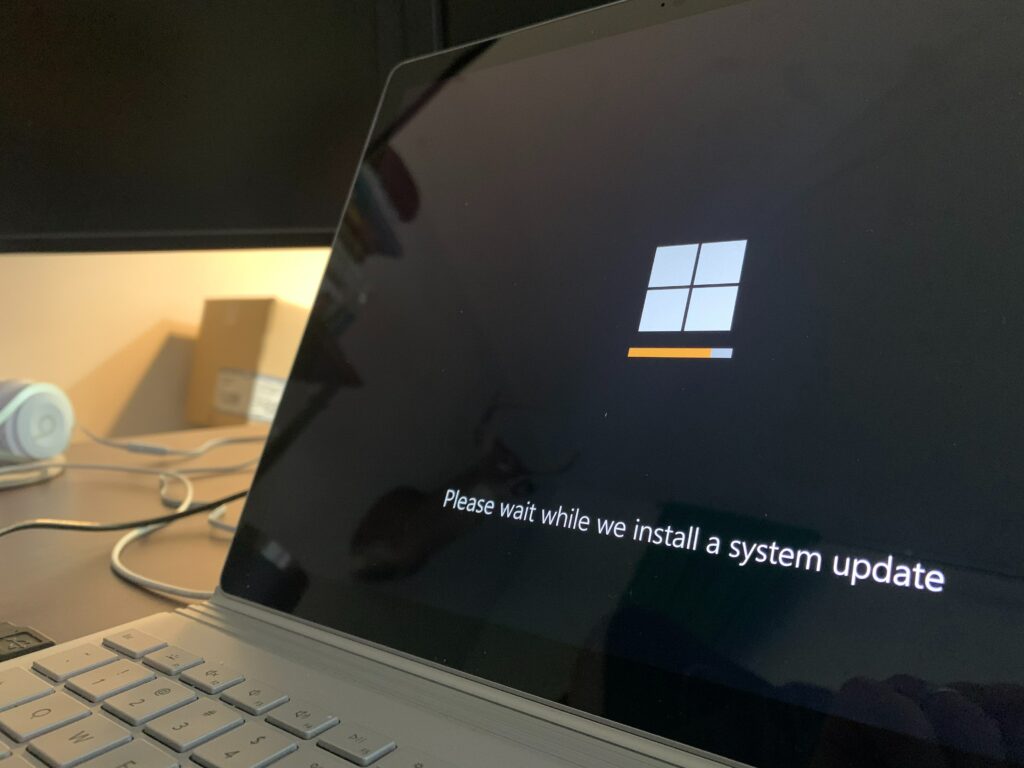
Installing Windows 10 on an external hard drive can be a useful option if you want to have a portable operating system that you can use on multiple computers. It can also be helpful if you need to run a different operating system on a specific machine without altering the computer’s primary hard drive. In this article, we’ll go through the steps to install Windows 10 on an external hard drive.

Requirements: Before we proceed, you’ll need the following items:
- A computer running Windows 10
- A USB flash drive with at least 8 GB of space
- An external hard drive with at least 32 GB of space
- A Windows 10 ISO file
Step 1: Create a bootable USB drive To install Windows 10 on an external hard drive, you’ll need to create a bootable USB drive first. Here’s how:
- Connect the USB flash drive to your computer.
- Download the Windows 10 ISO file from Microsoft’s website.
- Open the Windows USB/DVD Download Tool or a similar program that can create a bootable USB drive.
- Follow the on-screen instructions to create a bootable USB drive with the Windows 10 ISO file.
Step 2: Connect the external hard drive Connect the external hard drive to your computer using a USB cable.
Step 3: Boot from the USB drive Now, you’ll need to boot your computer from the USB drive. Here’s how:
- Restart your computer.
- Press the key that opens the boot menu (usually F12 or F10) during the boot process.
- Select the USB drive from the list of bootable devices.
- Press Enter to boot from the USB drive.
Step 4: Install Windows 10 on the external hard drive Once your computer has booted from the USB drive, you can proceed with the Windows 10 installation process. Here’s how:
- Select your language preferences and click Next.
- Click Install Now.
- Enter your Windows 10 product key if prompted.
- Accept the license terms and click Next.
- Choose the Custom installation option.
- Select the external hard drive as the installation location and click Next.
- Follow the on-screen instructions to complete the installation process.
Step 5: Configure Windows 10 Once Windows 10 has been installed on the external hard drive, you can configure it to your preferences. Here are a few things you may want to do:
- Connect to a Wi-Fi or Ethernet network.
- Install any necessary drivers for your external hard drive or other hardware.
- Update Windows 10 to the latest version.
- Install any necessary software or apps.
Conclusion: Installing Windows 10 on an external hard drive can be a useful option if you need a portable operating system or if you need to run a different operating system on a specific computer. By following these steps, you can create a bootable USB drive, connect the external hard drive, boot from the USB drive, install Windows 10 on the external hard drive, and configure it to your preferences.
