Installing Windows on a new hard drive can seem like a daunting task, especially if you’ve never done it before. However, with the right tools and guidance, it can be a relatively straightforward process. In this guide, we’ll walk you through the steps of installing Windows on a new hard drive.

- Obtain a Windows installation disc or USB drive: The first thing you’ll need to do is get a copy of Windows to install on your new hard drive. If you already have a Windows installation disc or USB drive, you can skip this step. If not, you can purchase a copy of Windows from Microsoft or a licensed retailer.
- Prepare the installation media: If you’re using a Windows installation disc, insert it into your computer’s optical drive. If you’re using a USB drive, insert it into a USB port on your computer. Then, restart your computer and boot from the installation media. To do this, you’ll need to access your computer’s BIOS or UEFI settings and set the boot order so that the computer boots from the installation media before the hard drive.
- Start the Windows installation: Once you’ve booted from the installation media, you’ll be prompted to choose your language, time and currency format, and keyboard input method. After making your selections, click “Next” to proceed.
- Enter your product key: If you have a product key for your copy of Windows, enter it when prompted. If you don’t have a product key, you can still proceed with the installation, but you’ll need to enter a key later or activate Windows within a certain timeframe.
- Accept the license terms: Read and accept the license terms by checking the box and clicking “Next”.
- Choose the type of installation: You’ll be given the option to perform a clean installation or an upgrade. If you’re installing Windows on a new hard drive, you’ll need to choose the “Custom” option to perform a clean installation.
- Select the hard drive: You’ll see a list of available hard drives and partitions. Select the new hard drive on which you want to install Windows.
- Format the hard drive: Before you can install Windows, you’ll need to format the new hard drive. Click the “Drive options (advanced)” link, then select the new hard drive and click “Format”. This will erase any existing data on the drive.
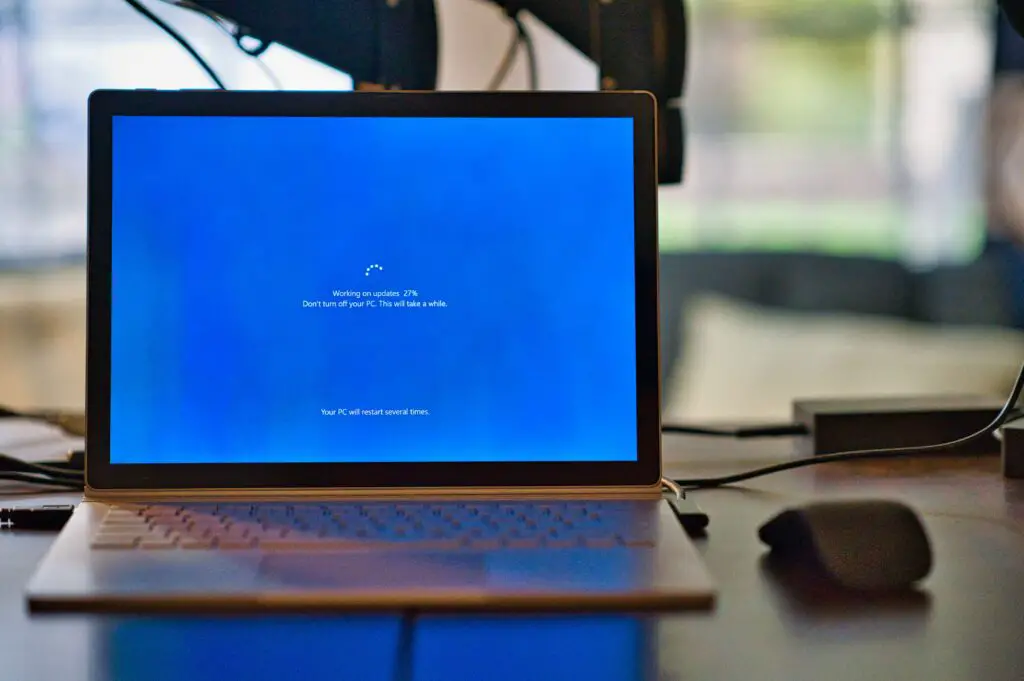
- Install Windows: Once the hard drive is formatted, click “Next” to start the installation process. Windows will copy files to the hard drive, install drivers, and configure settings. This process can take anywhere from a few minutes to an hour or more, depending on your hardware.
- Complete the installation: After Windows is installed, you’ll be prompted to create a user account and set up your preferences. Follow the on-screen instructions to complete the installation.
- Install drivers and software: Once Windows is installed, you’ll need to install drivers for your hardware, such as your graphics card, sound card, and network adapter. You’ll also need to install any software you want to use, such as web browsers, productivity suites, and media players.
In summary, installing Windows on a new hard drive involves obtaining a copy of Windows, preparing the installation media, booting from the installation media, starting the Windows installation, entering your product key, accepting the license terms, choosing the type of installation, selecting the hard drive, formatting the hard drive, installing Windows, completing the installation, and installing drivers and software. By following these steps, you can install Windows on a new hard drive with relative ease.
