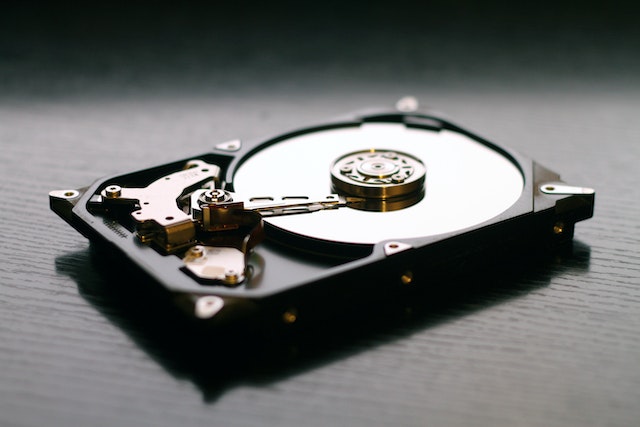
Installing a new hard drive on a Windows 10 computer is a fairly simple process. Here are the steps you can follow to install a new hard drive:

- Choose the right hard drive: First and foremost, you need to select the right hard drive. Make sure you choose a hard drive that is compatible with your computer’s specifications. Check your motherboard manual or your computer manufacturer’s website to see what type of hard drive your computer can accommodate. Make sure the hard drive you choose has the right connection interface (SATA, IDE, or SCSI), capacity, and speed.
- Prepare the new hard drive: Before installing the new hard drive, you need to prepare it. This involves formatting the hard drive and creating a new partition on it. To do this, connect the new hard drive to your computer using a SATA cable, and then boot your computer.
- Access Disk Management: Once your computer is booted up, click on the Windows Start button and type “Disk Management” in the search box. Click on the “Create and format hard disk partitions” option.
- Initialize the new hard drive: In the Disk Management window, you will see a list of all the drives connected to your computer. Look for the new hard drive and right-click on it. Select “Initialize Disk” from the context menu. You will be presented with two options – MBR (Master Boot Record) or GPT (GUID Partition Table). Select the option that is appropriate for your needs, and then click OK.
- Create a new partition: Once the hard drive is initialized, you need to create a new partition on it. Right-click on the unallocated space of the new hard drive and select “New Simple Volume” from the context menu. Follow the wizard’s instructions to create a new partition on the hard drive.
- Format the new partition: Once you have created a new partition on the hard drive, right-click on it and select “Format” from the context menu. Choose the file system (NTFS is recommended) and set the volume label. Click OK to format the new partition.
- Install the new hard drive: After the hard drive is formatted, you need to physically install it in your computer. Turn off your computer and unplug it from the power source. Open the computer case and locate an empty drive bay. Remove the mounting bracket from the drive bay, and then slide the new hard drive into the bay. Secure the hard drive in place using screws, and then connect the SATA and power cables to the hard drive.
- Boot up your computer: Close the computer case and plug in your computer. Turn on the power and wait for your computer to boot up. Windows should recognize the new hard drive and automatically assign a drive letter to it.
- Configure the new hard drive: You can now configure the new hard drive for your needs. You can move files and programs to the new hard drive, or use it as a backup drive. You can also configure Windows to store new files and programs on the new hard drive by default.
In conclusion, installing a new hard drive on a Windows 10 computer is a simple process. By following the above steps, you can install and configure a new hard drive in no time.
Installing a new hard drive windows 10
