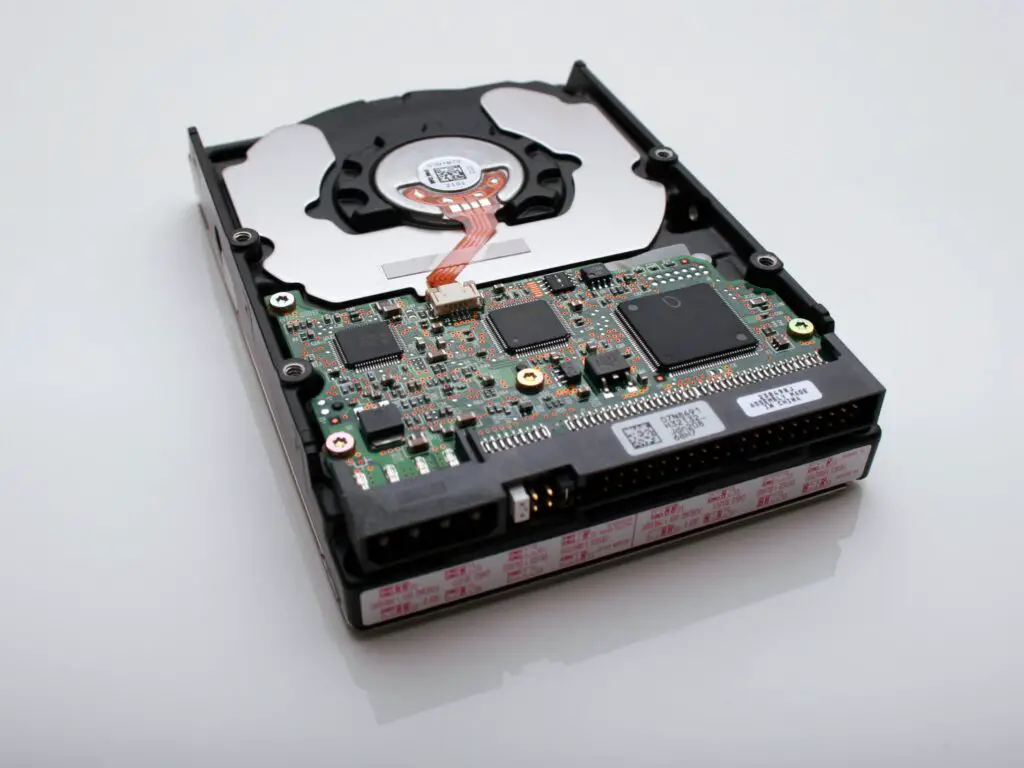
Formatting a hard drive in Linux involves creating a new file system on the hard drive that erases all data on the disk. This is an essential process for preparing a new hard drive for use, repurposing an old hard drive, or troubleshooting disk issues. In this article, we will explore the steps to format a hard drive in Linux.

Before formatting a hard drive, it is important to back up any important data on the drive because all data on the drive will be erased during the formatting process.
Step 1: Determine the hard drive device name
In Linux, hard drives are identified by device names such as /dev/sda, /dev/sdb, etc. It is essential to determine the correct device name of the hard drive that needs formatting. To determine the device name, you can use the fdisk utility. Open a terminal and type the following command:
$ sudo fdisk -l
This command will list all the available hard drives and their partitions. Identify the device name of the hard drive that needs formatting.
Step 2: Unmount the hard drive
Before formatting a hard drive, you must unmount it to prevent any data corruption. You can use the umount command to unmount the hard drive. Open a terminal and type the following command:
$ sudo umount /dev/sdX
Replace /dev/sdX with the device name of the hard drive you want to format.
Step 3: Format the hard drive
Once the hard drive is unmounted, you can format it using the mkfs command. The mkfs command creates a new file system on the hard drive. There are several file system types available in Linux, including ext2, ext3, ext4, XFS, NTFS, etc. In this example, we will format the hard drive with the ext4 file system.
Open a terminal and type the following command:
$ sudo mkfs.ext4 /dev/sdX
Replace /dev/sdX with the device name of the hard drive you want to format.
The mkfs.ext4 command will create a new ext4 file system on the hard drive. This process may take several minutes, depending on the size of the hard drive.
Step 4: Mount the hard drive
After the formatting process is complete, you can mount the hard drive to access it. To mount the hard drive, you need to create a mount point, which is a directory where the hard drive will be mounted. Open a terminal and type the following command:
$ sudo mkdir /mnt/mydrive
This command will create a directory called mydrive in the /mnt directory.
Next, mount the hard drive to the mount point using the mount command. Open a terminal and type the following command:
$ sudo mount /dev/sdX /mnt/mydrive
Replace /dev/sdX with the device name of the hard drive you want to mount.
Step 5: Verify the hard drive
You can verify the hard drive by checking the file system type and the amount of free space available on the drive. To check the file system type, open a terminal and type the following command:
$ sudo file -s /dev/sdX
Replace /dev/sdX with the device name of the hard drive you want to check.
This command will display information about the file system on the hard drive.