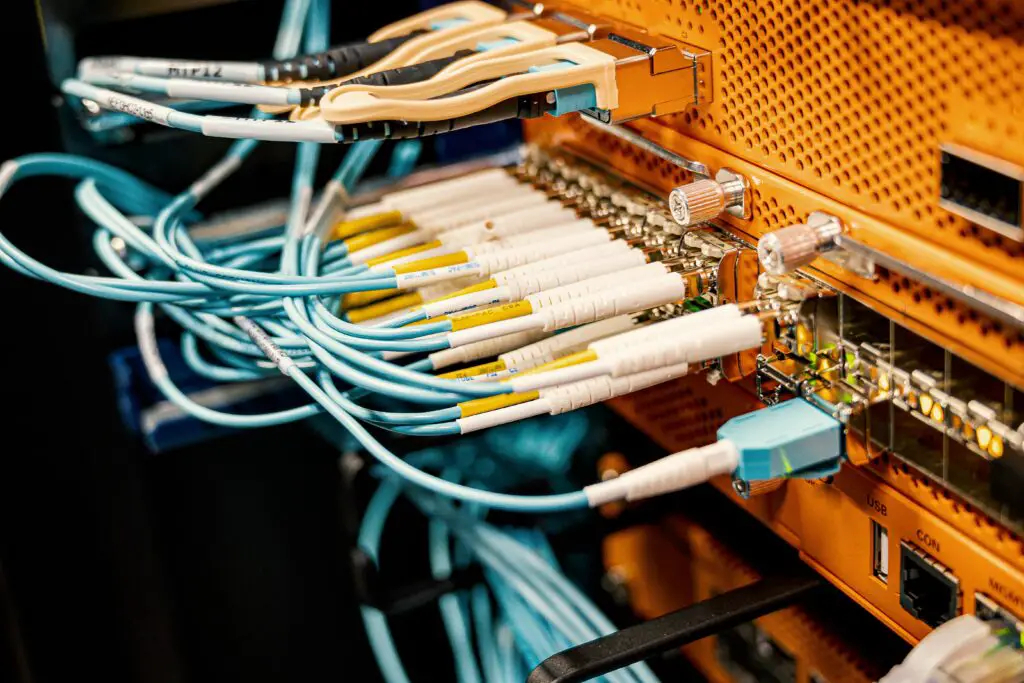
The front panel connectors on a PC case refer to the various cables and ports that connect the case to the motherboard, allowing users to access various functions and peripherals from the front of their PC. These connectors are an essential part of any computer build, and understanding how they work is critical to ensuring that your build functions correctly.

There are several types of front panel connectors, each of which serves a different purpose. The most common connectors include power buttons, reset buttons, USB ports, audio jacks, and LED indicators.
The power button connector is perhaps the most critical connector on the front panel. This cable connects the power button on the front of the case to the motherboard’s power header. When pressed, the power button sends a signal to the motherboard to turn on the PC.
The reset button connector functions similarly to the power button connector. When pressed, the reset button sends a signal to the motherboard to restart the PC. The reset button is typically located near the power button on the front panel.
The USB connectors on the front panel allow users to connect USB devices to their PC without having to reach around to the back of the case. These connectors typically come in two types: USB 2.0 and USB 3.0. USB 3.0 connectors are faster than USB 2.0 connectors and are backwards compatible with USB 2.0 devices.
The audio jacks on the front panel allow users to connect headphones, microphones, and other audio devices to their PC without having to reach around to the back of the case. These jacks typically come in two types: headphone jacks and microphone jacks.
Finally, the LED indicators on the front panel allow users to see the status of their PC at a glance. These indicators typically include power indicators, hard drive activity indicators, and network activity indicators.
Connecting the front panel connectors to the motherboard can be a bit tricky, as the connectors are often small and difficult to see. The first step is to consult your motherboard’s manual, which will provide detailed instructions on how to connect each of the front panel connectors.
The connectors themselves typically consist of a small, rectangular plug with several pins protruding from it. The pins are usually arranged in a specific pattern, which corresponds to the pins on the motherboard’s header. To connect the connector to the header, simply match the pins on the connector to the pins on the header and press down firmly.
It’s essential to take your time and be careful when connecting the front panel connectors to the motherboard, as any mistakes can result in your PC not functioning correctly. If you’re unsure about how to connect a particular connector, consult your motherboard’s manual or seek assistance from a qualified technician.
In conclusion, front panel connectors are an essential part of any PC build, allowing users to access various functions and peripherals from the front of their case. Understanding how these connectors work and how to connect them to the motherboard is critical to ensuring that your build functions correctly. By following the instructions provided in your motherboard’s manual and taking your time, you can connect your front panel connectors with confidence and get your PC up and running in no time.
