This guide provides step-by-step instructions for creating a realistic 3D drawing of bread. Whether you’re an aspiring artist or simply looking to improve your drawing skills, this tutorial will help you capture the texture and shape of bread accurately.
Using basic drawing techniques and shading methods, you can create a lifelike representation of different types of bread, such as a loaf, baguette, or rolls.
Understanding the Basics of 3D Drawing
Creating a realistic 3D drawing requires a solid grasp of basic shapes and forms.
This foundational knowledge is essential for accurately depicting objects like a loaf of bread.
Begin by familiarizing yourself with the basic structure of bread, noting its rounded edges and varying thicknesses.
Observation plays a key role in this process.
Study reference images to understand how light interacts with the surface of the bread, revealing its texture and depth.
Gathering Your Materials
Before starting your drawing, ensure you have the right tools at hand.
An HB pencil is ideal for initial sketches, while a 2B pencil will help you achieve darker shades.
An eraser, blending stump, or tissue will assist in refining your drawing.
Quality drawing paper is crucial for capturing details effectively.
Having reference images of bread will also guide you in replicating its unique characteristics.
Sketching the Basic Shape
Begin by lightly sketching the outline of your loaf of bread.
Focus on the overall form, ensuring the proportions are accurate.
This stage is about capturing the essence of the bread without getting bogged down in details.
Use simple shapes to represent the loaf’s structure.
This approach allows you to adjust proportions easily before committing to more intricate details.
Adding Texture and Details
Once the basic shape is established, it’s time to incorporate texture.
Pay close attention to the crust, adding lines and curves that mimic its rough surface.
Include any scoring or patterns that are characteristic of the bread type you are drawing.
For the interior, depict a soft, airy texture.
This contrast between the crust and the inside is vital for achieving a realistic look.
Shading for Depth
Shading is where your drawing begins to come to life.
Using a softer pencil (2B), apply shading to create depth and dimension.
Identify your light source and add shadows accordingly, enhancing the three-dimensional effect.
Blend the shading smoothly with a blending stump or tissue.
This technique softens harsh lines and creates a more realistic appearance.
Final Touches and Highlights
To complete your drawing, use an eraser to create highlights on the crust.
These highlights will reflect light, adding to the realism of your piece.
Consider areas that naturally catch light, such as the top and edges of the loaf.
Finally, review your drawing for any additional details that may enhance its overall quality.
Small adjustments can make a significant difference in the final outcome.
Step-by-Step 3D Bread Drawing
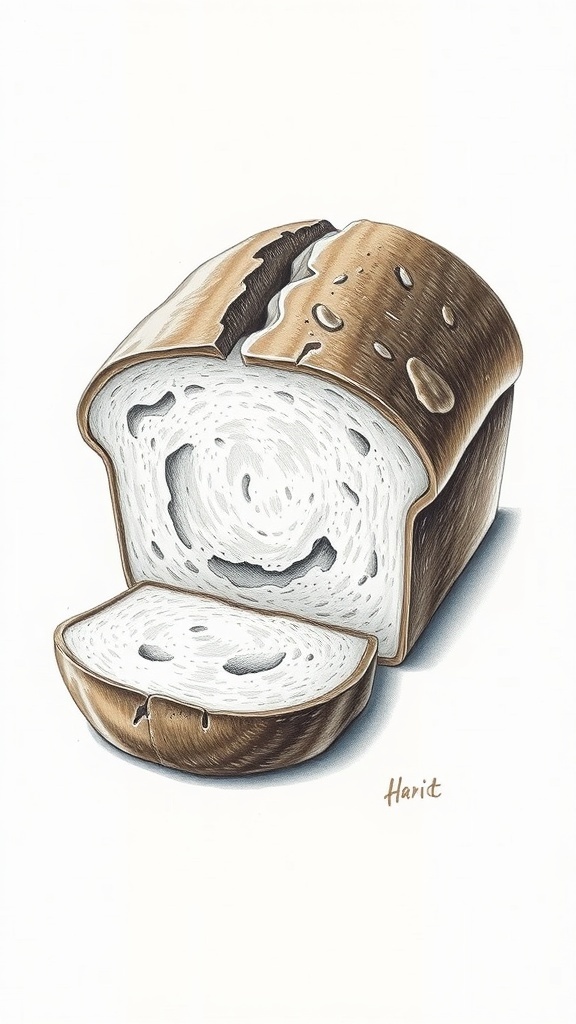
This drawing guide focuses on the essential techniques needed to depict bread in three dimensions. The process involves sketching the basic shapes, adding details, and applying shading to create depth. The tutorial is suitable for artists of all skill levels.
Ingredients
Related
- What is a realistic food budget for one person?
- How realistic is top gun maverick?
- Realistic Rice 3D Modeling Tutorial
- Realistic Egg Render in Cinema 4D