This guide provides a straightforward approach to drawing a simple Christmas tree, perfect for holiday decorations or festive cards. With just a few basic shapes and lines, anyone can create a charming tree.
The drawing process is easy to follow and can be customized with decorations like ornaments and a star on top to enhance your festive spirit.
Materials Needed for Your Christmas Tree Drawing
Before you begin your drawing, gather the necessary materials to ensure a smooth process. You will need:
- Paper
- Pencil
- Eraser
- Colored pencils or markers (optional)
Having these items ready will make it easier to follow along and create your festive masterpiece. The simplicity of the materials allows for creativity to shine through, making this activity enjoyable for everyone.
Step-by-Step Drawing Process
Creating your Christmas tree is a straightforward process that can be completed in just a few steps. Start by drawing a large triangle for the tree’s shape. This will serve as the foundation of your design.
Next, add smaller triangles on top of the first triangle to create layers. Each layer should be slightly smaller than the one below it, giving your tree a fuller appearance. This layering technique adds depth and dimension to your drawing.
Adding the Trunk
Once your tree shape is complete, it’s time to draw the trunk. At the bottom of your tree, sketch a rectangle to represent the trunk. This simple addition grounds your tree and provides a finished look.
Make sure the trunk is proportionate to the size of your tree. A wider trunk can give the impression of a sturdier tree, while a thinner trunk can suggest a more delicate appearance.
Decorating Your Tree
Now comes the fun part—decorating your tree! You can add ornaments by drawing circles or stars on the branches. Feel free to get creative with the shapes and sizes of your decorations.
Don’t forget to draw a star at the top of the tree to complete the festive look. This small detail can add a touch of magic to your drawing, making it truly special.
Coloring Your Christmas Tree
Once your tree is drawn and decorated, it’s time to bring it to life with color. Use colored pencils or markers to fill in your tree and its ornaments. Choose vibrant colors that reflect the holiday spirit.
Consider using different shades of green for the tree, along with bright reds, blues, and yellows for the ornaments. This will make your drawing pop against the light background and enhance its festive appeal.
Enjoying Your Creation
After completing your drawing, take a moment to admire your work. This simple activity can be a delightful way to celebrate the holiday season, whether you’re creating cards for loved ones or decorating your home.
Feel free to experiment with different designs and decorations in future drawings. Each tree can be unique, reflecting your personal style and creativity. Enjoy the process and have fun spreading holiday cheer through your art!
Step-by-Step Christmas Tree Drawing
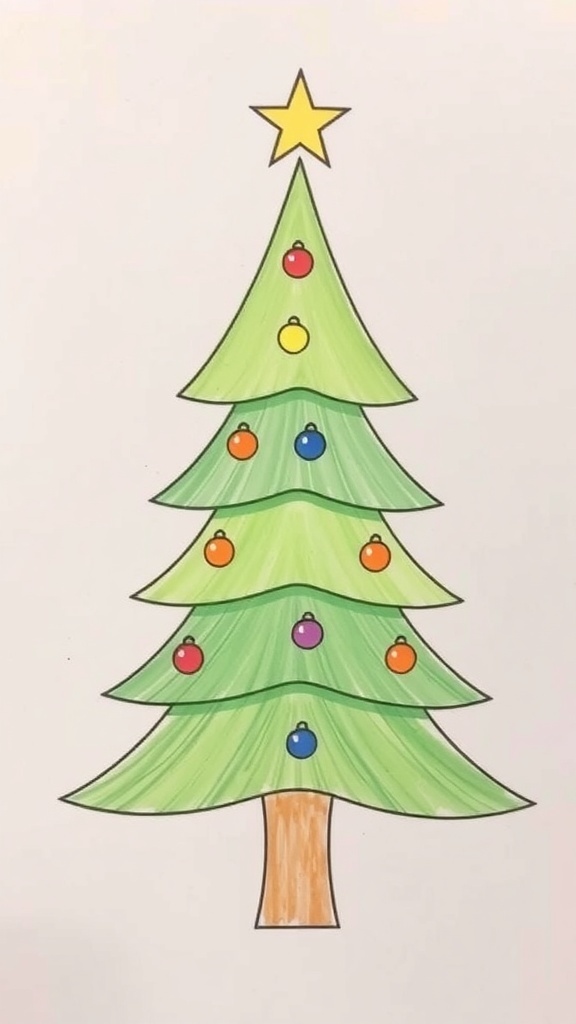
This drawing guide will help you create a simple Christmas tree using basic shapes. The process takes about 15 minutes and is suitable for all ages, making it a fun activity for families during the holiday season.
Ingredients
Related
- Why did karen leave one tree hill?
- 10 Creative Ways to Decorate Your Christmas Tree
- 5 Creative Ways to Repurpose Your Christmas Tree After the Holidays
- 5 Creative Ways to Make a Fruit Christmas Tree