Origami is the art of paper folding, and creating a duck is a fun and engaging project for both beginners and experienced folders. This simple duck origami can be made with just a square piece of paper and a few straightforward folds.
Follow these easy steps to create your own paper duck, which can be a delightful decoration or a playful gift.
Understanding Origami
Origami, the traditional Japanese art of paper folding, transforms a simple sheet of paper into intricate designs and figures. This creative practice has captivated many, offering a satisfying way to express creativity and improve fine motor skills.
Creating an origami duck is a delightful project that can be enjoyed by individuals of all ages. With just a square piece of paper, you can craft a charming duck that showcases your folding skills. The vibrant colors of the paper can add a playful touch, making your creation stand out.
Materials Needed
To embark on your origami duck project, gather the following materials:
- One square sheet of paper in your preferred color.
Choosing a colorful paper can enhance the visual appeal of your duck. The size of the paper can vary, but a standard square sheet works perfectly for this project.
Step-by-Step Folding Process
The process of folding the origami duck involves several straightforward steps. Begin with the colored side of the paper facing down. This orientation is crucial for achieving the desired look of your duck.
Start by folding the paper diagonally to form a triangle, then unfold it to create a crease. This initial fold serves as a guide for the subsequent steps. Next, take the top corner of the triangle and fold it down to the center crease, forming a smaller triangle.
Shaping the Duck
With the smaller triangle in place, fold the two side corners towards the center to create a kite shape. This shape is essential for defining the duck’s body and head.
Once you have the kite shape, flip the paper over. Fold the bottom point of the kite upwards to form the duck’s head. This step is where your duck begins to take form, showcasing its unique features.
Adding Details
To create the beak, fold the top point of the kite down slightly. This small adjustment adds character to your duck, making it more lifelike. Next, fold the sides of the kite outward to create the wings. These folds will give your duck a sense of movement and dimension.
After completing these folds, take a moment to adjust the shapes as necessary. Fine-tuning the folds can enhance the overall appearance of your origami duck, ensuring it looks polished and well-defined.
Time Commitment
Creating your origami duck is a quick and enjoyable process. The preparation time is minimal, taking about one minute to gather your materials. The folding itself typically takes around 10 to 15 minutes, making the total time for this project approximately 15 to 16 minutes.
This short time commitment makes it an ideal activity for a quick creative break or a fun project with friends and family.
Step-by-Step Duck Origami Guide
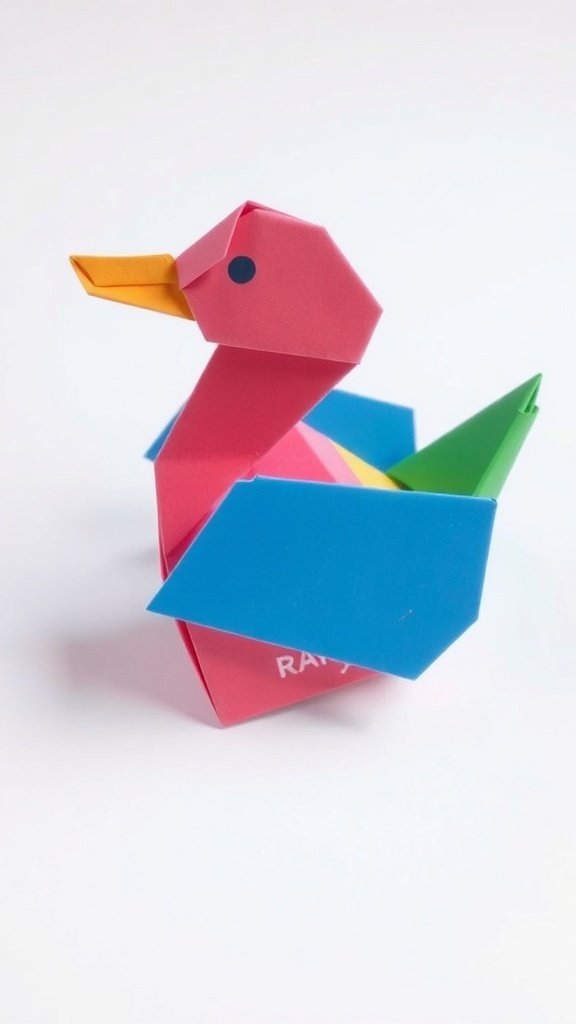
This origami duck is made using a standard square sheet of paper. The process involves basic folds that transform the paper into a charming duck shape. The entire project takes about 10-15 minutes to complete.
Ingredients
Related
- Origami Paper Duck Instructions
- Duck Kandi Pattern Instructions
- Duck Outline Drawing Instructions
- Easy Chinese Lemon Chicken Recipe with Step-by-Step Instructions