When baking bread, yeast is a crucial ingredient that helps the dough rise. If your yeast is not foaming, it can lead to dense and flat bread. Understanding the reasons behind inactive yeast can help you troubleshoot and achieve successful baking results.
This guide will provide practical tips on how to ensure your yeast is active and ready for baking, along with common causes for yeast not foaming.
The Importance of Yeast in Bread Making
Yeast plays a vital role in the bread-making process. It is responsible for fermentation, which creates the gas that causes the dough to rise. Without active yeast, your bread may end up dense and unappealing.
Understanding how to activate yeast properly is essential for successful baking. Observing the foaming and bubbling of yeast in warm water is a sign that it is alive and ready to work its magic.
Common Causes of Non-Foaming Yeast
There are several reasons why yeast may not foam when mixed with warm water and sugar. One of the most common issues is using expired yeast. Always check the expiration date on the packet to ensure freshness.
Another factor is the temperature of the water. Yeast thrives in warm conditions, but water that is too hot can kill it. The ideal temperature range for activating yeast is between 100°F to 110°F (37°C to 43°C).
Essential Ingredients for Yeast Activation
To activate yeast effectively, you need just a few ingredients: active dry yeast or instant yeast, warm water, and sugar. The sugar acts as food for the yeast, helping it to foam and bubble.
Using about one teaspoon of sugar in the warm water can significantly enhance the yeast’s activity. This simple addition can make a notable difference in your baking results.
Steps to Activate Yeast Successfully
Start by checking the expiration date of your yeast to ensure it is still good. Then, measure out one cup of warm water and add the yeast and sugar.
Let the mixture sit for about 5-10 minutes. During this time, you should see bubbles forming, indicating that the yeast is active. If you don’t see any foam after this period, it may be time to discard the mixture and try again with fresh yeast.
Tips for Successful Baking
When baking bread, patience is key. Allowing the yeast to activate properly sets the foundation for a successful loaf. If your yeast is active, the dough will rise beautifully, resulting in a light and airy texture.
Always remember to create the right environment for your yeast. Keeping your ingredients at the right temperature and ensuring they are fresh can lead to delightful baking experiences.
Final Thoughts on Yeast Activation
Understanding the science behind yeast activation can transform your bread-making process. By following the right steps and using fresh ingredients, you can ensure that your yeast foams and your bread rises perfectly.
With a little practice and attention to detail, you will be well on your way to creating delicious homemade bread that is sure to impress.
Common Causes and Solutions for Non-Foaming Yeast
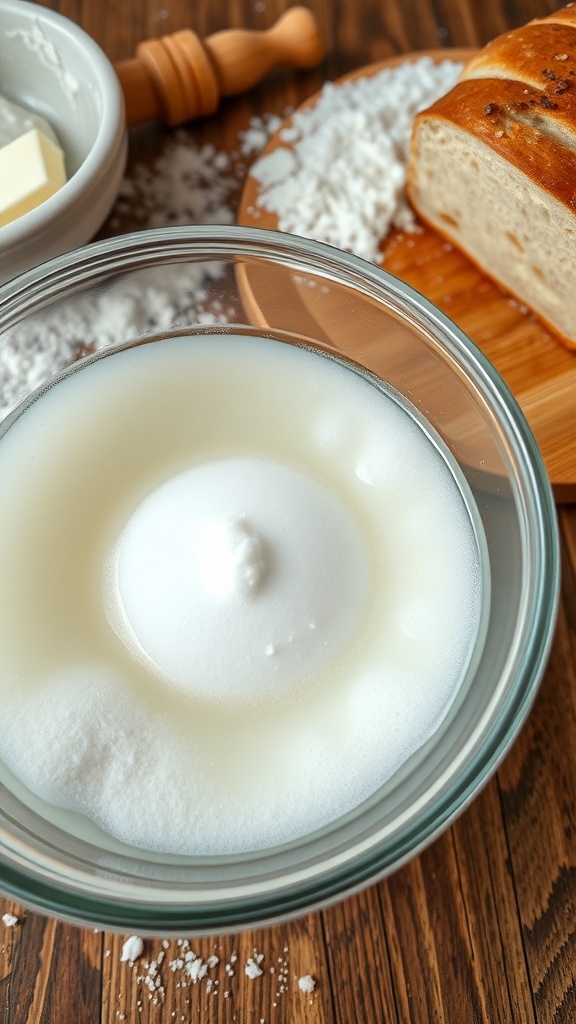
Yeast may not foam due to several factors, including expired yeast, improper water temperature, or insufficient sugar. Ensuring that your yeast is fresh and that you’re using the right conditions can make a significant difference in your baking.
Ingredients
- 1 packet active dry yeast or instant yeast
- 1 teaspoon sugar (for proofing)
- 1 cup warm water (between 100°F to 110°F or 37°C to 43°C)
Instructions
- Check Expiration Date: Ensure that your yeast is not expired. Fresh yeast is essential for proper fermentation.
- Use the Right Temperature: Dissolve the yeast in warm water (not hot) to activate it. Temperatures above 120°F (49°C) can kill the yeast.
- Add Sugar: Including sugar in the warm water helps feed the yeast, encouraging it to foam. Use about 1 teaspoon of sugar for proofing.
- Wait for Activation: Allow the mixture to sit for about 5-10 minutes. If it foams and bubbles, the yeast is active and ready to use.
- If No Foam: If the yeast does not foam after 10 minutes, it is likely inactive. Discard the mixture and start over with fresh yeast.
Cook and Prep Times
- Prep Time: 5 minutes
- Activation Time: 10 minutes
- Total Time: 15 minutes
- Servings: 1 packet of yeast
- Calories: 0 kcal
- Fat: 0g
- Protein: 0g
- Carbohydrates: 0g