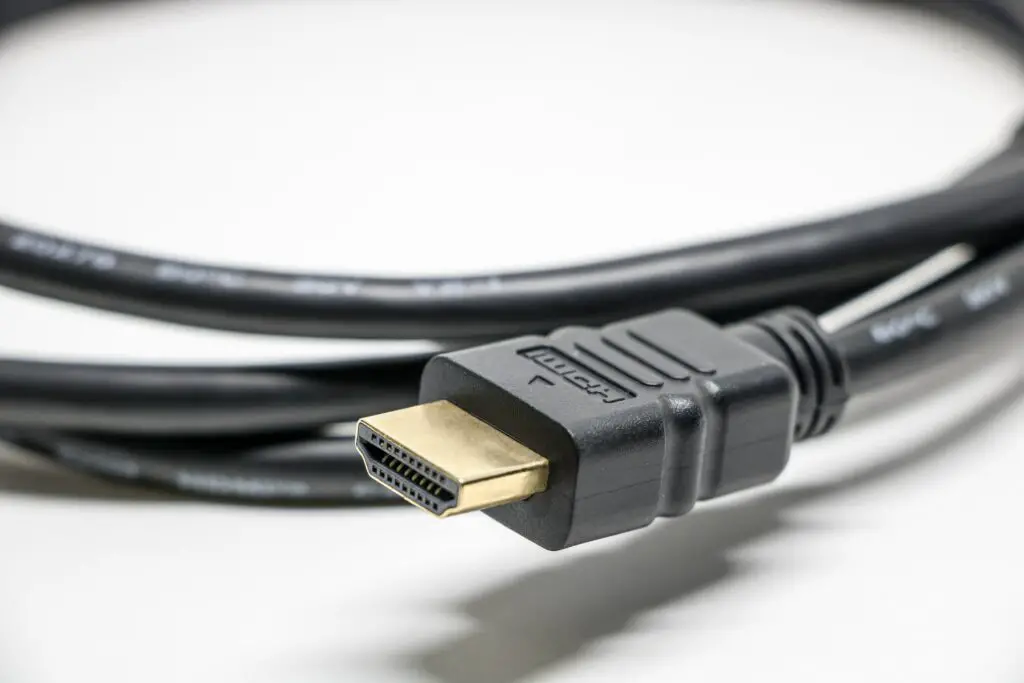
Cable management is an important aspect of setting up a TV wall to ensure that the cables are organized and out of sight, creating a neat and clean look. In this article, I will provide tips on how to manage cables for a TV wall.

Step 1: Plan Your TV Wall Layout
The first step in cable management for a TV wall is to plan out the layout of your TV wall. You need to determine where you want your TV to be placed and how you want your components to be arranged. This will help you determine the length of cables you will need and where you will need to place cable management devices.
Step 2: Use Cable Ties
Cable ties are a great way to organize your cables and keep them together. They come in different sizes and colors and can be used to bundle cables together. You can also use them to attach cables to the back of your TV or components, making them less visible.
Step 3: Use Cable Covers
Cable covers are another great way to hide your cables. They come in different materials and can be attached to the wall or floor to cover your cables. Some cable covers are also paintable, allowing you to match them to the color of your wall or floor.
Step 4: Use Cable Clips
Cable clips are small devices that can be attached to the back of your TV or components to hold cables in place. They come in different sizes and can hold multiple cables at once. Cable clips can also be used to route cables around corners or along edges.
Step 5: Use Cable Raceways
Cable raceways are channels that can be attached to the wall or floor to hide your cables. They come in different sizes and can be used to hold multiple cables. Cable raceways are also paintable, allowing you to match them to the color of your wall or floor.
Step 6: Use a Cable Sleeve
A cable sleeve is a flexible tube that can be used to bundle cables together. They come in different sizes and colors and can be cut to fit the length of your cables. Cable sleeves can also be used to cover longer cables that run along the wall or floor.
Step 7: Label Your Cables
Labeling your cables is an important step in cable management. This will help you identify which cable goes where and make it easier to troubleshoot any issues. You can use colored tape or labels to identify your cables.
Step 8: Use a Power Strip
A power strip is a device that can be used to plug in multiple devices at once. This will help reduce the number of cables you need to manage. You can also use a power strip with surge protection to protect your devices from power surges.
Step 9: Use Wireless Devices
Wireless devices such as a wireless HDMI transmitter can be used to eliminate the need for cables. This will help reduce the number of cables you need to manage and create a cleaner look.
Step 10: Keep Your Cables Organized
Once you have organized your cables, it’s important to keep them that way. Make sure to check your cables regularly to ensure that they are still organized and not tangled. You can use cable ties or cable clips to reorganize your cables if necessary.
In conclusion, cable management for a TV wall is an important aspect of setting up your home entertainment system. By using cable ties, cable covers, cable clips, cable raceways, cable sleeves, labeling your cables, using a power strip, wireless devices, and keeping your cables organized, you can create a neat and clean look for your TV wall.