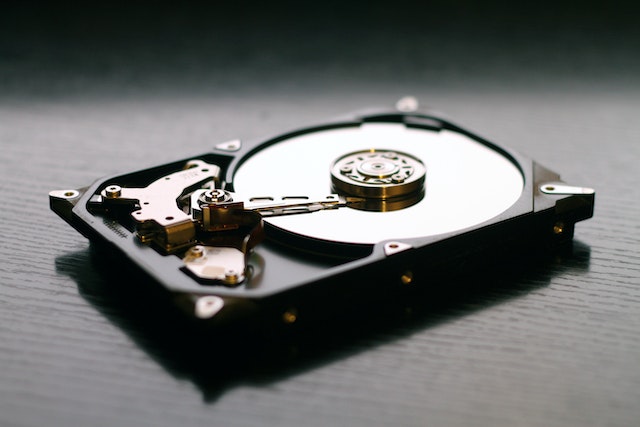
Installing a new hard drive can be a great way to increase the storage capacity of your computer or replace a failing hard drive. However, after installing a new hard drive, there are a few things that you need to do to ensure that your computer runs smoothly. In this article, we will discuss what to do after installing a new hard drive.

- Partition and Format the New Hard Drive Before you can use the new hard drive, you need to partition and format it. Partitioning involves dividing the hard drive into one or more logical sections, while formatting prepares the hard drive for use by creating a file system. To partition and format the new hard drive, follow these steps:
- Open Disk Management: Press the Windows key + X and select Disk Management from the menu.
- Initialize the new hard drive: Right-click on the new hard drive and select Initialize Disk. Choose the partition style (MBR or GPT) and click OK.
- Create a partition: Right-click on the unallocated space on the new hard drive and select New Simple Volume. Follow the on-screen instructions to create a partition.
- Format the partition: Right-click on the new partition and select Format. Choose the file system (NTFS is recommended for Windows) and assign a drive letter.
- Install Operating System and Drivers If you’re using the new hard drive as the primary drive for your computer, you’ll need to install the operating system and drivers. If you’re replacing a failing hard drive, you can clone the old hard drive to the new one, which will copy the operating system and all your data to the new drive. To install the operating system, follow these steps:
- Insert the installation media (DVD or USB) and restart your computer.
- Press the appropriate key to enter the boot menu (usually F12 or Del) and select the installation media.
- Follow the on-screen instructions to install the operating system. Make sure to select the new hard drive as the installation location.
After installing the operating system, you need to install the drivers for your computer’s hardware, such as the graphics card, sound card, and network card. You can find the drivers on the manufacturer’s website or on the installation disc that came with your computer.
- Install Applications and Transfer Data Once you have installed the operating system and drivers, you need to install the applications that you need, such as Microsoft Office, web browser, and media player. You can download the applications from the internet or install them from the installation disc.
If you’re replacing a failing hard drive, you can transfer your data from the old hard drive to the new one. You can use an external hard drive or USB flash drive to transfer the data, or you can use a software tool to clone the old hard drive to the new one.
- Enable Automatic Backup After installing the new hard drive, it’s a good idea to enable automatic backup to ensure that your data is always backed up. You can use the built-in Windows Backup and Restore feature or a third-party backup software to schedule regular backups.
- Test the New Hard Drive Before using the new hard drive, you should test it to make sure that it’s working properly. You can use a software tool, such as CrystalDiskInfo or HD Tune, to check the health and performance of the new hard drive.
Conclusion Installing a new hard drive can be a great way to increase the storage capacity of your computer or replace a failing hard drive. After installing the new hard drive, you need to partition and format it, install the operating system and drivers, install applications and transfer data, enable automatic backup, and test the new hard drive. By following these steps, you can ensure that your computer runs smoothly and your data is always safe.
