Introduction
A laptop’s hard drive is an essential component that stores all your data and files, from your documents to your pictures and videos. But where exactly is the hard drive located on a Dell laptop? In this blog post, we’ll explore the different ways to find your hard drive on a Dell laptop, and provide you with a step-by-step guide to accessing and upgrading it.
The Physical Location of the Hard Drive
The hard drive on a Dell laptop can be located in different places, depending on the model and design of the device. In most cases, however, the hard drive is located underneath the laptop’s bottom cover, which means that you’ll need to remove the cover to access the drive. To do this, you’ll need to turn off your laptop and unplug it from any power sources.
Once your laptop is turned off, you can proceed to flip it over and locate the bottom cover. In most Dell laptops, the bottom cover is held in place by several screws, which you’ll need to unscrew using a small screwdriver. Be careful not to strip the screws or damage the cover, as this could cause further damage to your laptop. Once you’ve removed the screws, you can gently lift the cover off the laptop to reveal the hard drive.
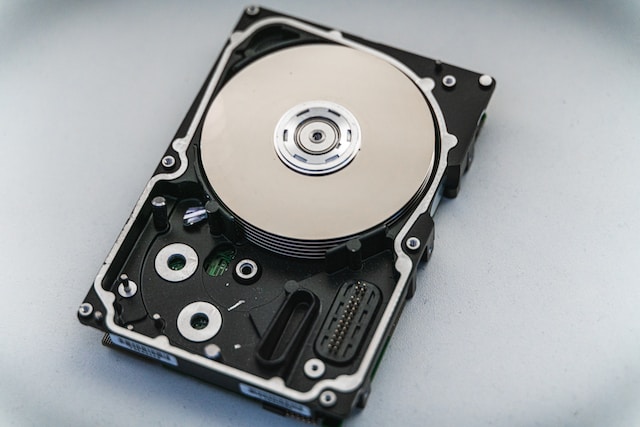
Accessing and Upgrading the Hard Drive
Now that you’ve located your hard drive, you may want to access or upgrade it. To do this, you’ll need to follow a few more steps to safely remove the drive from your laptop. Before you proceed, it’s important to note that opening your laptop and accessing its components may void your warranty. If you’re unsure about what you’re doing, it’s always best to consult with a professional or contact Dell support.
To access your hard drive, you’ll need to remove the screws that hold it in place. In most Dell laptops, the hard drive is held in place by two or four screws, which you can remove using a screwdriver. Once you’ve removed the screws, you can gently slide the hard drive out of its bay, being careful not to damage any other components.
If you’re upgrading your hard drive, you’ll need to replace it with a compatible one that meets your laptop’s specifications. You can check Dell’s website or consult with a professional to find out what type of hard drive you need. Once you have your new hard drive, you can simply slide it back into the bay and secure it with the screws.
Conclusion
In conclusion, the hard drive is an essential component of any Dell laptop, and it’s important to know where it is located and how to access it. By following the steps outlined in this blog post, you can safely remove and upgrade your hard drive, and ensure that your laptop is running smoothly and efficiently. Remember to always take care when opening your laptop, and if you’re unsure about anything, it’s always best to seek professional help.