This tutorial provides a step-by-step guide on how to draw a butterfly. It is suitable for beginners and requires only basic drawing materials.
You will learn how to create the butterfly’s body, wings, and intricate patterns, making it a fun and engaging activity.
Materials Needed for Your Butterfly Drawing
Before you start your artistic endeavor, gather the necessary materials. You’ll need a pencil for sketching, an eraser for corrections, and paper to bring your butterfly to life.
If you wish to add a splash of color, colored pencils or markers can enhance your drawing, making it vibrant and eye-catching.
Step-by-Step Drawing Process
This tutorial will guide you through the process of creating a stunning butterfly. The entire drawing can be completed in about 30 minutes, making it accessible for artists at any level.
Begin by sketching the body of the butterfly. Start with a small oval for the head and a longer oval for the body, connecting them with a gentle curve.
Creating the Wings
Next, focus on the wings. Draw two large symmetrical shapes on either side of the body. The top wings should be larger than the bottom ones, giving your butterfly a graceful appearance.
Once you have the basic shapes, it’s time to add intricate patterns. Consider circles, lines, or dots to create a decorative effect that will make your butterfly unique.
Refining Your Butterfly
After detailing the wings, refine the body. Add antennae on top of the head and include segments along the body to enhance realism.
Once you’re satisfied with the details, outline your pencil lines with a black pen or marker. This will help your drawing stand out and give it a polished look.
Adding Color to Your Creation
Now comes the fun part—coloring! Use your colored pencils or markers to fill in the butterfly with vibrant hues like blue, yellow, and orange.
Don’t forget to add depth by varying the shades, especially in the patterns on the wings. This will bring your butterfly to life against the soft green leaves in the background.
Final Touches and Display
After coloring, take a step back and admire your work. You may want to add final touches or adjust any areas that need more detail.
Once satisfied, consider framing your butterfly drawing or displaying it in a special place to showcase your artistic achievement.
Step-by-Step Butterfly Drawing
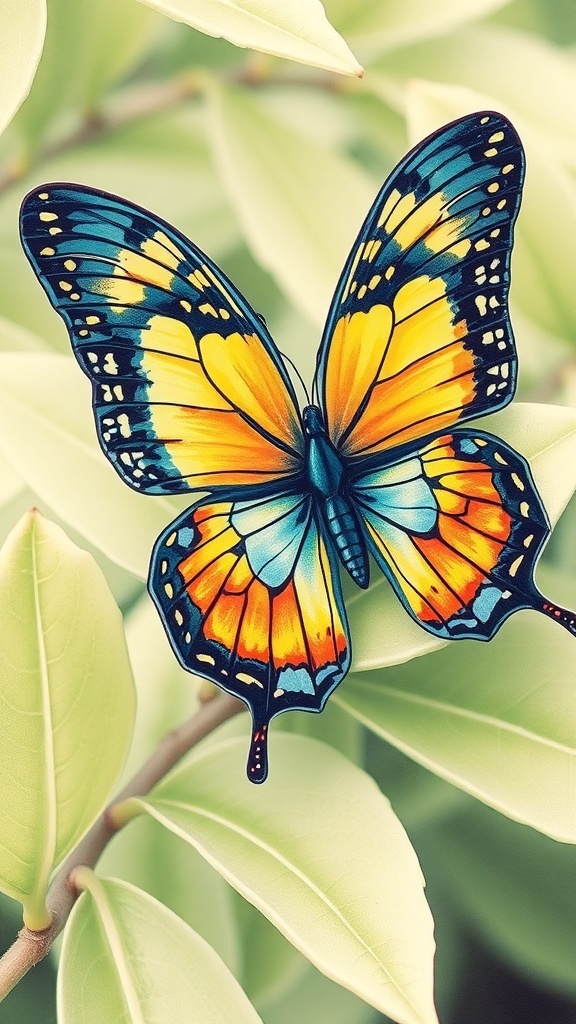
This butterfly drawing tutorial will guide you through the process of sketching a beautiful butterfly. The drawing can be completed in about 30 minutes and is perfect for artists of all skill levels.
Ingredients
Related
- Stylish Double Braid Hairstyle Tutorial
- Realistic Rice 3D Modeling Tutorial
- Simple Lobster Drawing Tutorial
- Charming Lobster Nail Art Tutorial