This guide provides step-by-step instructions for creating a beautiful nativity scene drawing, featuring the birth of Jesus. Perfect for the holiday season, this drawing captures the essence of Christmas and the joy it brings.
Whether you’re a beginner or an experienced artist, this guide will help you create a meaningful piece of art that can be shared with family and friends.
Materials Needed for Your Nativity Scene Drawing
Before starting your drawing, gather all the necessary materials to ensure a smooth process. You will need:
- Pencil
- Eraser
- Fine-tip black pen or marker
- Colored pencils or markers
- Drawing paper
Having these items ready will help you focus on the creative aspects of your artwork without interruptions. Choose high-quality materials for the best results, especially when it comes to colors and fine details.
Sketching the Outline
Begin your nativity scene by lightly sketching the basic shapes of the figures. Start with Mary and Joseph positioned on either side of baby Jesus in the manger.
Use simple shapes to outline their bodies and heads, ensuring that the proportions feel balanced. This initial sketch serves as the foundation for your drawing, so take your time to get it right.
Don’t worry about making it perfect at this stage; the goal is to create a framework that you can build upon with details later.
Adding Details to Your Drawing
Once you have the basic shapes in place, it’s time to refine your sketch. Add facial features to Mary, Joseph, and baby Jesus, paying attention to expressions that convey warmth and joy.
Next, draw their clothing, ensuring to include folds and textures that add depth. Incorporate the manger and surrounding animals, like sheep or donkeys, to enhance the scene’s narrative.
These details will bring your nativity scene to life, so take care to make each element distinct and expressive.
Inking Your Drawing
After you’re satisfied with your pencil sketch, it’s time to outline your drawing with a fine-tip black pen or marker. Carefully trace over your pencil lines, ensuring that you maintain the details you’ve added.
Once the ink is applied, allow it to dry completely before erasing any remaining pencil marks. This step will help your drawing look clean and polished, ready for the next phase.
Bringing Your Scene to Life with Color
Now comes the fun part: coloring your nativity scene! Use colored pencils or markers to fill in the figures and background. Opt for warm colors for Mary, Joseph, and baby Jesus, creating a sense of comfort and love.
For the background, choose soft tones that complement the figures while evoking the peacefulness of a starry night sky. This contrast will enhance the overall warmth of your scene.
Final Touches and Enhancements
To complete your nativity scene, add any final details or decorations. Consider including stars in the sky or additional elements like a stable to frame the scene.
These finishing touches can elevate your artwork, making it more visually engaging and meaningful. Take a step back to assess your work, ensuring that every element contributes to the overall harmony of the piece.
Step-by-Step Nativity Scene Drawing
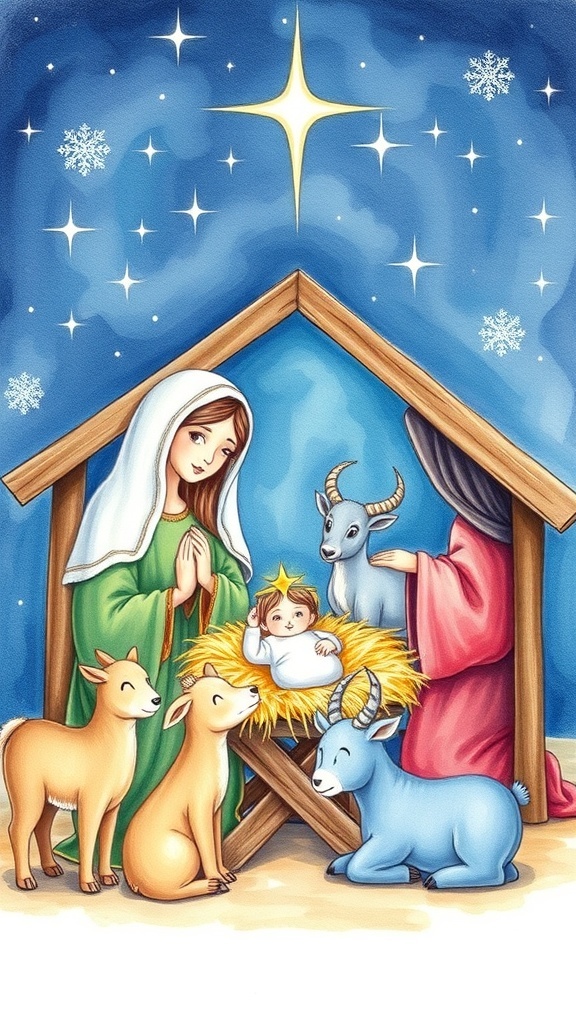
This drawing guide focuses on illustrating a nativity scene, including key figures such as Mary, Joseph, baby Jesus, and the surrounding animals. The process is designed to be simple and enjoyable, making it suitable for all ages.
Ingredients
Related
- Christmas Nativity Scene with Baby Jesus
- Nativity Scene Christmas Recipe
- Merry Christmas Nativity Scene Images
- Christmas Nativity Scene Drawing Guide