This guide covers essential techniques for creating beautiful Christmas-themed pencil drawings. Perfect for artists of all skill levels, these methods will help you capture the festive spirit on paper.
From sketching holiday scenes to adding intricate details, you’ll find practical tips to enhance your drawing skills and bring your Christmas illustrations to life.
Essential Techniques for Christmas Pencil Drawings
Creating a stunning pencil drawing of a Christmas tree requires a blend of techniques that enhance both depth and detail.
Start by gathering your materials, including various graphite pencils, an eraser, and blending tools.
These items are essential for achieving the desired effects in your artwork.
Begin with light sketches using an HB pencil to outline the basic shapes of your composition.
This initial step is crucial, as it sets the foundation for the rest of your drawing.
Layering for Depth
Once your sketch is complete, it’s time to add depth to your drawing.
Utilize softer pencils, such as 2B and 4B, to build up darker areas around the Christmas tree and its ornaments.
Layering these tones creates a more dynamic and three-dimensional appearance.
Pay attention to the areas where shadows naturally occur, such as beneath the branches and around the ornaments.
This technique will bring your festive scene to life.
Blending Techniques
Blending is a key technique that can elevate your pencil drawing.
Using a blending stump or tortillon, gently smooth out your pencil strokes.
This will help create a realistic texture, especially in the snowflakes and the tree’s foliage.
Be careful not to over-blend; maintaining some pencil texture can add character to your drawing.
Experiment with different pressures to see how it affects the overall look.
Adding Details
Once the blending is complete, shift your focus to detailing.
Use a sharp pencil, like a 6B, to add fine details to the ornaments and the star atop the tree.
These small touches can make a significant difference in the overall impact of your drawing.
Consider the reflections and highlights on the ornaments, as well as the intricate patterns of the snowflakes.
These details will enhance the festive spirit of your artwork.
Highlighting for Realism
To achieve a more three-dimensional effect, highlighting is essential.
Use an eraser to lift some graphite from areas where light would naturally hit, such as the edges of the ornaments and the tips of the tree branches.
This technique adds realism and dimension to your drawing.
Be strategic with your highlights; they should complement the overall composition without overpowering it.
The balance between light and shadow is what brings your Christmas scene to life.
Final Touches and Presentation
After completing your drawing, take a step back and assess your work.
Look for areas that may need additional depth or detail.
Sometimes, a small adjustment can make a big difference.
Once satisfied, consider framing your artwork or using it as part of a holiday card.
Sharing your creation can spread the festive cheer and showcase your artistic skills.
Essential Techniques for Christmas Pencil Drawings
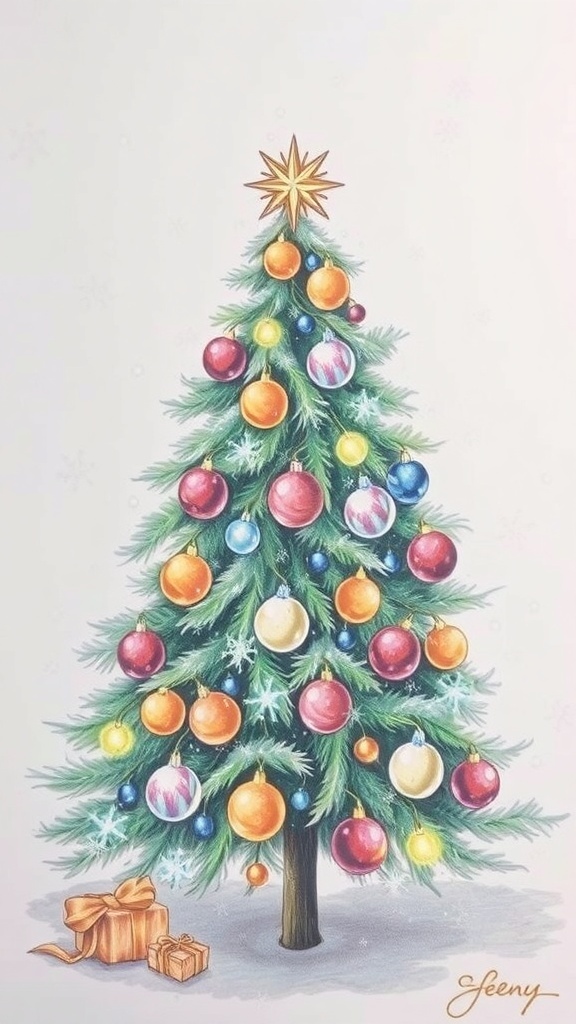
This guide provides step-by-step instructions on how to create stunning Christmas drawings using pencils. Whether you’re drawing Christmas trees, ornaments, or winter landscapes, these techniques will help you achieve depth and detail in your artwork.
Ingredients
Related
- Christmas Pencil Drawing Techniques
- Christmas Pencil Drawing Techniques
- Creative Christmas Drawing Ideas with Pencil
- Creative Christmas Drawing Ideas with Pencil