Creating a Christmas-themed drawing with pencil can be a delightful way to celebrate the holiday season. This guide will provide you with techniques and tips to capture the festive spirit through your artwork.
Whether you are a beginner or an experienced artist, you can create beautiful pencil drawings of Christmas trees, ornaments, or winter scenes with just a few simple steps.
Choosing Your Subject
Start by selecting a Christmas theme that resonates with you. A Christmas tree is a classic choice, adorned with ornaments and lights that embody the festive spirit. Alternatively, consider drawing Santa Claus or a serene winter landscape.
Gather reference images to inspire your drawing. Observing different styles and decorations can spark creativity and help you visualize your final piece. This will also assist in capturing the essence of the holiday season in your artwork.
Sketching the Outline
Begin your drawing by lightly sketching the basic shapes with an HB pencil. Focus on the overall form of the Christmas tree, ensuring that the proportions are accurate. Keep your lines soft and light; this will allow for easy adjustments later on.
As you sketch, think about the placement of ornaments and lights. Visualize how they will hang on the branches, and consider the overall composition of your drawing. This foundational step is crucial for a balanced and appealing artwork.
Adding Details
Once the outline is complete, start adding intricate details. Use softer pencils, such as 2B and 4B, to create darker areas and textures. Pay attention to the unique features of your subject, like the shapes of ornaments and the texture of the tree branches.
Incorporate elements like twinkling lights and snowflakes in the background. These details will enhance the festive atmosphere and bring your drawing to life. Take your time to ensure each element is well-defined and contributes to the overall composition.
Shading Techniques
Shading is essential for creating depth and dimension in your drawing. Use a blending stump to achieve smooth transitions between light and dark areas. Consider the light source in your drawing; this will guide where shadows should fall.
Focus on the areas beneath the ornaments and the inner parts of the tree where light may not reach. This technique will add realism and enhance the three-dimensional quality of your artwork.
Final Touches
After you are satisfied with the shading and details, it’s time for the final touches. Use a 6B pencil to darken the deepest shadows, adding depth to your drawing. This step will help certain elements pop and draw the viewer’s eye.
Carefully erase any unnecessary lines from your initial sketch. This will clean up your drawing and allow the details to shine. Step back and review your work, making any adjustments needed to enhance the overall composition.
Review and Adjust
Take a moment to step back and assess your drawing from a distance. This perspective can reveal areas that may need refinement or additional detail. Adjust the shading, add more texture, or enhance the background as necessary.
Once you are happy with the final result, consider framing your artwork or displaying it as part of your holiday decor. Sharing your creation with family and friends can spread the festive cheer and inspire others to engage in their own artistic endeavors.
Step-by-Step Guide to Christmas Pencil Drawing
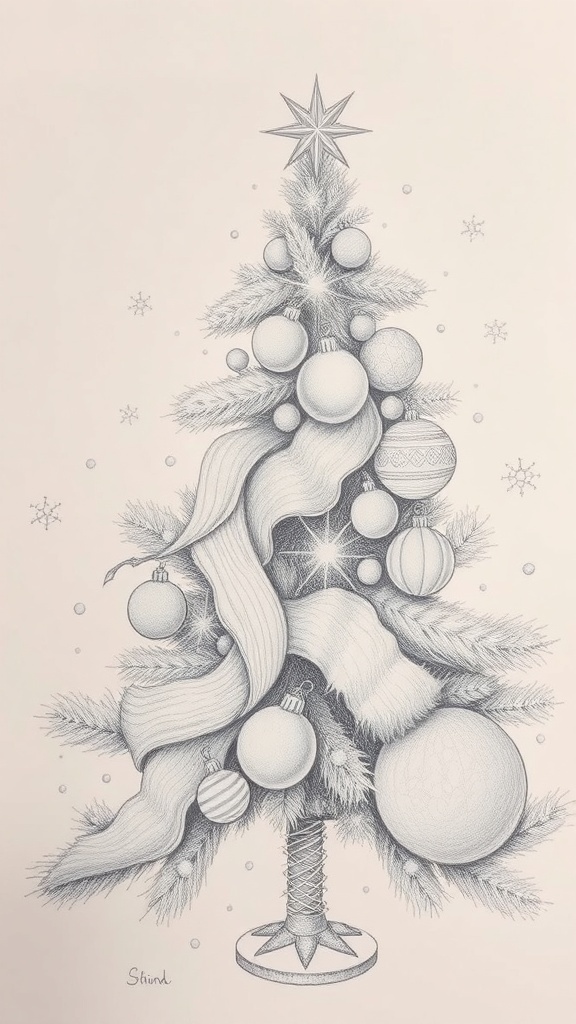
This guide covers essential techniques for pencil drawing, including shading, blending, and outlining. You will learn how to create depth and texture in your drawings, making them visually appealing and festive.
Ingredients
Related
- Christmas Pencil Drawing Techniques
- Christmas Pencil Drawing Techniques
- Creative Christmas Drawing Ideas with Pencil
- Creative Christmas Drawing Ideas with Pencil