Creating a Christmas snow globe drawing is a fun and festive way to celebrate the holiday season. This guide will help you sketch a charming snow globe filled with classic Christmas elements like a snowman, Christmas tree, or cozy cabin.
The process is simple and suitable for artists of all skill levels. Gather your drawing materials, and let’s get started on this delightful holiday project.
Materials Needed for Your Snow Globe Drawing
Before you begin your artistic endeavor, gather all necessary materials to ensure a smooth drawing experience. Having everything at hand will help you focus on your creativity.
Start with quality drawing paper that can handle various mediums. A pencil and eraser are essential for sketching and refining your design. A fine-tip black pen or marker will help you outline your drawing with precision.
Colored pencils or markers will add vibrancy to your snow globe scene, while a ruler can assist in creating a neat base if desired. With these materials ready, you’re set to bring your festive vision to life!
Outlining the Snow Globe
The first step in your drawing is to outline the globe itself. Begin by sketching a large circle that will serve as the main shape of your snow globe.
Make sure to keep your lines light, as this will allow for easier adjustments later on. Once you have the circle, draw a curved line at the bottom to form the base of the globe. This is where you can get creative with patterns and designs that reflect the holiday spirit.
Sketching the Festive Scene
Now that the outline is complete, it’s time to fill your globe with delightful elements. Inside the circle, lightly sketch the figures you want to include, such as a cheerful snowman, a beautifully decorated Christmas tree, or even a cozy cabin.
Position these elements thoughtfully within the globe to create a balanced composition. Remember, this is your artistic interpretation, so feel free to adjust their sizes and placements to achieve the desired effect.
Adding Details to Your Drawing
With your basic shapes in place, it’s time to add details that bring your snow globe to life. Using your fine-tip pen or marker, carefully outline each element, adding features like the snowman’s scarf, the ornaments on the tree, and any windows on a cabin.
Details are what make your drawing unique and engaging, so take your time to enhance each part. Don’t forget to include small dots and flakes around the scene to represent the gently falling snow, creating a magical winter atmosphere.
Coloring Your Snow Globe
Once the outlines are complete, it’s time to add color to your drawing. Use colored pencils or markers to fill in your snow globe, choosing festive colors for the Christmas elements.
Consider soft blues and whites for the snow and background, ensuring a harmonious look. This is where your creativity shines, so feel free to experiment with different shades and techniques to achieve the desired effect.
Final Touches for Depth and Detail
After coloring, step back and assess your drawing. Adding highlights and shadows can create depth and dimension, making your snow globe even more captivating.
Once satisfied with the colors and details, erase any remaining pencil lines to clean up your artwork. Your Christmas snow globe drawing is now complete, ready to spread holiday cheer!
Step-by-Step Christmas Snow Globe Drawing
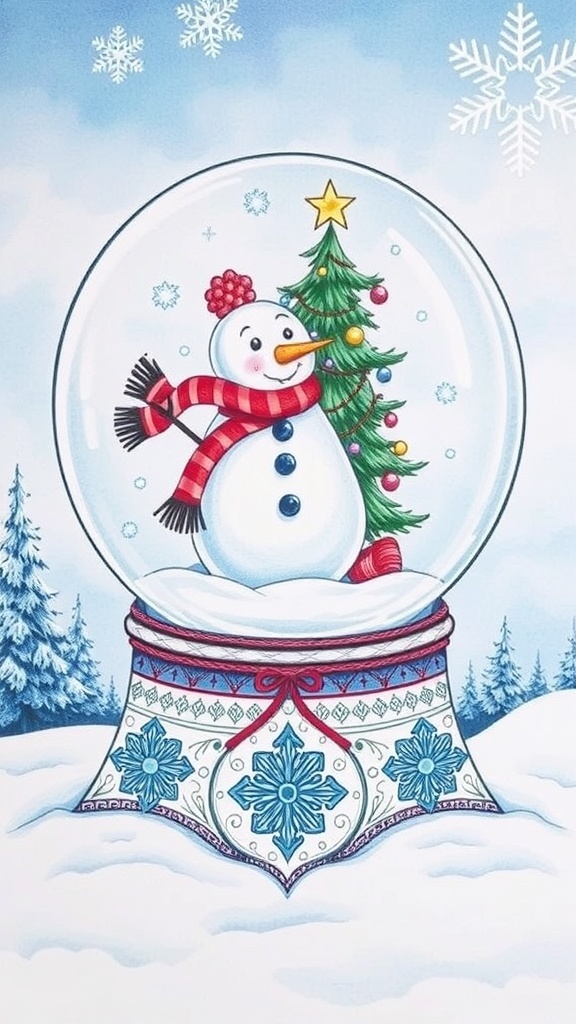
This drawing guide will take you through the steps to create a beautiful Christmas snow globe scene. You will learn how to outline the globe, add details, and incorporate festive elements to bring your drawing to life.
Ingredients
Related
- Christmas Snow Globe Recipe
- Christmas Snow Globe Drawing Guide
- Festive Snow Globe Christmas Cocktails
- Christmas Snow Globe Coloring Pages