This guide provides step-by-step instructions for drawing a festive Christmas snow globe. Snow globes are a charming holiday decoration that captures the magic of winter and Christmas themes.
You will learn how to create a simple yet beautiful snow globe design featuring classic elements like snowflakes, a Christmas tree, and a cozy cabin.
Materials Needed for Your Snow Globe Drawing
Before starting your artistic journey, gather all the necessary materials. A simple set of tools will help you create a stunning snow globe illustration.
You’ll need a pencil for sketching the initial outline, an eraser to correct any mistakes, and a black ink pen or marker to define your drawing. Colored pencils or markers will bring your creation to life with vibrant hues. Lastly, ensure you have good quality drawing paper to work on.
Sketching the Outline
Begin by drawing a perfect circle for the globe. This will serve as the main feature of your artwork. Below the circle, create a base that can be a simple rectangle or something more decorative, depending on your style.
Make sure the proportions are pleasing to the eye. A well-drawn outline sets the stage for the details that will follow, so take your time during this step.
Adding the Scene Inside the Globe
Now it’s time to fill the globe with a festive scene. Consider sketching a beautifully decorated Christmas tree, complete with ornaments and twinkling lights. You can also include other elements like a snowman or a cozy cabin to enhance the wintery feel.
Don’t forget to add snowflakes gently falling around your scene. This detail will create a magical atmosphere, making your snow globe come alive.
Detailing Your Drawing
Once you are satisfied with your sketch, it’s time to add definition. Use a black ink pen or marker to trace over your pencil lines. This step is crucial as it will give your drawing clarity and structure.
Enhance your scene by adding intricate details such as ornaments on the tree, texture on the snow, and windows on any cabins. These small touches will elevate your artwork significantly.
Finalizing Your Artwork
After the ink has dried, gently erase any remaining pencil marks. This will clean up your drawing and prepare it for coloring.
Now, grab your colored pencils or markers and start adding color to your snow globe. Choose vibrant shades for decorations and soft blues and whites for the snow. Consider adding highlights and shadows to give depth and dimension to your drawing.
Adding the Finishing Touches
To make your snow globe truly sparkle, consider using glitter or metallic pens for a shimmering effect. These final touches can transform your drawing into a festive masterpiece.
Once you’ve completed your artwork, take a moment to admire your creation. This snow globe drawing can be a wonderful addition to holiday cards or decorations, spreading joy and cheer during the festive season.
Step-by-Step Christmas Snow Globe Drawing
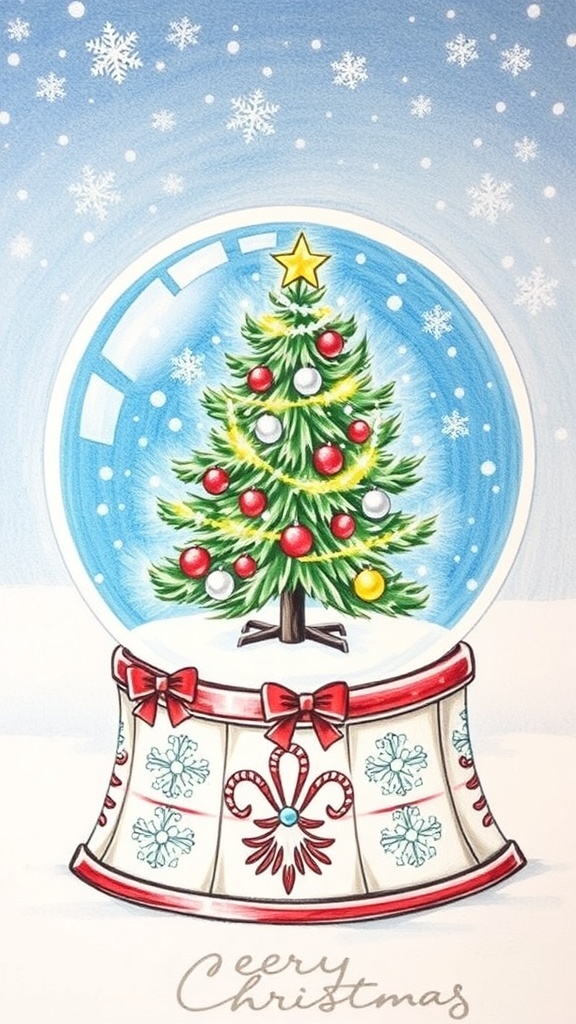
This drawing guide will help you create a delightful Christmas snow globe illustration. The process includes sketching the globe, adding details, and coloring to bring your artwork to life. Perfect for holiday cards or decorations, this drawing is suitable for all skill levels.
Ingredients
Related
- Christmas Snow Globe Recipe
- Festive Snow Globe Christmas Cocktails
- Christmas Snow Globe Coloring Pages
- Christmas Snow Globe Drawing Guide