This guide provides step-by-step instructions for creating beautiful Christmas-themed drawings using colored pencils. Perfect for artists of all skill levels, these projects will help you capture the festive spirit of the holiday season.
You’ll learn techniques for blending colors, shading, and adding details to your drawings, ensuring your artwork stands out this Christmas.
Materials Needed for Your Christmas Drawing
To create a stunning Christmas tree drawing, gather the following materials:
- Colored pencils in various shades of green, red, gold, and other festive colors
- High-quality drawing paper to ensure smooth application of colors
- An eraser for correcting any mistakes during the sketching process
- A blending stump to achieve seamless color transitions
Having the right tools will significantly enhance your drawing experience and the final outcome.
Sketching the Christmas Tree Outline
Begin by lightly sketching the outline of your Christmas tree. This step is crucial as it sets the foundation for your artwork.
Use a pencil to draw a triangular shape for the tree, ensuring it has a wide base and a pointed top. This will give your tree a classic look.
Don’t forget to add a trunk at the bottom, which can be a simple rectangle. Keep your lines light so they can be easily erased later.
Adding Color to Your Tree
Once your outline is complete, it’s time to bring your tree to life with color.
Start with green colored pencils, layering different shades to create depth and dimension. Use darker greens for the inner sections and lighter shades for the tips of the branches.
For a more vibrant look, consider adding hints of yellow or blue to your greens. This technique will make your tree appear more realistic and visually appealing.
Decorating the Tree with Ornaments
Now, let’s add some festive decorations to your tree!
Use bright colored pencils to draw ornaments in various shapes and sizes. Think of classic round baubles, stars, and even candy canes.
Layer colors to create a shiny effect, and don’t hesitate to mix in patterns for a more playful look. A golden star at the top will complete your tree beautifully.
Blending for a Smooth Finish
To achieve a polished look, blending is essential.
Take your blending stump and gently rub it over the colored areas of the tree and ornaments. This will help merge the colors and eliminate harsh lines.
Be careful not to over-blend; you want to maintain some texture in your drawing. The goal is to create a smooth yet dynamic appearance.
Final Touches and Background Details
After blending, it’s time to add the final touches to your artwork.
Outline the tree and ornaments with a darker pencil to enhance their definition. This will make your drawing pop and draw the viewer’s eye.
For the background, consider adding soft snowflakes falling gently. Use light strokes with a white pencil or gel pen to create a cozy winter atmosphere.
These final details will elevate your drawing, capturing the essence of the holiday season beautifully.
Step-by-Step Christmas Drawing Projects
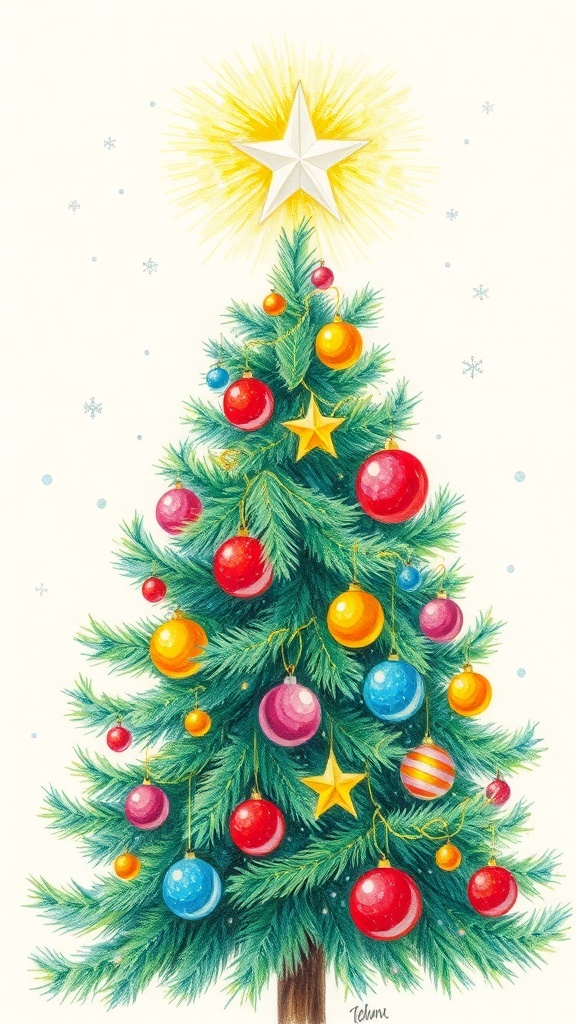
This guide includes various Christmas drawing ideas such as Christmas trees, ornaments, and holiday scenes. Each project is designed to enhance your colored pencil skills and can be completed in a few hours.
Ingredients
Related
- Creative Christmas Drawing Ideas with Pencil
- Christmas Pencil Drawing Techniques
- Creative Christmas Drawing Ideas with Pencil
- Christmas Pencil Drawing Techniques