This guide provides a simple method for creating a festive Christmas tree drawing using basic shapes. Perfect for beginners and kids, this approach makes it easy to understand how to construct a tree with geometric forms.
Using shapes like triangles, circles, and rectangles, you can create a charming Christmas tree illustration that can be decorated with colors and patterns.
Materials Needed for Your Christmas Tree Drawing
To start your festive drawing, gather a few essential materials. You will need:
- Paper
- Pencil
- Eraser
- Colored pencils or markers
Having these items ready will make the drawing process smooth and enjoyable. Choose a comfortable workspace where you can freely express your creativity.
Step-by-Step Guide to Drawing a Christmas Tree
This tutorial focuses on using basic shapes to create a charming Christmas tree. The method is simple and can be completed in just a few steps, making it a delightful activity for individuals of all ages.
Begin by sketching a large triangle as the base of your tree. This triangle will represent the main body of the tree. Next, layer smaller triangles on top to form the tree’s shape, giving it a fuller appearance.
Creating the Tree Trunk
Once the tree shape is established, it’s time to add the trunk. Draw a rectangle at the bottom of the tree, ensuring it is proportionate to the tree’s height. This will provide a sturdy foundation for your festive creation.
Make sure the trunk is centered and visually balanced with the tree above it. A well-defined trunk adds character and stability to your drawing.
Decorating Your Christmas Tree
Now comes the fun part—decorating your tree! Use bright circles to represent ornaments and add a star shape at the top for a festive touch. Feel free to get creative with the colors and patterns of your decorations.
Consider varying the sizes of the circles to create visual interest. You can also add other shapes like stars or even candy canes to enhance the festive spirit.
Coloring Your Drawing
Once your tree is sketched and decorated, it’s time to bring it to life with color. Use colored pencils or markers to fill in the tree, trunk, and ornaments.
Choose vibrant greens for the tree, a rich brown for the trunk, and a variety of colors for the ornaments. Don’t forget to add a snowy background with falling snowflakes to complete the winter wonderland effect.
Final Touches and Displaying Your Artwork
After coloring, take a moment to review your drawing. You might want to outline certain areas with a darker pencil or marker to make them stand out more.
Once satisfied, consider displaying your artwork proudly. You can hang it on the wall, use it as a festive card, or even frame it as a holiday decoration. Enjoy the festive cheer your colorful Christmas tree brings!
Step-by-Step Guide to Drawing a Christmas Tree
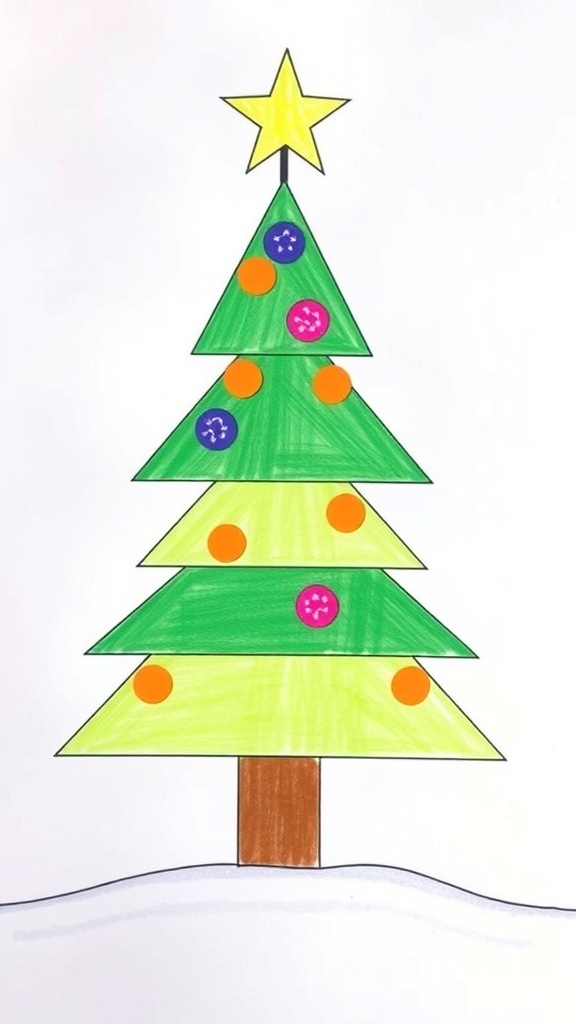
This drawing tutorial focuses on using basic shapes to create a Christmas tree. The process is straightforward and can be completed in just a few steps, making it an enjoyable activity for all ages.
Ingredients
Related
- Basic Bread Dough Recipe Using a Dough Hook
- What are the Different shapes of a graph called?
- What are the four shapes of graphs?
- 5 Trendy Nail Shapes to Try This Season