Creating your own Christmas drawing wrapping paper is a fun and creative way to personalize your gifts this holiday season. Using simple materials, you can design unique wrapping paper that reflects your style and adds a special touch to your presents.
This project is suitable for all ages and can be a delightful activity to do with family or friends. You can use various drawing techniques and colors to make your wrapping paper truly one-of-a-kind.
Creating a Festive Atmosphere
Transforming your space into a holiday haven is an essential part of the DIY Christmas wrapping experience.
With a beautifully decorated table, you can set the stage for creativity and joy.
Imagine a surface adorned with various sheets of DIY Christmas wrapping paper, each featuring colorful drawings of snowflakes, Christmas trees, and ornaments.
To enhance the festive vibe, scatter colored markers, scissors, and a roll of kraft paper across the table.
This arrangement not only looks inviting but also encourages everyone to join in the fun of creating personalized gift wrap.
Gathering Your Materials
Before diving into the creative process, it’s important to gather all necessary materials.
Plain kraft paper or white butcher paper serves as the perfect canvas for your designs.
Colored markers, crayons, or paints will bring your ideas to life, while optional stamps and ink pads can add unique touches.
Don’t forget the essentials: scissors for cutting, a ruler for precise measurements, and a pencil for sketching out your designs.
Having everything at hand will make the crafting process smooth and enjoyable.
Measuring and Cutting Your Paper
Once your workspace is ready, it’s time to measure and cut your paper.
Using a ruler, determine the size of your gifts and cut the paper accordingly, ensuring to leave extra for folding and sealing.
This step is crucial for achieving a neat and professional look when wrapping your presents.
Taking the time to measure accurately will pay off in the end, making your gifts stand out under the tree.
Designing Your Wrapping Paper
Now comes the fun part: designing your wrapping paper!
Let your imagination run wild as you create patterns, holiday-themed illustrations, or even heartfelt messages.
This is your chance to express your creativity and make each sheet truly unique.
Whether you prefer intricate designs or simple doodles, the key is to enjoy the process.
Invite family or friends to join in, making it a collaborative effort filled with laughter and creativity.
Adding Color and Finishing Touches
Once your designs are sketched out, it’s time to add color.
Use your colored markers, crayons, or paints to fill in the drawings, bringing them to life.
If you opted for stamps, now is the moment to incorporate those as well for added flair.
After coloring, allow your creations to dry completely if you used paint.
Once dry, wrap your gifts securely with the custom paper, using washi tape or decorative tape to seal them.
For the final touch, consider adding ribbons or bows to enhance the presentation.
Enjoying the Process Together
Creating DIY Christmas wrapping paper is not just about the end product; it’s about the experience shared with loved ones.
This activity can be a delightful way to bond during the holiday season, fostering creativity and joy.
As you gather around the table, surrounded by colorful drawings and crafting materials, the atmosphere becomes filled with laughter and excitement.
Embrace the spirit of the season by making this a cherished tradition in your home.
Easy Steps to Create Custom Christmas Wrapping Paper
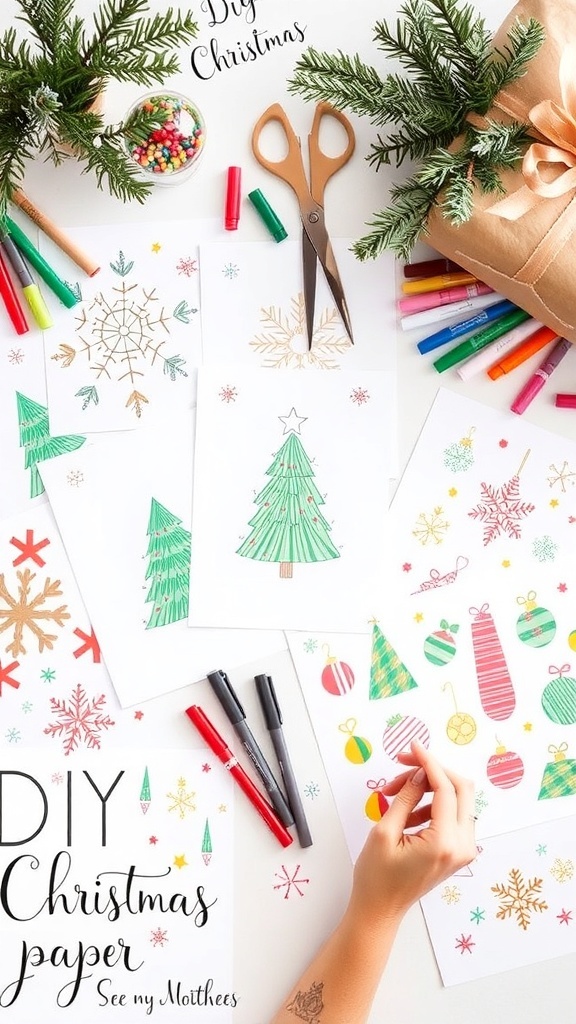
This DIY wrapping paper project allows you to express your creativity while preparing for the holidays. The process takes about 1-2 hours, depending on the complexity of your designs, and can be tailored to fit any gift size.
Ingredients
Related
- DIY Christmas Doodles Wrapping Paper
- Christmas Doodles Wrapping Paper Ideas
- DIY Rice Paper Lanterns: Illuminate Your Space with Style
- DIY Christmas Wishlist Paper